
 Pin it
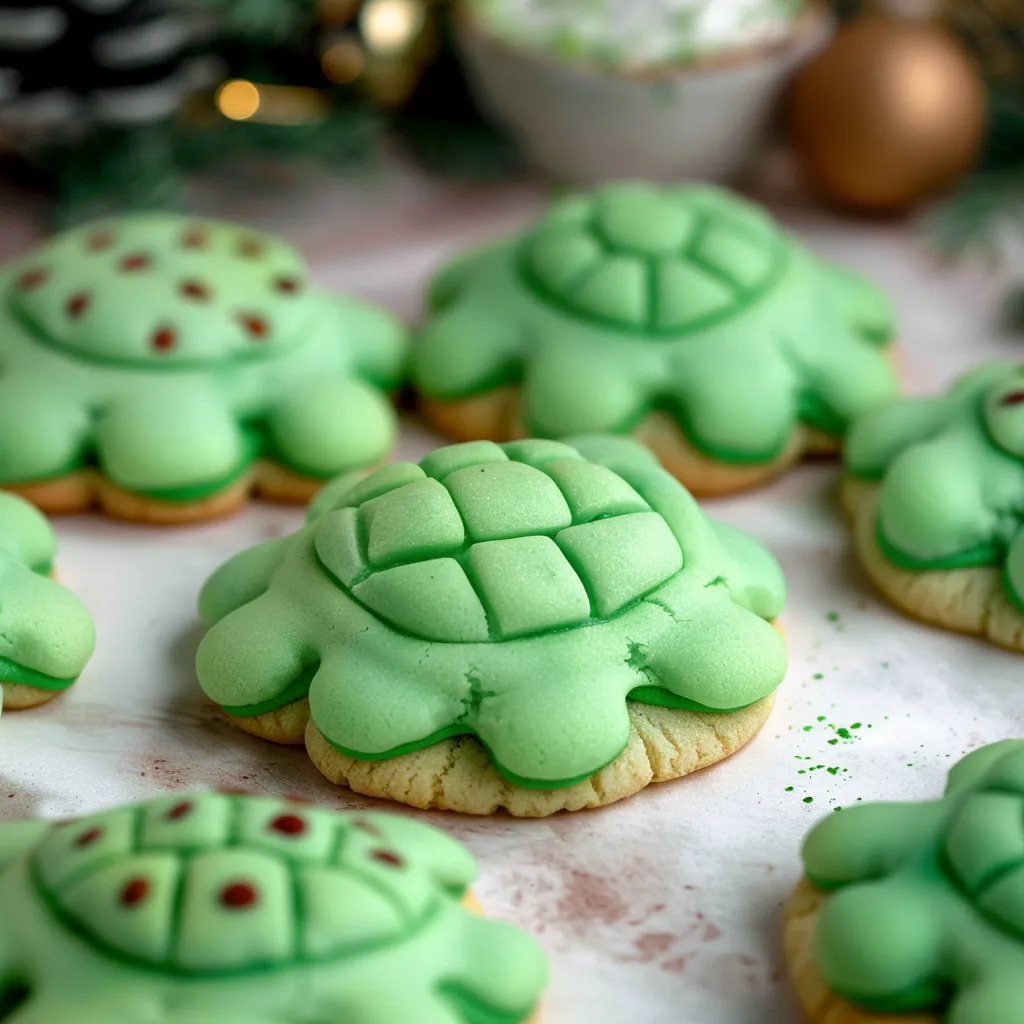
These cute turtle sugar cookies turn regular sugar cookies into adorable green creatures that everyone loves. The easy dough comes together fast, and decorating them is super fun for kids who want to help in the kitchen.
I started making these turtle cookies for my niece's animal-themed party, and they were such a success that I now bring them to every school event and playdate. Nothing beats seeing kids light up when they spot these little green buddies.
What You'll Need
- Sugar: Gives just the right sweetness and helps make the outside crispy
- Butter: Make sure it's room temperature for cookies that aren't too hard or soft
- Vanilla extract: Brings a nice background flavor that works with the sweet taste
- Egg: Holds everything together and adds needed moisture
- All-purpose flour: Forms the backbone of your shaped cookies
- Baking powder and baking soda: Team up to give the perfect lift and feel
- Salt: Makes all other flavors pop and cuts through sweetness
- Green gel food coloring: Creates that bright turtle shade without making the dough too runny
- Edible marker: For drawing those tiny eyes at the end
How To Make Them
- Get Your Oven Ready:
- Heat your oven to 400ºF and wait until it's fully hot. Put your rack right in the middle for cooking that's even all around. Get your cookie sheets ready with a bit of grease or some parchment paper so nothing sticks.
- Blend Wet Stuff:
- Grab a big bowl and mix your sugar with the soft butter. Use an electric mixer on medium for about 3 minutes until it looks fluffy and pale. Then pour in vanilla and mix for another 30 seconds.
- Put In The Egg:
- Drop your egg into the sugar mix and beat again until it's totally smooth, about a minute. Don't forget to scrape down the sides so everything gets mixed in.
- Mix In Dry Stuff:
- Now add your flour, baking powder, baking soda, and salt to your wet mixture. Mix slowly just until you get smooth dough, maybe 1-2 minutes. Don't mix too much or your cookies might end up tough.
- Color The Dough:
- Start adding tiny amounts of green gel coloring to your dough, then keep adding until you like the turtle green color you see. Mix until the color looks the same throughout with no streaky parts. Gel works best because it won't make your dough too soft.
- Make Turtle Bodies:
- Use a 1-tablespoon scoop to grab dough, then roll it between your hands to make perfect little balls. Put them about 2 inches apart on your cookie sheet since they'll spread a bit while baking.
- Add Shell Details:
- Take a fork and press down on each dough ball going two different ways to make a pattern that looks like a turtle shell. Press until they're about 1/2 inch thick, and try to make them all the same size so they bake evenly.
- Add Heads And Legs:
- For each turtle body, roll a tiny pea-sized bit of dough for the head and four even smaller bits for the feet. Stick these onto the body, pressing gently so they stay but don't get flat. Make sure they're attached well enough that they won't fall off while baking.
- Bake Them Up:
- Put your cookies in the oven for 5-7 minutes, watching them carefully since they can get brown fast. The bottoms should just start turning golden while the tops stay soft. They'll keep setting after you take them out, so don't bake them too long.
- Let Cool And Add Eyes:
- Move cookies to a wire rack and let them cool totally, about 15 minutes. Once they're cool, use your edible marker to draw tiny eyes on each turtle head, giving them some character and finishing their cute look.
 Pin it
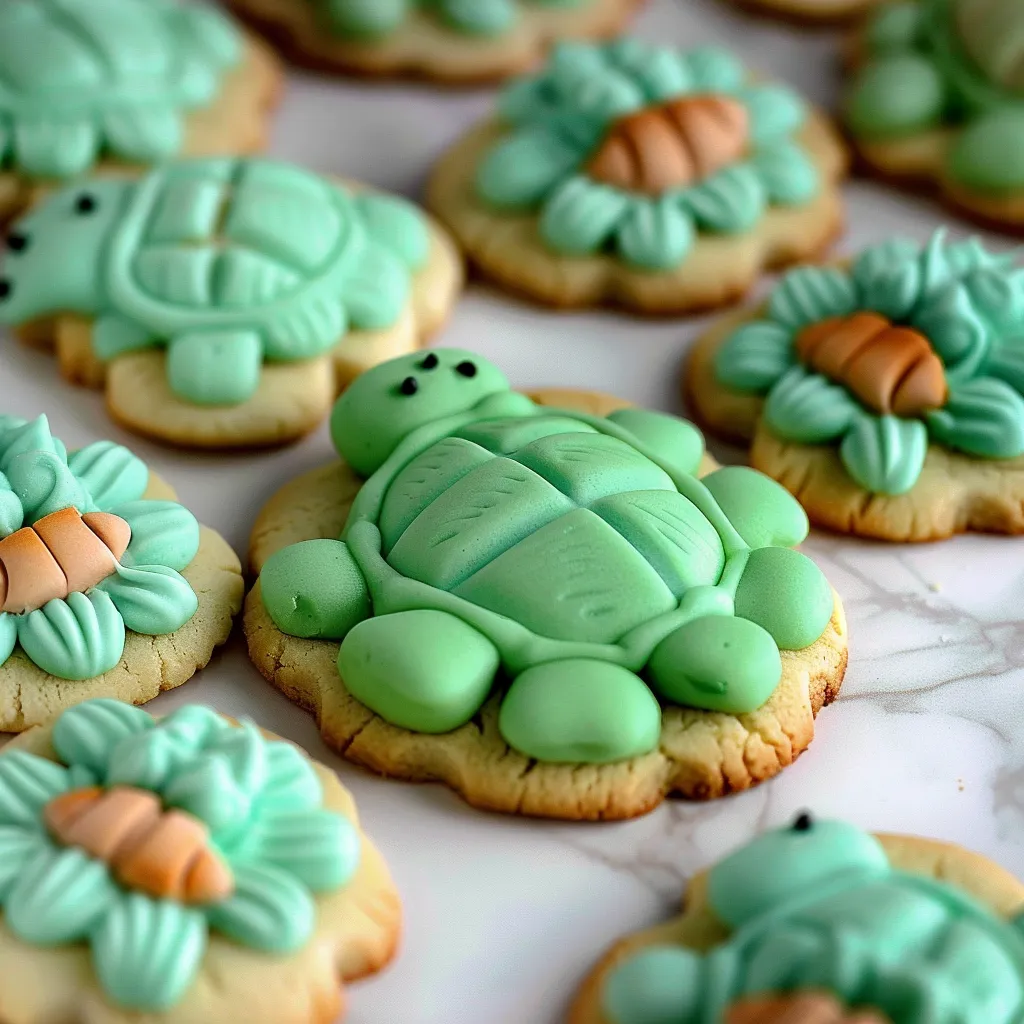
What I enjoy most about these cookies is watching kids get creative when they help shape the turtles. Once my nephew wanted to make a "grandpa turtle" and put extra lines in the shell pattern. Now we laugh about it every time we bake these together.
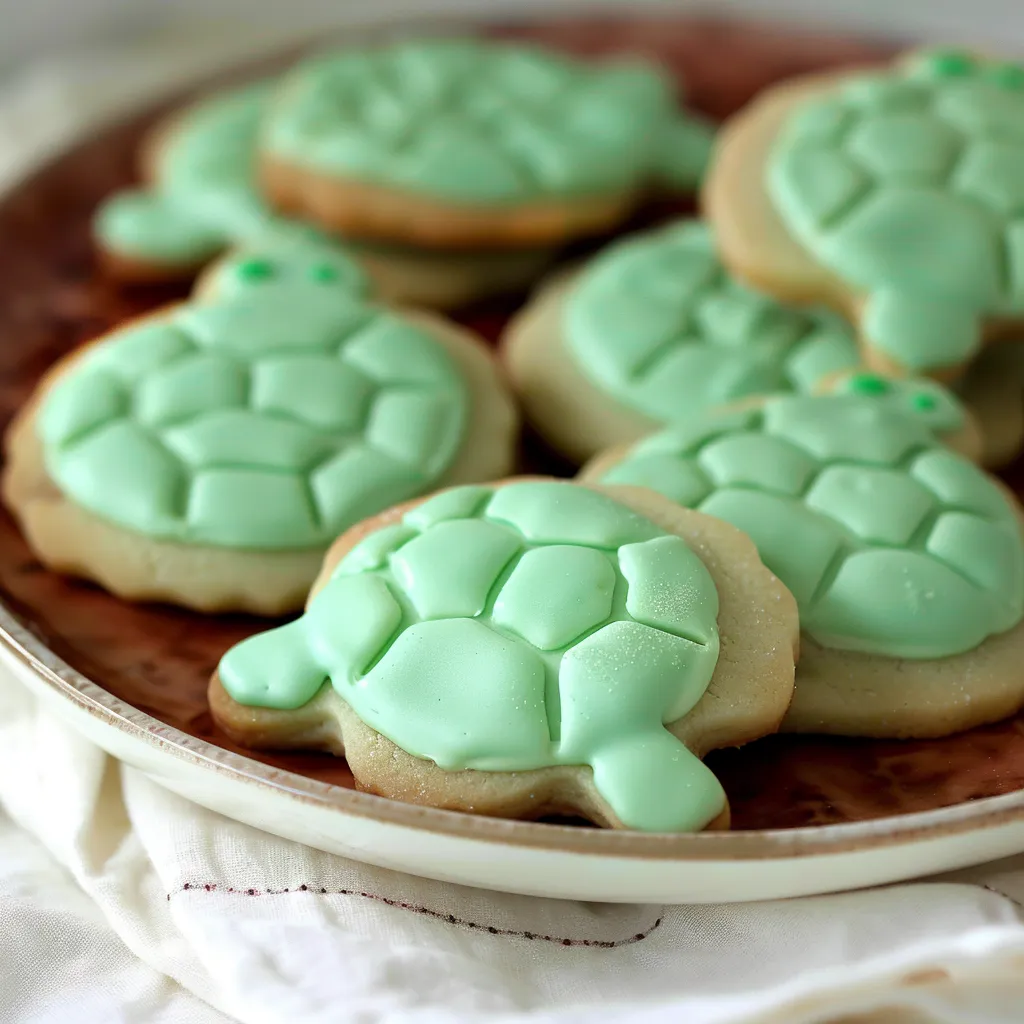
Keeping Them Fresh
These turtle treats stay amazingly fresh when stored the right way. Keep them in a sealed container at room temperature and put parchment paper between layers so they don't stick together. They'll stay yummy for up to 5 days. If you want to keep them longer, put the baked cookies in freezer bags and freeze for up to 3 months. Just let them sit out until they reach room temperature when you're ready to eat them.
Try Different Flavors
The green turtles are cute, but you can change things up for different events. Add a bit of almond extract for a nutty taste or some lemon zest for a fresh twist. If you love chocolate, mix in some mini chocolate chips before you add the color. You can even make rainbow turtles by splitting the dough and using different colors if you're having a rainbow or unicorn party.
Fixing Common Problems
If parts of your turtle aren't sticking together well, try putting a tiny drop of water where they connect before pressing them together. This works like glue to keep everything attached during baking. If your cookies flatten out too much, your butter might be too soft - try chilling the shaped cookies for 15 minutes before you bake them. And if the color looks dull, remember that gel food coloring works much better than the liquid kind and won't mess up your dough consistency.
 Pin it
These cookies make both bakers and eaters happy - they're just right for creating special moments together!
Frequently Asked Questions
- → What gives the cookies their green color?
The green comes from gel food coloring added to the dough. Start light, and add extra coloring as needed to get the right look.
- → How do I make them look like turtles?
Shape balls for the turtle bodies, press them lightly with a fork for a shell texture, then attach small pieces of dough as heads and feet.
- → Can I substitute liquid food coloring?
Stick with gel food coloring since it’s more vibrant and won’t make the dough too soft. Liquid dye might change the consistency.
- → What if my dough feels sticky?
If it sticks too much, put it in the fridge for 15-20 minutes. This firms it up and makes handling easier.
- → How do I tell they’re done baking?
They’re ready when the bottoms just start to turn golden. Check on them after 5-7 minutes at 400ºF, and don’t overbake for soft cookies.
- → Are there other decoration ideas?
Absolutely! Try candy eyes or other edible decorations to change up their look. Have fun experimenting!