
 Pin it
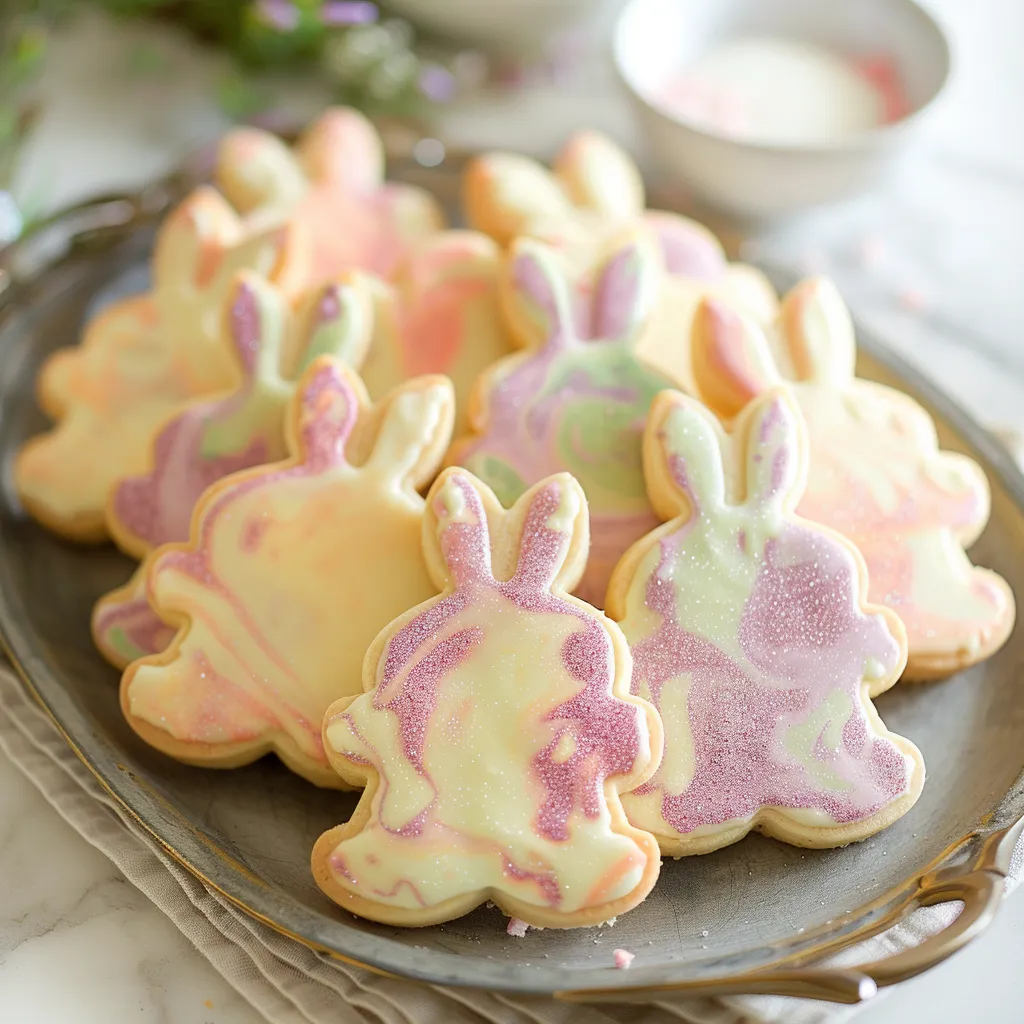
These swirled Easter bunny cookies turn basic sugar cookies into stunning mini-artworks. After trying lots of swirling methods, I've found that handling the dough with a light touch is what makes those perfect color patterns. Every cookie turns out completely different with its own spring color blend, making them just as fun to look at as they are to munch on.
When I baked these with my niece last Easter, seeing her excitement as the colors twisted together made our kitchen time truly special. The trick? Don't worry about getting it perfect - just enjoy getting creative.
Key Ingredients
- Butter: Go for unsalted at room temp to better manage the taste.
- Granulated Sugar: Standard white sugar gives the right consistency.
- Eggs: Take them out early so they're not cold when mixing.
- Vanilla Extract: Pick real extract for the tastiest results.
- All-Purpose Flour: Make sure to measure it right for the best texture.
- Gel Food Coloring: Gives bright colors without making the dough wet.
- Baking Powder: Check that it's fresh so cookies puff up properly.
- Salt: A bit of fine sea salt cuts through the sweetness.
 Pin it
Step-by-Step Baking Guide
- Dough Preparation
- Beat butter and sugar together until it looks pale and fluffy, about 3-4 minutes. Drop in eggs one by one, mixing well after each one. Stir in vanilla until just mixed. In another bowl, mix your dry stuff. Slowly add flour mix. Stir until barely combined, don't mix too much. Cool dough for 30 minutes.
- Color Creation
- Split your chilled dough into chunks. Add different gel colors to each chunk. Gently work the color in using your hands. Keep each color separate until you're ready to swirl. Pop back in the fridge if dough feels warm.
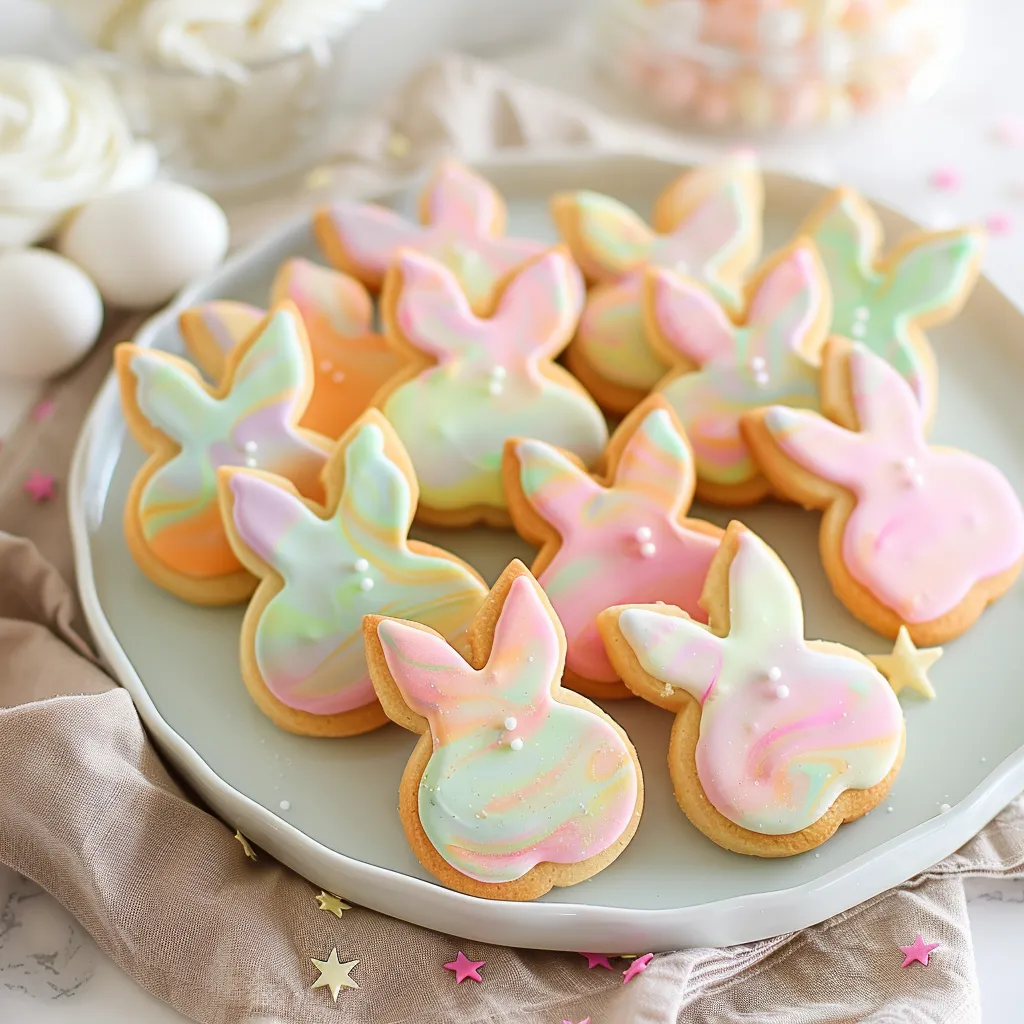
- Marbling Process
- Put chunks of different colored dough next to each other. Press them together lightly. Roll with a rolling pin very softly. Don't roll too much or colors will totally blend. Keep your work surface lightly floured.
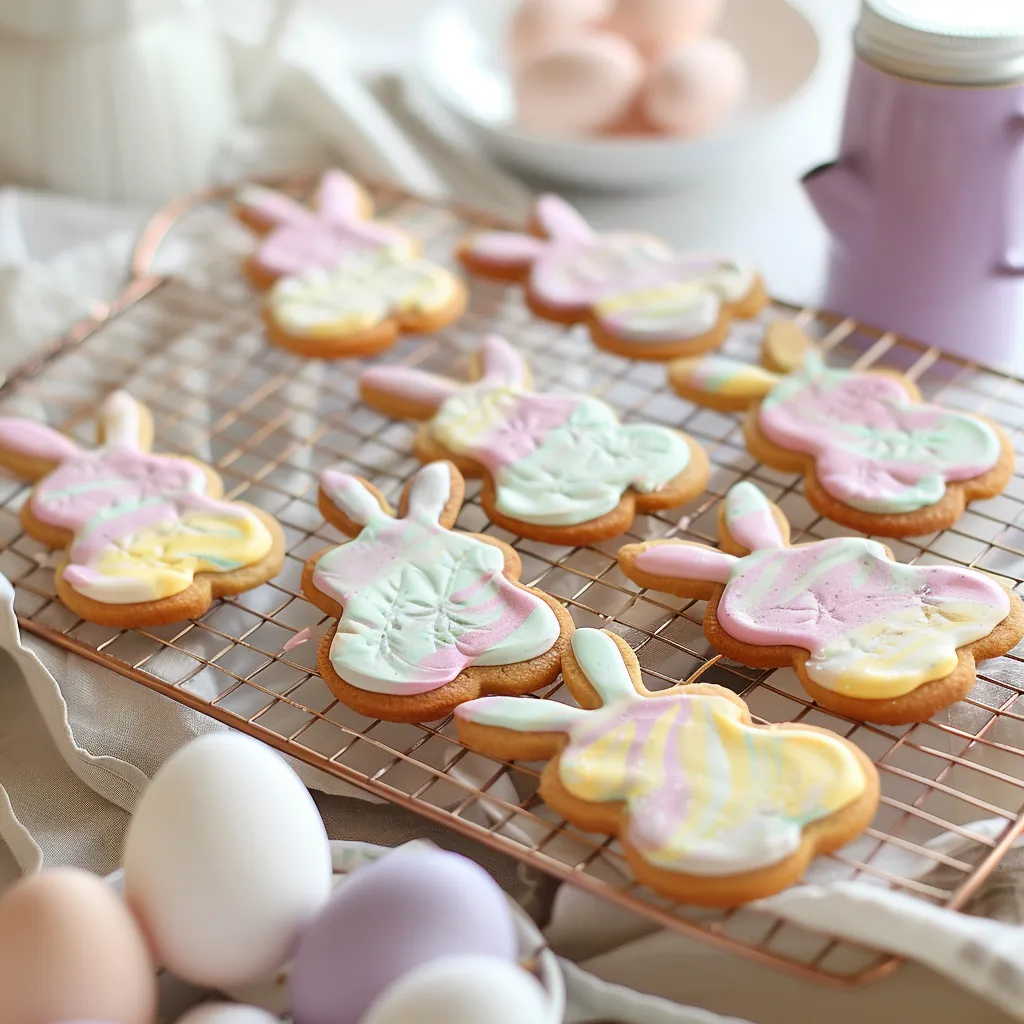
- Cutting and Baking
- Cut out bunny shapes with your cutter. Move them carefully to lined baking sheets. Chill the cut cookies for 10 minutes. Bake at 350°F for 10-12 minutes. You want just slightly golden edges.
- Decorating Options
- Let cookies cool all the way. Add white sprinkles for bunny tails if you want. Draw simple details with royal icing. Sprinkle with edible glitter for some sparkle. Let everything dry completely.
My grandma always told me cookie baking needs patience more than fancy ingredients. These swirled bunnies really show she was right - if you rush, you'll end up with muddy colors instead of pretty swirls.
Keeping Things Cool
Make sure your dough stays chilled during the whole process. Whenever it starts feeling soft, stick it back in the fridge. This helps keep those pretty marble patterns clear.
Prep Ahead Ideas
You can make and color the dough up to 3 days early. And if you wrap them well, your baked cookies can stay in the freezer for up to 3 months.
Fixing Common Problems
If your colors start mixing too much, put the dough in the fridge right away. If the edges spread out while baking, your dough was probably too warm.
These swirled Easter bunnies have become a special holiday custom in my home. They show that sometimes the easiest techniques make the most wonderful treats. The mix of fun colors and classic cookie flavor makes them perfect for bringing spring happiness to everyone.
 Pin it
Frequently Asked Questions
- → What's the purpose of cornstarch here?
- It keeps the cookies from spreading out and gives them a soft bite.
- → Is chilling mandatory for this dough?
- Not exactly—it helps when the dough’s sticky, making it easier to cut and shape.
- → How long will these keep fresh?
- Up to 2 weeks in a sealed container, or several months if frozen.
- → Can I leave out the nutmeg?
- Of course! Skipping it won't alter the cookies' overall texture.
- → How thick do I roll them out?
- For best results, keep the dough between 1/4 to 1/2 inch thick.