
 Pin it
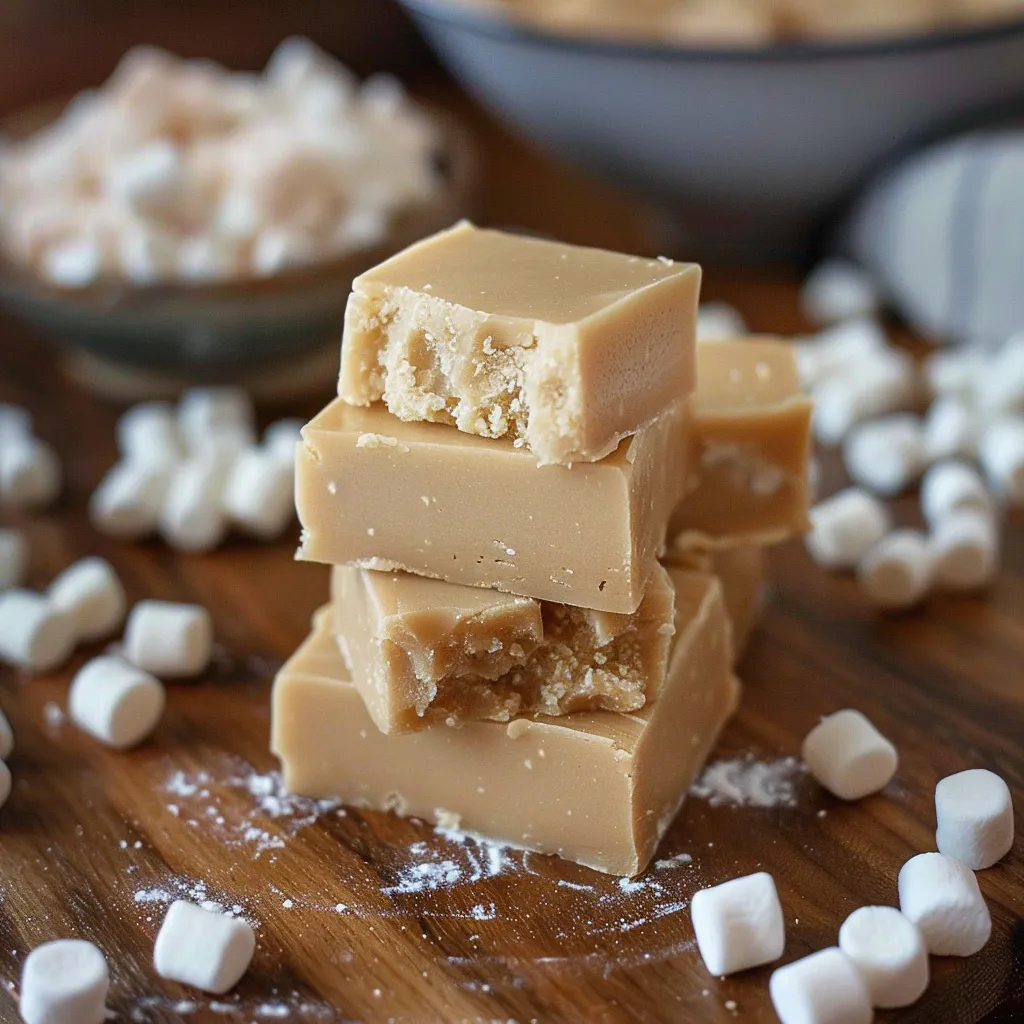
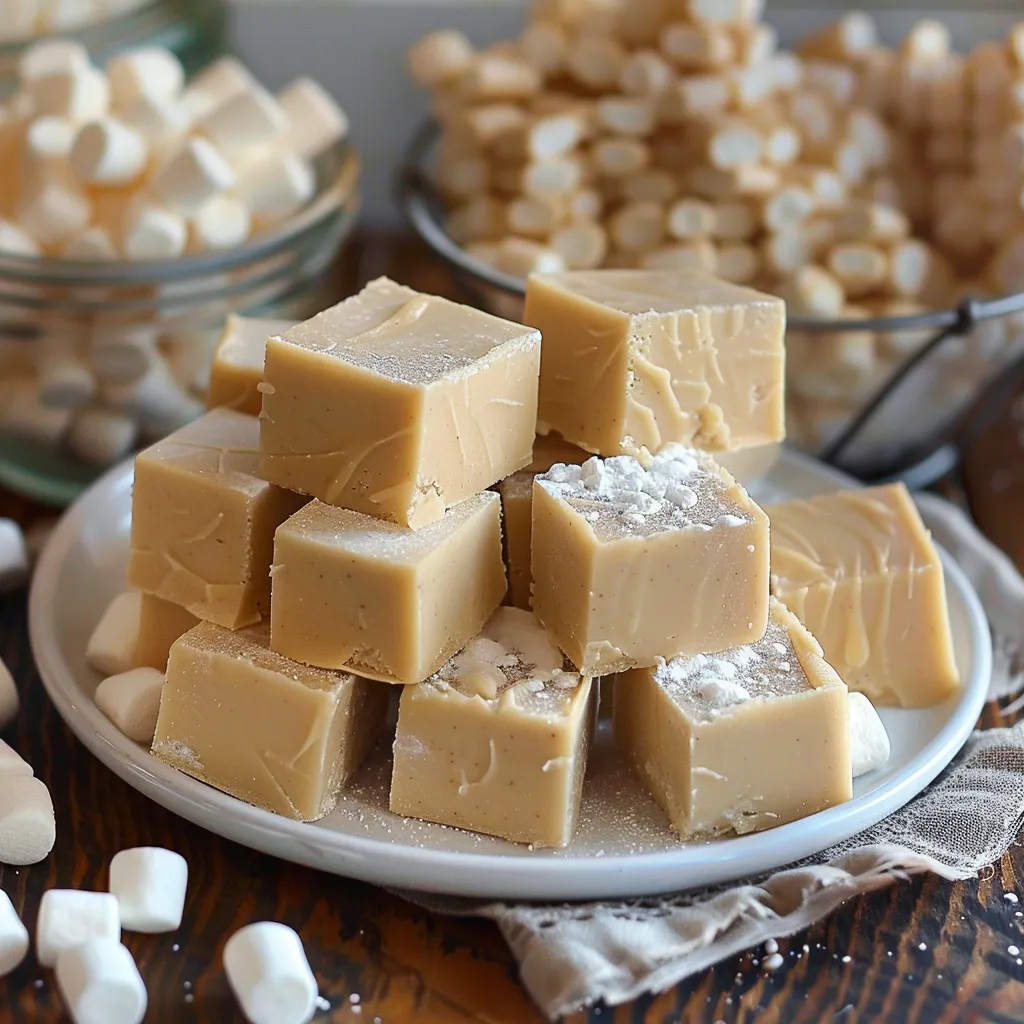
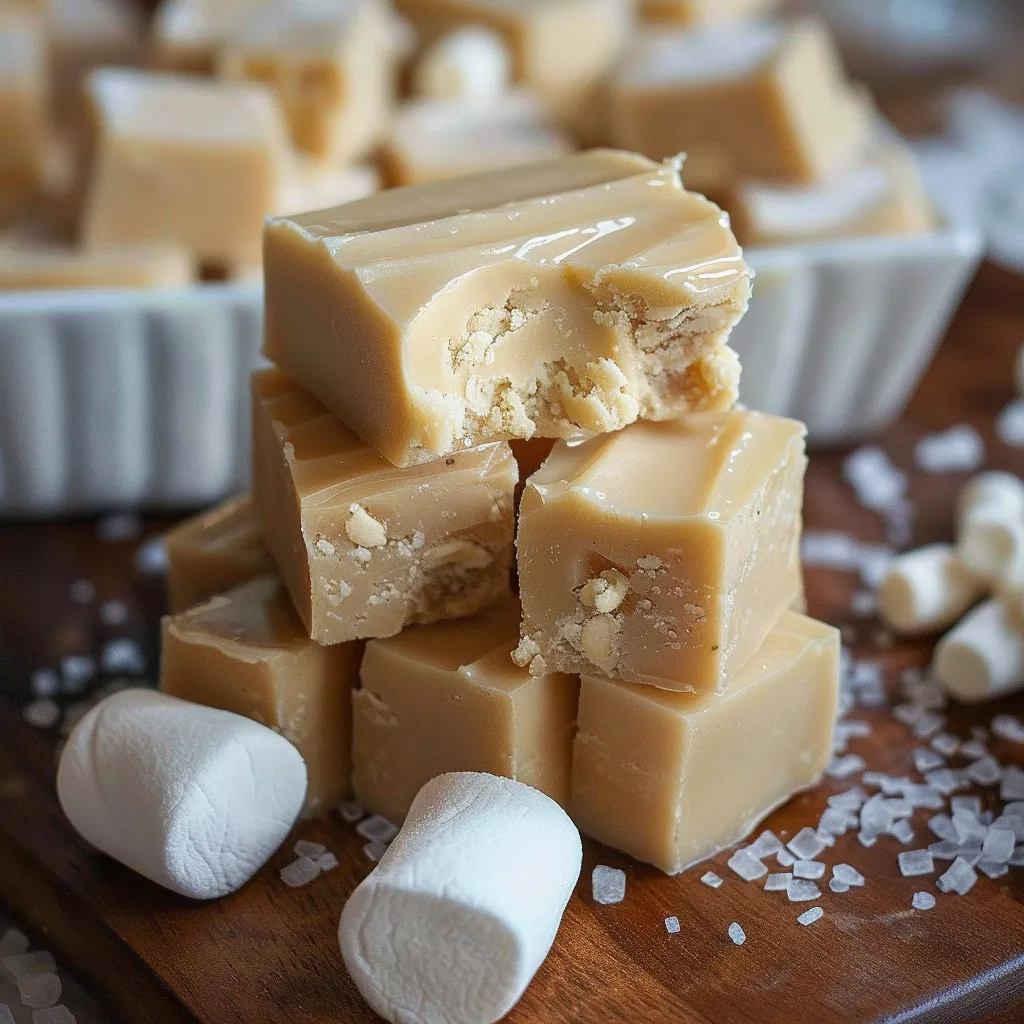
This creamy vanilla honey fudge brings together luscious honey sweetness and vanilla in every smooth, mouthwatering bite. The ideal mix of white chocolate with marshmallows creates a texture you can't resist that'll make your tastebuds happy and wow anyone who gets to try a piece.
I stumbled on this gem during a Christmas baking spree and it soon turned into my go-to gift for friends around the neighborhood. Its easy steps paired with its fancy taste make it my backup plan whenever I need something sweet that won't let me down.
Ingredients
- Powdered sugar: Makes everything silky and helps stop sugar crystals from forming so your fudge feels just right
- Honey: Adds natural sweetness with flowery hints that make this fudge stand out from regular kinds
- Unsalted butter: Brings a rich flavor and lets you add just the right amount of salt yourself
- Heavy cream: Gives that smooth, dreamy texture that good fudge needs
- Mini marshmallows: Work as your safety net for getting perfect results each time
- Salt: Cuts through sweetness and makes all other flavors pop more
- Vanilla extract: Adds cozy flavor that pairs perfectly with the honey notes
- White chocolate chips: Create the foundation for this treat - go for good quality ones for better melting and taste
- Plastic wrap: Needs a bit of oil to make sure your fudge comes out clean later
Step-by-Step Instructions
- Prepare the Pan:
- Cover your square pan with plastic wrap, making sure extra hangs over each side. Try to get it flat with no folds in the corners. Put a tiny bit of oil on the wrap using your fingers to spread it around - this stops your fudge from sticking and makes it easy to take out.
- Combine Base Ingredients:
- Put powdered sugar, honey, butter, heavy cream, mini marshmallows and salt into a big pot with tall sides since the mix will bubble up while cooking. Have everything measured before you start so things go smoothly.
- Cook the Mixture:
- Set it on medium heat and keep stirring with a heat-safe spatula, making sure to scrape the bottom so nothing burns. Everything will slowly melt together and look shiny as it gets close to bubbling. Watch for bubbles starting at the edges.
- Maintain the Simmer:
- When it starts bubbling all over, keep cooking for exactly 7 minutes and don't stop stirring. Keep it at a gentle bubble, not a wild boil that could burn it. The mix will get thicker and turn slightly golden, showing the sugars are cooking right.
- Add Finishing Ingredients:
- Take the pot off the heat and right away put in the vanilla extract and white chocolate chips. Stir hard until all chocolate melts completely and the mix looks silky with no little chunks left. This usually takes about 2 minutes of steady stirring.
- Set the Fudge:
- Dump the hot fudge into your ready pan and use a spatula to push it into the corners evenly. Tap the pan on the counter a few times to pop any air bubbles. You want the top smooth and glossy.
- Chill and Cut:
- Put it in the fridge for at least 4 hours but leaving it overnight works better for the texture to develop. When it's ready, the fudge will feel firm but not too hard. Use the plastic wrap edges to lift it out, then take off all the wrap before cutting it into squares with a sharp knife.
 Pin it
White chocolate really carries this recipe. I first made this fudge while trying to use up what I had in my pantry during a big snowstorm and found out how amazingly honey and white chocolate work together. Even my grandma, who only ever wanted classic chocolate fudge, asked me how I made it after trying just one piece.
Storage Solutions
Store your fudge in a sealed container in the fridge to keep it fresh and firm. Put wax paper between layers so pieces don't stick together. If you want to keep it longer, wrap single pieces tightly in plastic and put them in a freezer container for up to 3 months. Let frozen fudge sit in the fridge for a few hours before eating it.
Flavor Variations
You can switch up this basic recipe with different flavor combos. Try adding 1/4 cup of toasted chopped macadamias or pecans for some crunch. Switch vanilla for almond extract and throw in some dried cherries for a fancy twist. During holidays, mix in crushed peppermint candy and a tiny bit of peppermint extract. The honey base goes great with almost anything you want to add.
Troubleshooting Tips
If your fudge feels too soft after cooling, stick it back in the fridge a bit longer. Having trouble cutting clean slices? Run your knife under hot water and wipe it between cuts. Got grainy fudge? You probably didn't stir enough while cooking or the heat was too high. Remember that damp weather can mess with candy making, so you might need to cook it a little differently on really humid days.
 Pin it
This treat doesn't take much work but turns out so fancy you'll want to make it for every special moment that comes your way.
Frequently Asked Questions
- → What’s the trick for creamy fudge?
Keep stirring while heating to stop sugar from forming crystals. High-quality marshmallows and chocolate help keep the texture silky.
- → Can I swap white chocolate for something else?
You can, but white chocolate gives the best flavor. Try dark or milk chocolate for a twist, though it’ll change the taste a lot.
- → How long should the fudge chill for?
It needs at least 4 hours in the fridge. Overnight is better to make slicing easier.
- → How can I store my fudge properly?
Pop it in an airtight box and refrigerate for two weeks. Wrap pieces tightly and freeze them to keep longer.
- → Can I add extras to this fudge?
Definitely! Toss in nuts, fruit, or drizzle caramel on top before chilling for extra textures.