 Pin it
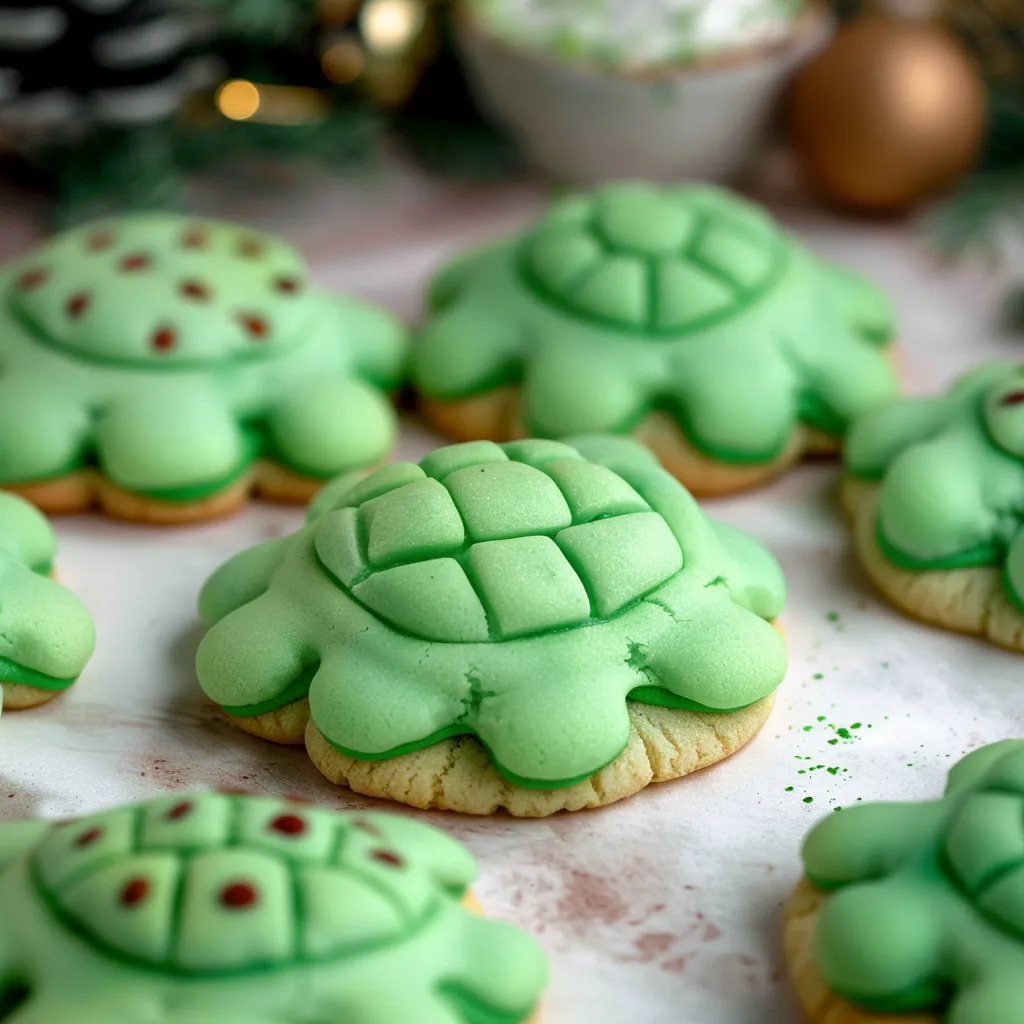
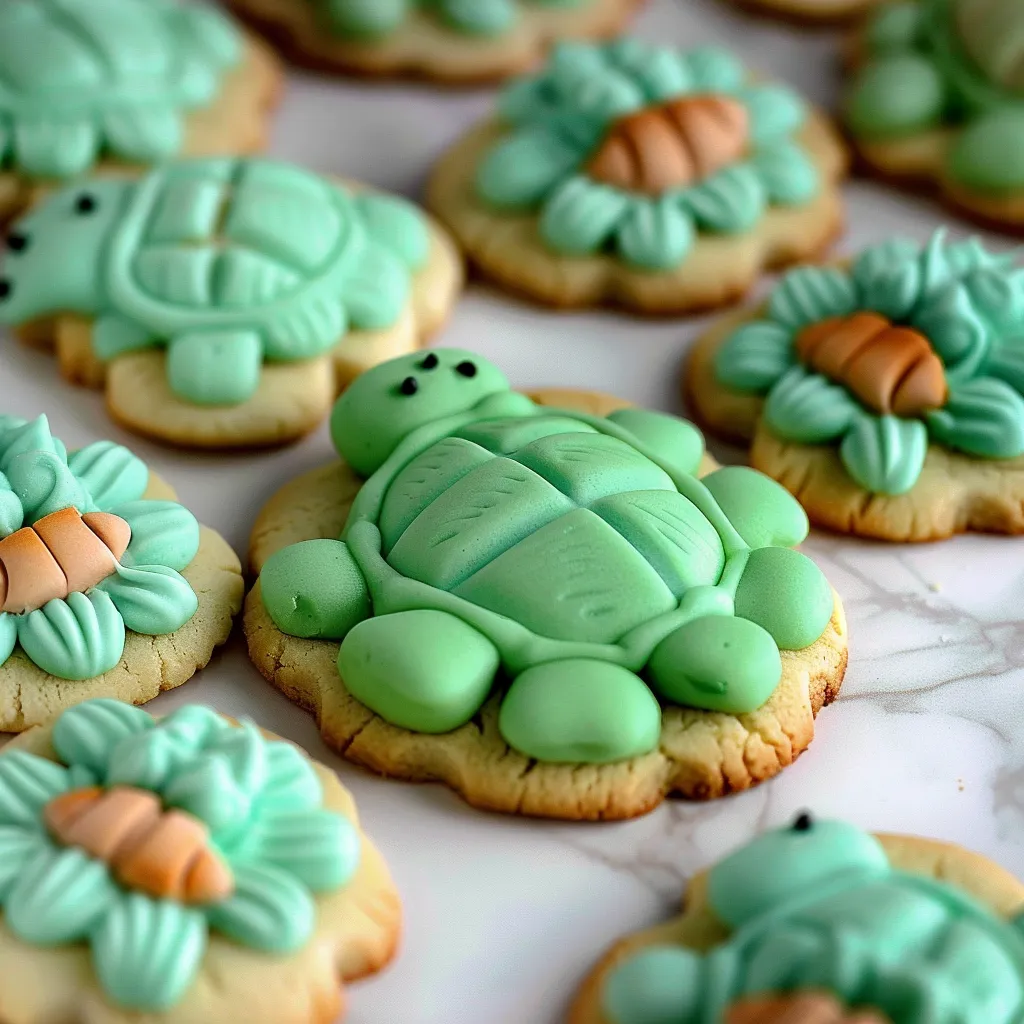
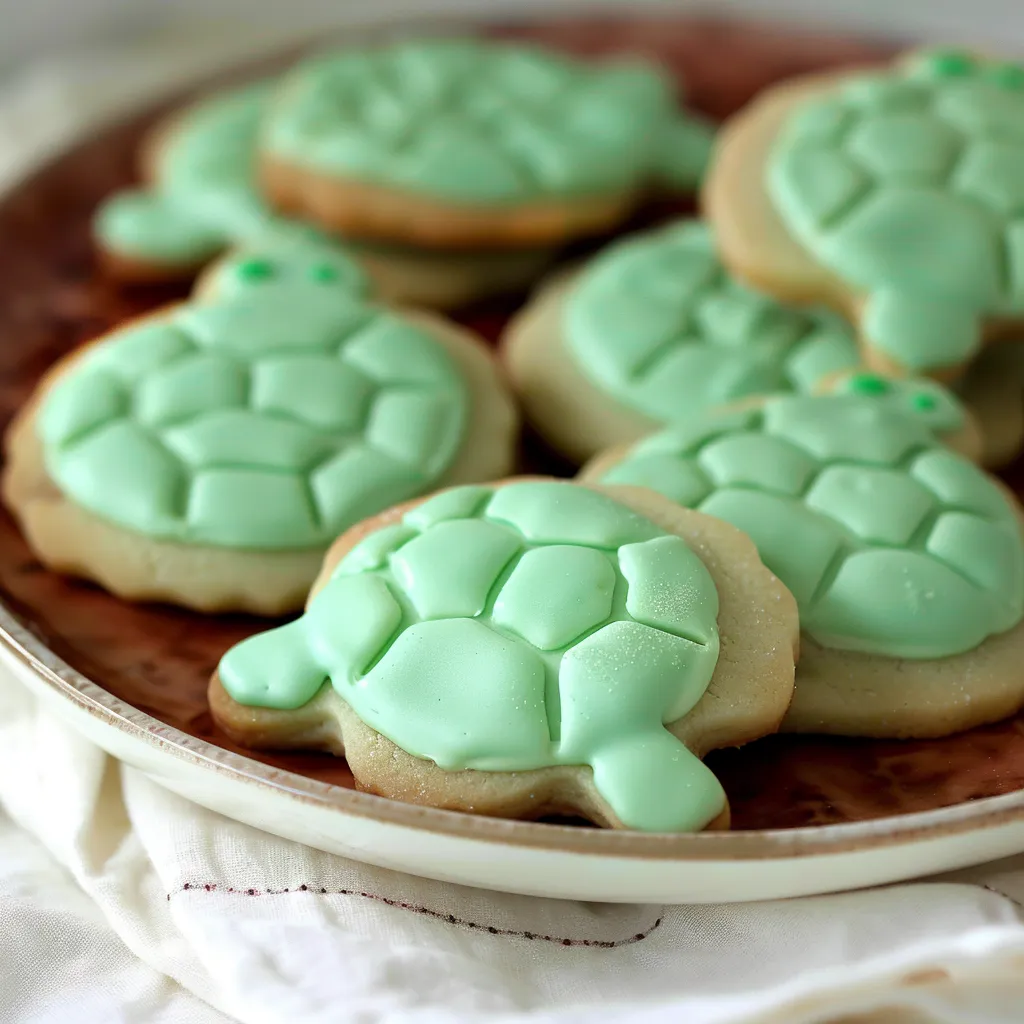
These sweet turtle-shaped sugar cookies turn ordinary cookie dough into cute green creatures that will win over youngsters and grown-ups alike. The dough takes minutes to mix while decorating makes for a great activity with kids helping in the kitchen.
I whipped these turtle treats up first for my niece who wanted a reptile-themed party, and they were such a success that I now make them for school events and playdates regularly. Nothing beats seeing kids light up when they spot these adorable cookies.
What You'll Need
- Sugar: Gives just the right sweetness and helps make that crispy outer layer
- Butter: Make sure it's room temp so your cookies turn out nice and soft
- Vanilla extract: Brings a cozy flavor that works great with the sweet elements
- Egg: Holds everything together and adds moisture
- All-purpose flour: Forms the backbone for these shaped treats
- Baking powder and baking soda: Team up to give your cookies the right lift and consistency
- Salt: Brings out all the tasty notes and cuts through sweetness
- Green gel food coloring: Creates that bright turtle color without making your dough runny
- Edible marker: For drawing those cute little eyes
Making Your Turtle Cookies
- Get Your Oven Ready:
- Heat your oven to 400ºF and wait until it's fully hot before baking. Put your rack right in the middle for even cooking. Get your cookie sheets ready by greasing them lightly or using parchment paper so cookies won't stick.
- Combine Wet Stuff:
- Take a big bowl and mix sugar with your softened butter. Use an electric mixer on medium for about 3 minutes until it looks fluffy and light. The mix should look pale and much bigger. Add in vanilla and mix for another 30 seconds.
- Drop In The Egg:
- Put your egg into the sugar mix and beat again for about a minute until it looks smooth. Don't forget to scrape the bowl's sides to get everything mixed in well.
- Mix In Dry Ingredients:
- Add your flour, baking powder, baking soda, and salt to the wet stuff. Mix slowly just until you get smooth dough, about 1-2 minutes. Don't mix too much or your cookies might come out tough.
- Color Your Dough:
- Put in some green gel food coloring, starting with just a little and adding more until you get a nice turtle green. Mix until the color looks the same throughout with no streaky parts. Gel works better than liquid since it won't make your dough too thin.
- Shape The Bodies:
- Use a 1-tablespoon scoop to portion dough and roll into balls using your hands. Put them about 2 inches apart on your cookie sheet since they'll spread a bit while baking.
- Make Shell Patterns:
- Take a fork and press down on each ball in two different ways to make a crisscross pattern that looks like a turtle shell. Press until they're about 1/2 inch thick, making sure all cookies are the same thickness so they bake evenly.
- Add Heads And Legs:
- For each turtle, roll a tiny pea-sized bit of dough for the head and four even smaller pieces for the feet. Stick these onto the body with gentle pressure so they stay put without getting squashed. Make sure they're attached well enough not to fall off during baking.
- Bake Them Just Right:
- Cook the cookies for 5-7 minutes, keeping an eye on them as they can brown fast. The bottoms should barely start turning gold while tops stay soft. They'll firm up while cooling so don't overcook them.
- Let Cool And Add Eyes:
- Move cookies to a wire rack and let them cool fully, around 15 minutes. Once cool, use your edible marker to draw tiny eyes on each turtle head, giving them character and finishing their cute look.
 Pin it
The best thing about making these cookies is watching kids get creative while shaping the turtles. Once my nephew wanted to make a "grandpa turtle" and pressed extra lines into the shell. It's now a funny story we bring up whenever we bake these cookies together.
Keeping Them Fresh
These turtle treats stay fresh really well when stored right. Keep them in a sealed container at room temp with parchment between layers so they don't stick together. They'll stay soft and tasty for about 5 days. If you want to keep them longer, pop baked cookies into freezer bags for up to 3 months and let them thaw at room temperature when you're ready to eat them.
Different Tastes To Try
The green turtle look is cute, but you can switch things up for different events. Try adding a splash of almond extract for a nutty taste or some lemon zest for a fresh twist. If you love chocolate, mix in some mini chocolate chips before coloring the dough. You could even make rainbow turtles by splitting the dough and using different colors for a unicorn or rainbow party theme.
Fixing Common Problems
If parts of your turtles keep falling off, try wetting the spots where you join them with a tiny bit of water before sticking them together. This works like glue to help parts stay connected while baking. If your cookies spread too much, your butter might be too soft — chill your shaped cookies for 15 minutes before baking. And if the green color isn't bright enough, remember that gel coloring works much better than liquid and won't mess up your dough texture.
 Pin it
These fun cookies make both the baker and eater happy — just right for creating special memories!
Frequently Asked Questions
- → What makes the cookies green?
To add the green hue, mix in green gel-based food coloring. Start light and build up until you're happy with the shade.
- → How can I shape them like turtles?
Roll balls for the main body, flatten gently, then add smaller pieces for the head and legs. Slightly press a fork on the top for a shell-like design.
- → Is liquid coloring okay to use?
Stick to gel coloring—it’s stronger and keeps the dough firm. Liquid can make it too soft to handle well.
- → What if my dough is too sticky?
Pop it in the fridge for 15-20 minutes to firm it up. It'll be easier. No more sticking problems!
- → How long should I bake them?
They’re ready when the bottoms turn golden, usually around 5-7 minutes at 400°F. Be careful—they bake fast!
- → Can I decorate them differently?
Get creative! Swap the markers for candy eyes or sprinkles, and have fun with it.
