
 Pin it
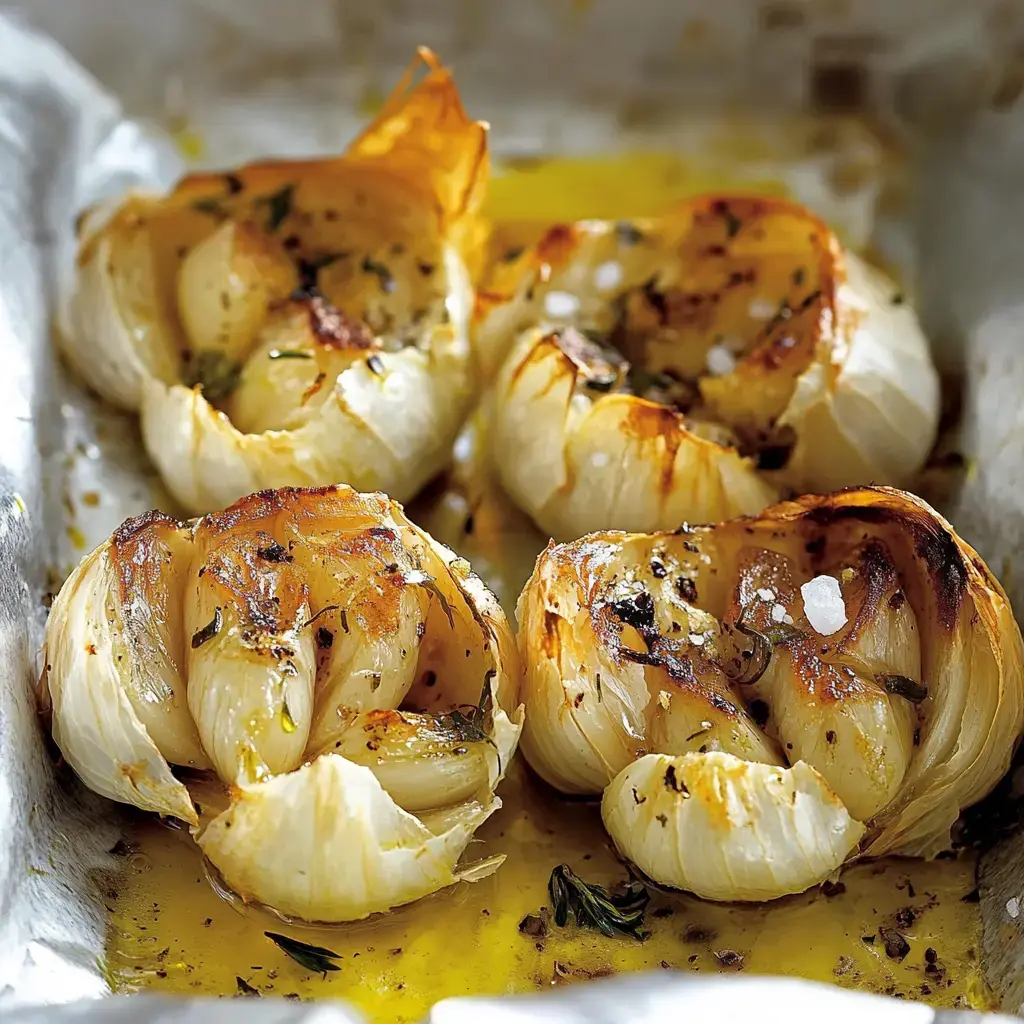
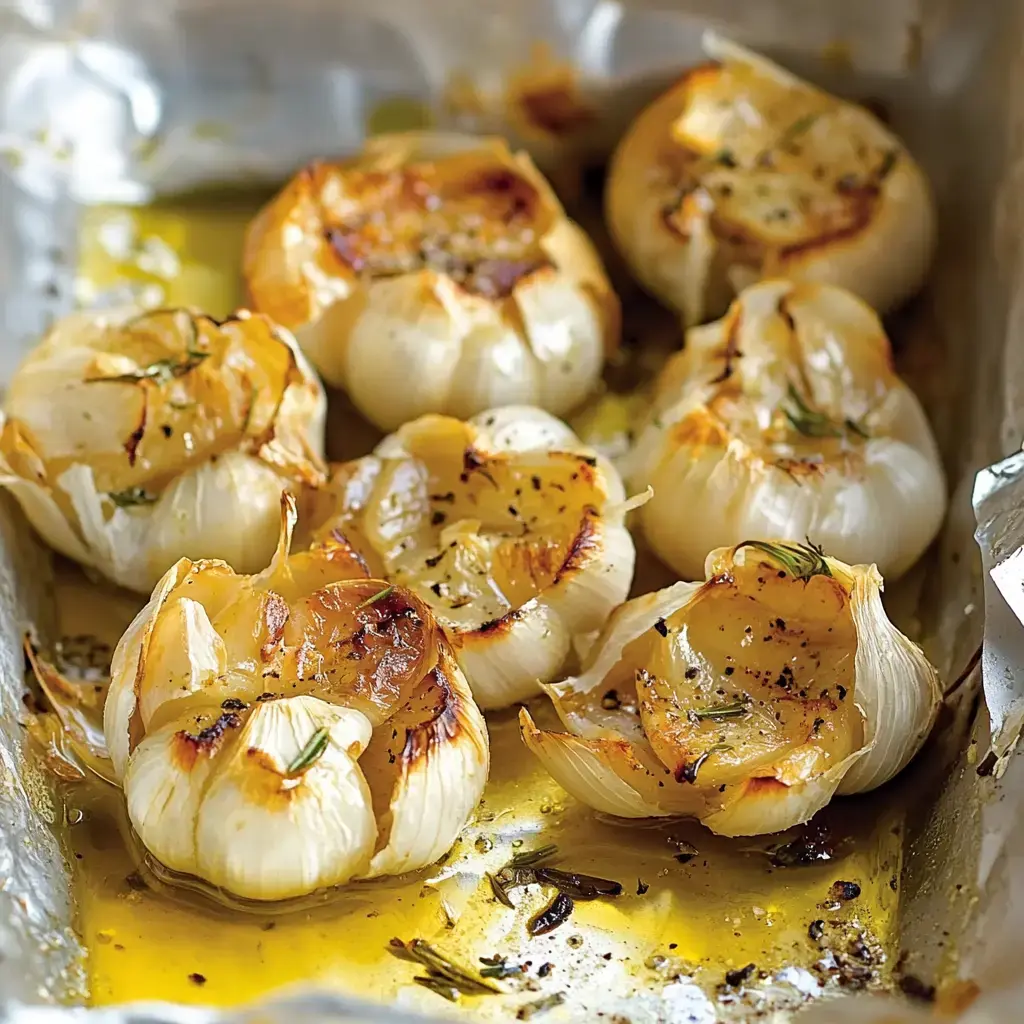
After you learn how simple it is to make your own roasted garlic, you'll find yourself keeping a batch ready all the time. The transformation is incredible - those sharp, strong cloves turn into sweet, melt-in-your-mouth bits perfect for crusty bread or enhancing your go-to dishes. I really enjoy how the wonderful smell fills up my house during the roasting process.
What Makes This Worth Trying
This is truly no-fuss cooking - just toss it in the oven and forget about it. The roasted garlic works in countless ways from bread spreads to mixing into your potatoes. You've got options too - wrap in foil for easy cleanup or try the oil method when you want that tasty flavored oil as an extra bonus.
Ingredients You'll Need
Grab some hard, fresh garlic heads without any mushy parts. The oil matters - pick a nice olive oil or vegetable oil for best results. Don't forget a little salt and pepper to bring out the garlic's natural sweetness while it cooks.
Cooking Steps
Slice the top part of each garlic head to show the cloves inside. Add some oil over them and sprinkle salt and pepper. For the foil method, wrap them up and stick them on an oven rack at 375°F for around 45 minutes. If you're going with oil roasting, pour oil over the garlic in a pan and cook until soft and golden, flipping once. When they're done, you can easily squeeze out those soft cloves from their papery coverings.
Helpful Hints
Try using a wire rack for roasting as it lets heat move around better. Save that leftover garlic oil for your salads or bread dipping - it's too good to waste. Store everything in your fridge and try to use it up within a week for the freshest taste.
Storage Ideas
Your finished garlic will stay good in a sealed container in the fridge for about a week. Want to keep it longer? Pop the cloves in the freezer either whole or smashed into paste. When you need them, just warm them up in a skillet or your oven.
 Pin it
Frequently Asked Questions
- → How are these two ways different?
The foil method keeps things simple with less oil and takes around 45 minutes. The oil method is similar in time but leaves you with flavorful garlic oil too.
- → What oils can I pick from?
Choose from extra-virgin olive oil, neutral vegetable oil, or a mix. A half-and-half blend of canola and olive oil works great for this.
- → When is the garlic ready?
The cloves are done when they’re golden and soft enough to pierce easily with a small knife or tester.
- → How long can I store it?
Keep roasted garlic cloves and any oil in tight containers in the fridge. They stay fresh for about 7 days.
- → Why bother straining the oil?
Straining helps remove any skin bits or residue, leaving the oil cleaner and better for other cooking uses.
Conclusion
Learn how to roast garlic with two easy options—foil-wrapped or in oil. Get sweet, soft cloves in less than an hour to use however you like.