
 Pin it
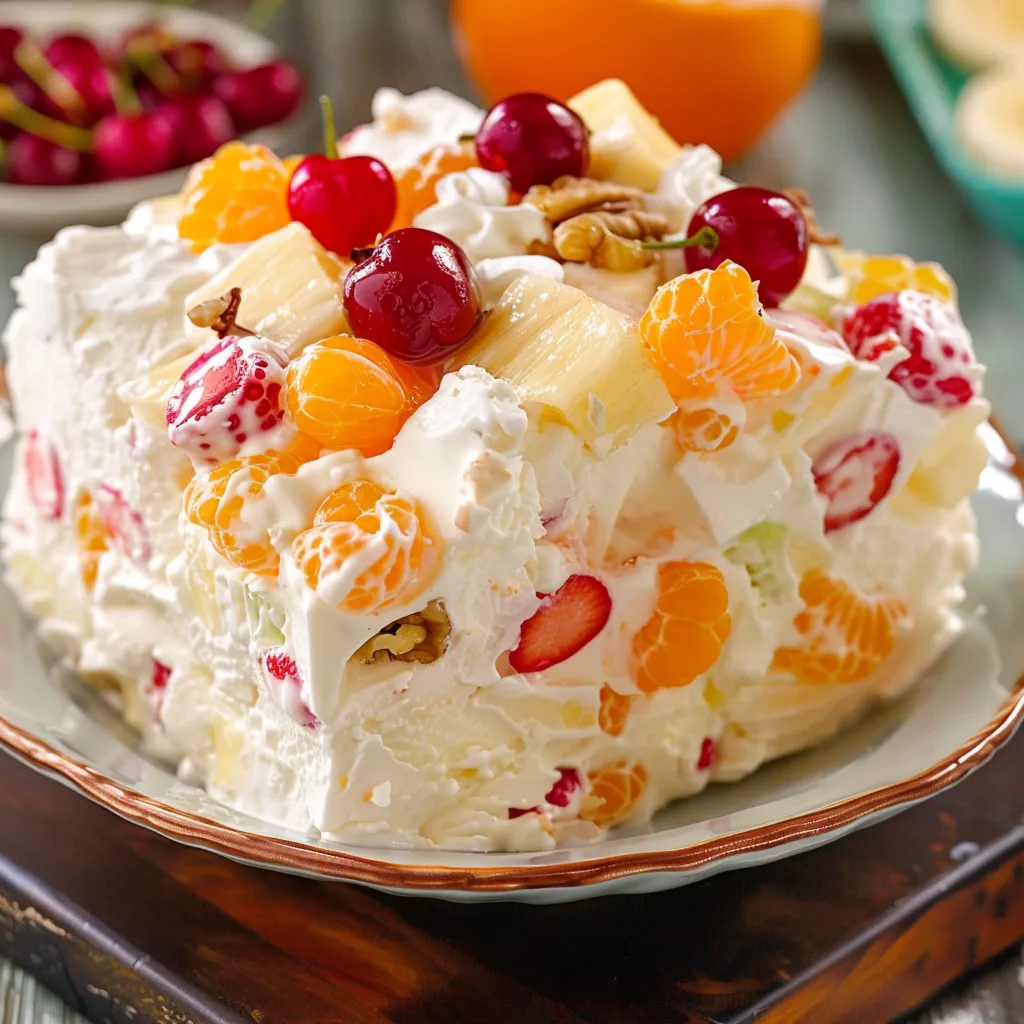
This velvety frozen fruit medley has been a treasured sweet treat in our family for ages, handed down by my grandma who dished it up at all our family get-togethers during sweltering summer days. The wonderful mix of smooth, creamy base and sweet fruity bits makes it an unbeatable snack that sits perfectly between dessert and side dish.
I first tried this treat at my grandma's place when I was only seven. I still fondly remember helping her mix in the bright fruits while she told me stories about when she was little.
Ingredients
- Cream cheese: Makes the thick, slightly tangy foundation that keeps everything together
- Heavy cream: Beaten until it forms soft mounds for amazing fluffiness and airiness
- Granulated sugar: Cuts through fruit tartness without going overboard on sweetness
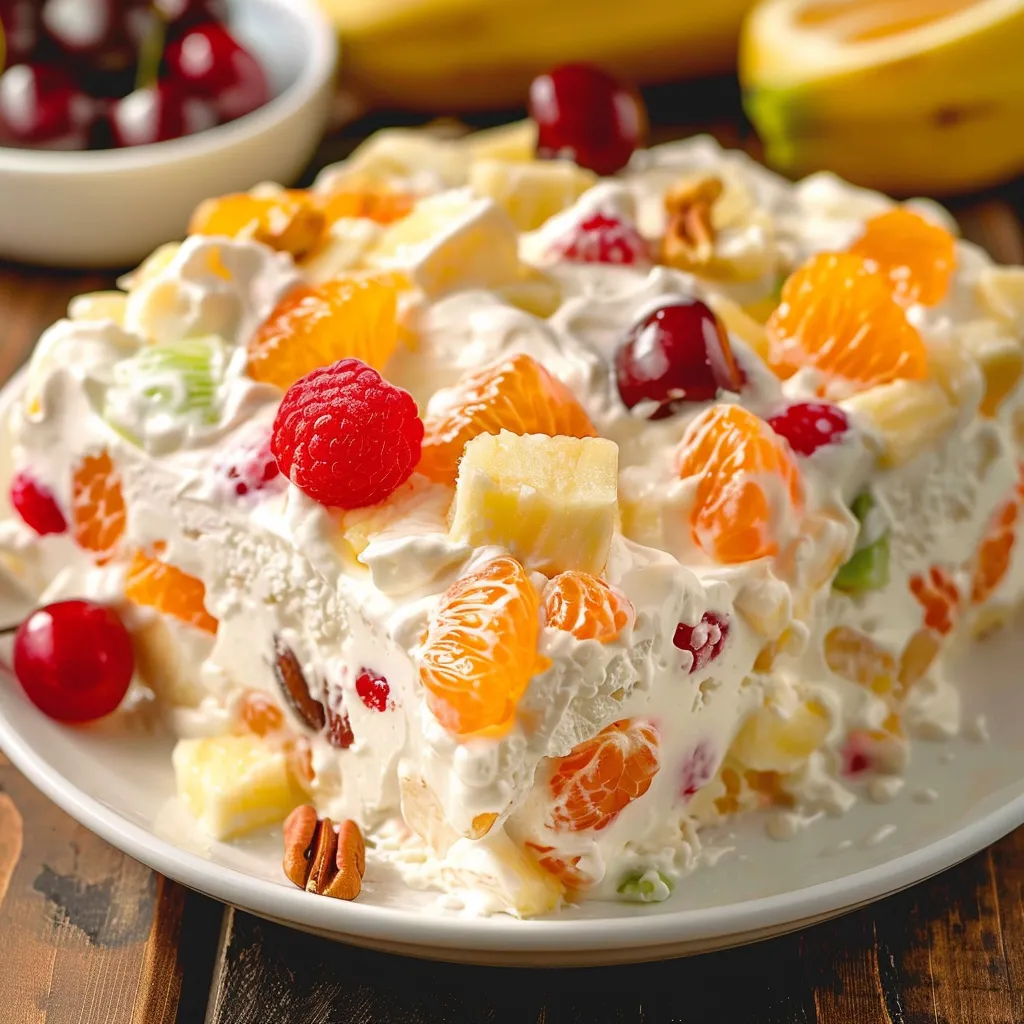
- Crushed pineapple: Adds exotic sweetness and juiciness
- Frozen strawberries or raspberries: Give gorgeous color and zesty flavor
- Mandarin oranges: Bring juicy citrus bits and pretty color contrast
- Chopped pecans: Add wonderful crunch and nutty flavor
- Maraschino cherries: Create fun bursts of color and old-fashioned sweetness
- Bananas: Supply smooth texture and natural sweetness
- Fresh lemon juice: Stops bananas from turning brown and adds a touch of zing
Step-by-Step Instructions
- Cream Base Preparation:
- Mix room-temp cream cheese and sugar in a big bowl until it's totally smooth with zero lumps. Don't forget to take out your cream cheese about 30 minutes before you start so it's soft enough to work with.
- Whipped Cream Incorporation:
- Use a rubber spatula to slowly mix the whipped cream into your cream cheese blend. Go with a figure-eight motion so you don't squash all those air bubbles that make it so fluffy.
- Fruit Addition:
- Grab your well-drained pineapple, partly thawed and cut-up strawberries, and mandarin oranges and add them to your creamy mixture. Stir them in gently so they don't get mushed but make sure they're spread out evenly.
- Texture Enhancement:
- Carefully stir in the pecan pieces and cut cherries using soft folding moves. You want these goodies evenly mixed so everyone gets some in their serving.
- Banana Preparation:
- In a small separate bowl, coat fresh banana slices with lemon juice. This keeps them from turning brown and adds a nice hint of tang that works well with the banana sweetness.
- Final Assembly:
- Gently mix your banana slices into everything else. Pour it all into a 9×13-inch dish and smooth it out flat with a spatula.
- Freezing and Serving:
- Cover your dish tightly with wrap or foil and stick it in the freezer for at least 4 hours until it's solid. When you're ready to serve, let it sit out for 10-15 minutes, then cut squares using a knife warmed under hot water for clean cuts.
 Pin it
Those maraschino cherries really make this dish special to me. Grandma always let me put them in just the right spots throughout the mix, saying anyone who got a cherry in their portion would have good luck. That small tradition made this dessert seem magical when I was little.
Make-Ahead Magic
This frozen fruit mix is perfect for busy hosts who need to plan ahead. You can make it two weeks before your party and keep it frozen until you need it. The flavors actually get better as they blend together in the freezer. Just wrap your pan with plastic wrap and then aluminum foil to keep it fresh and prevent freezer burn.
Seasonal Variations
The classic version is always a hit with my family, but I've played around with different fruits over the years. In summer, I swap in fresh berries and add sliced peaches. For fall, I mix in diced apples with a dash of cinnamon. During winter holidays, I'll toss in pomegranate seeds and orange chunks. The cream base stays the same while the fruits change with what's in season.
Serving Suggestions
Turn this simple treat into something fancy by putting each square on a cold plate with a spoonful of whipped cream and a mint leaf. For family get-togethers, I scoop it into pretty glasses and top with extra fresh fruit. Kids go crazy when I serve it in waffle bowls with a little chocolate sauce drizzled on top.
The History Behind The Dish
This treat came about in the 1950s when fridges became common in American homes and jellied salads were super popular. My grandma found the first version in a magazine but tweaked it over time to match what our family liked best. What started as a practical way to use canned fruits when fresh weren't available became our family's signature dessert across generations.
 Pin it
This classic dessert combines rich creaminess with bright fruit flavors—bringing smiles to faces at gatherings year after year.
Frequently Asked Questions
- → Can I swap canned or frozen fruits for fresh ones?
Absolutely! You can use fresh fruits like strawberries, oranges, or pineapple. Just make sure to remove extra liquid by draining them well.
- → How much time does it take to set completely?
Freeze it for at least 4 hours to make sure it firms up. If you can, let it sit overnight for the best texture.
- → Can I skip nuts or use a different kind?
Yes, you can leave the pecans out or replace them with something like almonds or walnuts for a bit of a twist.
- → What’s the right way to store leftovers?
Keep the leftovers in an airtight container in the freezer. Let them soften for a few minutes at room temperature before eating.
- → How can I keep the bananas from turning brown?
Mix the banana slices with a little lemon juice before adding them in. That’ll stop them from browning and keep them tasting fresh.
- → Is it possible to make smaller portions instead of using a pan?
Sure! Spoon the mixture into cupcake liners or silicone molds for easy-to-grab individual servings.