
 Pin it
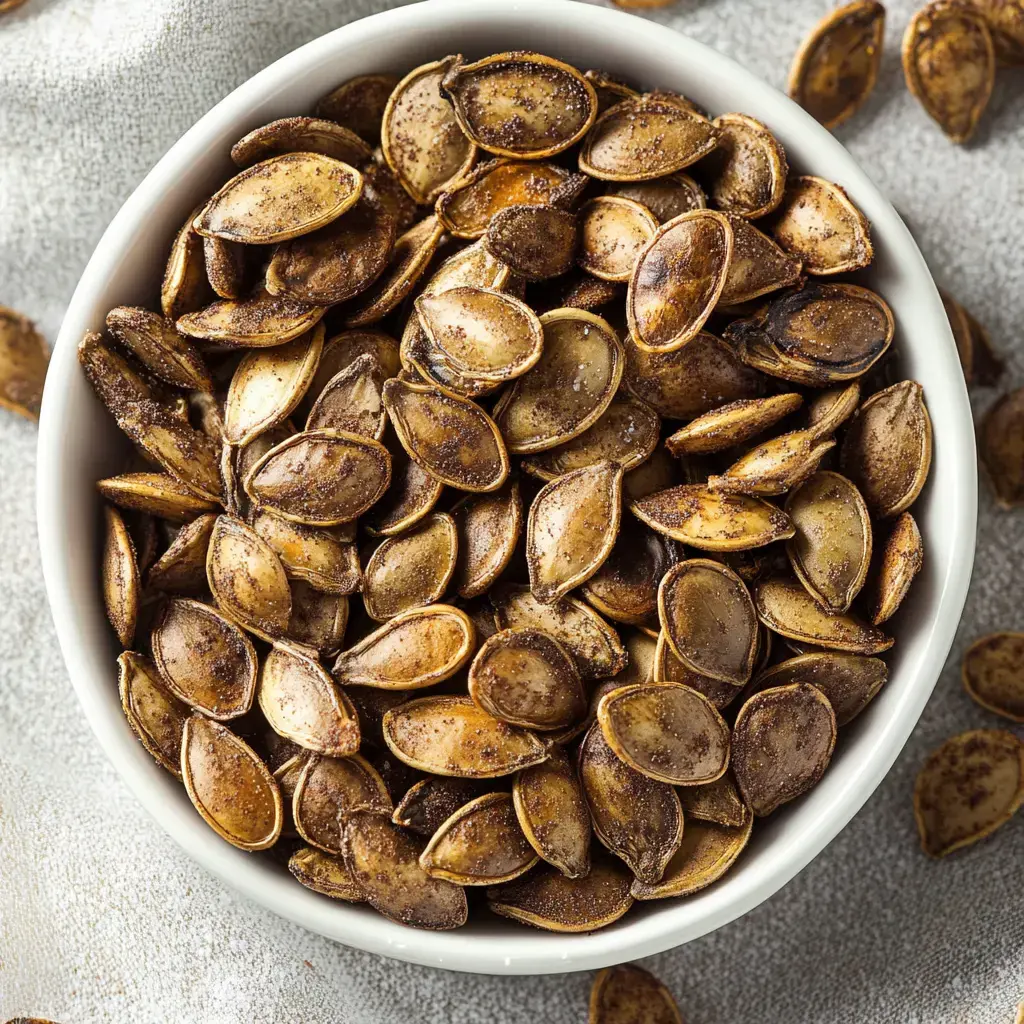
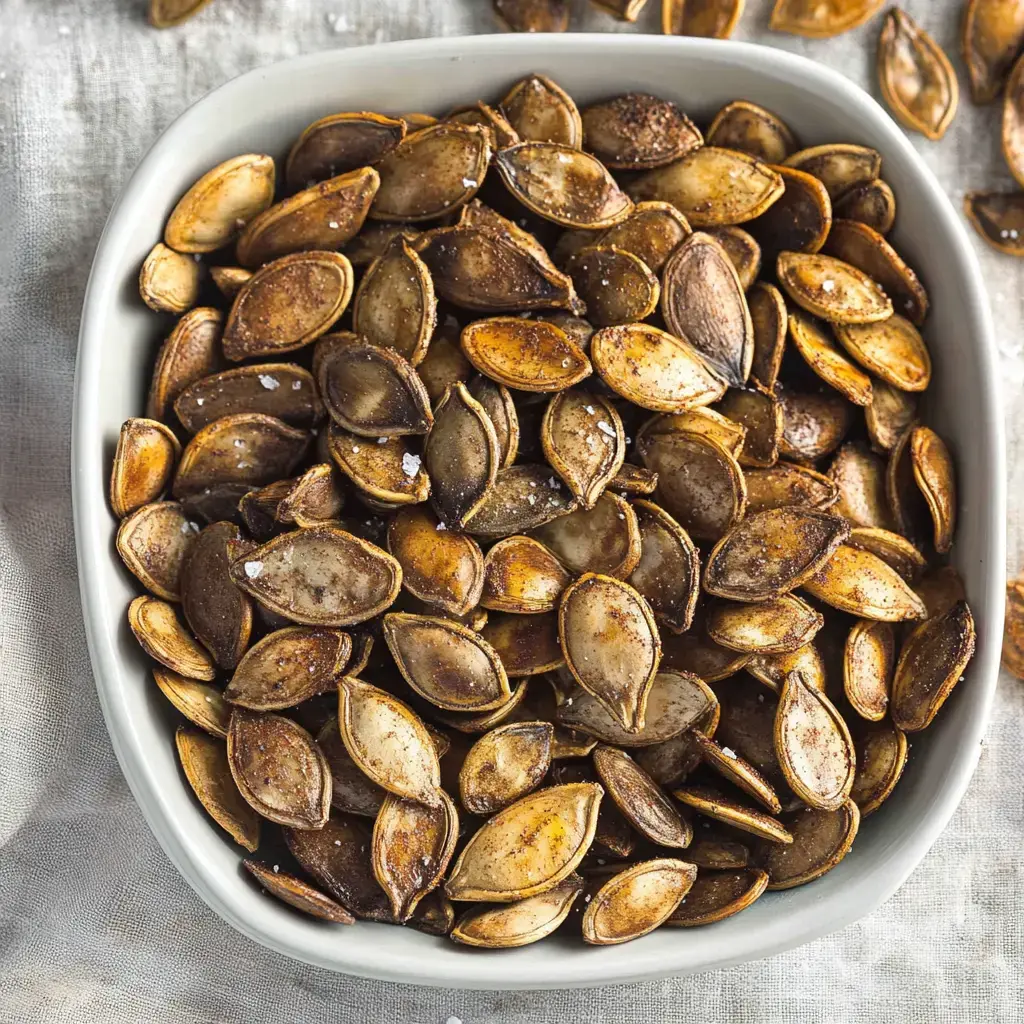
The aroma of pumpkin seeds toasting in the oven just screams autumn. I can't get enough of how these crunchy morsels go from jack-o'-lantern scraps to an irresistible snack. What's really cool is you can play with different flavors, and they're actually loaded with nutrients too.
Benefits of Homemade
Don't toss those pumpkin seeds - turn them into something tasty instead. You can flavor them exactly to your liking, whether that's sweet, zesty, or just plain salty. They're also full of zinc and fiber, so you can munch away without any guilt.
Ingredients Required
Grab the seeds from your carved pumpkin or any winter squash you've got. For a basic batch, you'll need some olive oil and salt. If you want to get fancy, dig into your spice cabinet for things like ranch seasoning, paprika, cinnamon, or garlic powder.
Preparation Steps
Start by cleaning off all the slimy bits and giving your seeds a thorough wash. Here's my favorite trick - boil them in salty water for about 10 minutes to boost their flavor. Make sure they're completely dry, then mix with olive oil and arrange them on a baking tray. Bake at 300℉, giving them a stir occasionally until they turn golden and snap when you bite them.
Flavor Variations
Salt and pepper works just fine, but why not try something different? Go for savory with garlic powder and paprika, satisfy your sweet tooth with sugar and cinnamon, or add some heat with chili powder. I sometimes throw in curry powder when I'm feeling adventurous.
Helpful Hints
Getting those seeds bone-dry before they hit the oven is crucial for maximum crispness. Keep an eye on them while they bake - you want them golden, not burnt. And remember, this method works wonderfully with butternut squash seeds too.
How To Enjoy
Store your toasted pumpkin seeds in a sealed container and they'll stay fresh for roughly a week. Grab a handful for a quick snack, toss them on top of your salad, or use them to add some crunch to your soup. They just make food taste better.
 Pin it
Frequently Asked Questions
- → Why bother boiling seeds first?
Boiling lets the salt soak into the seeds for great flavor. It also ensures an even roast later in the oven.
- → How can you tell when the seeds are ready?
The seeds should have a crisp texture and turn a golden brown shade. If they darken too much, they'll taste burnt.
- → Does this work for other seeds?
Absolutely—this technique works perfectly for any winter squash seeds like butternut or acorn varieties.
- → Why clean the seeds so thoroughly?
Getting the seeds clean and dry helps them roast evenly and get crispy. Messy seeds with pumpkin bits can steam and take longer to roast.
- → How long do roasted seeds stay fresh?
They're at their best on the first day but stay fine for 1-2 days if kept in an airtight container on your counter.