
 Pin it
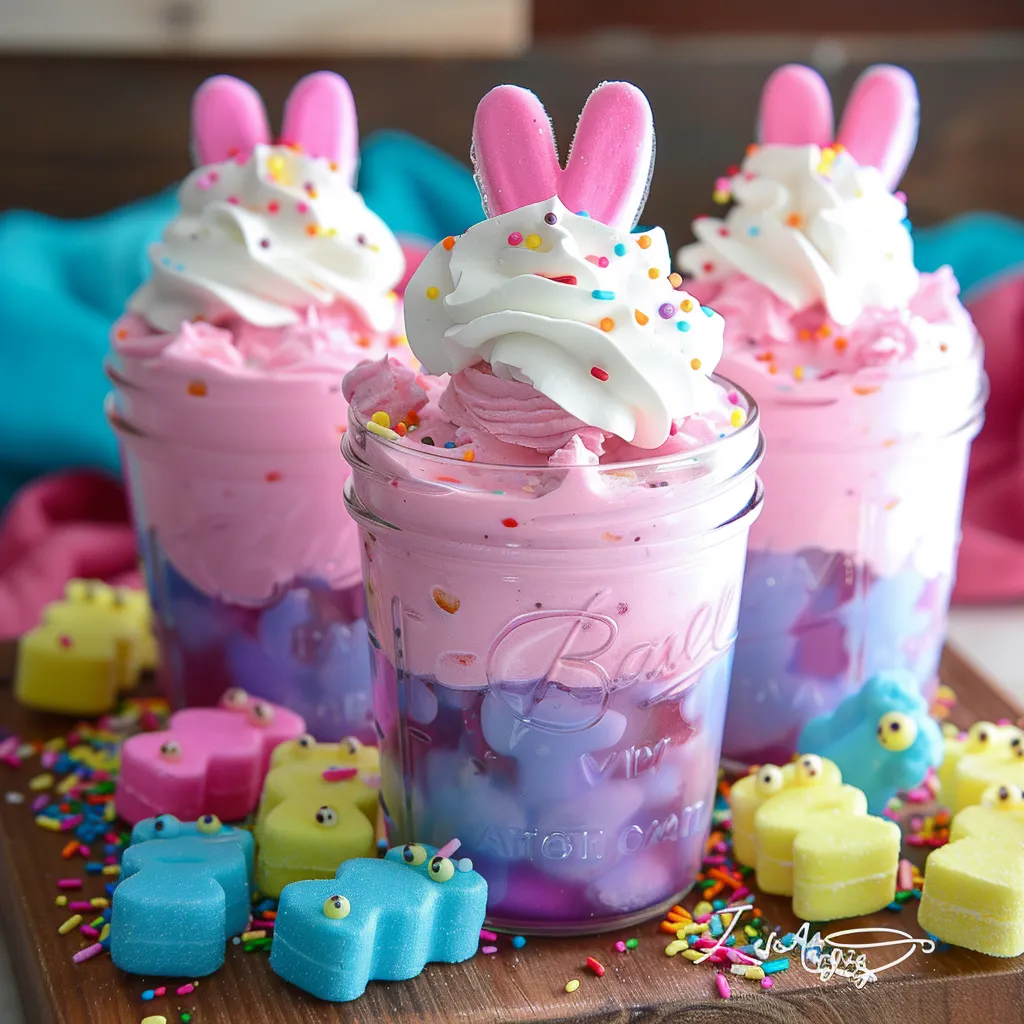
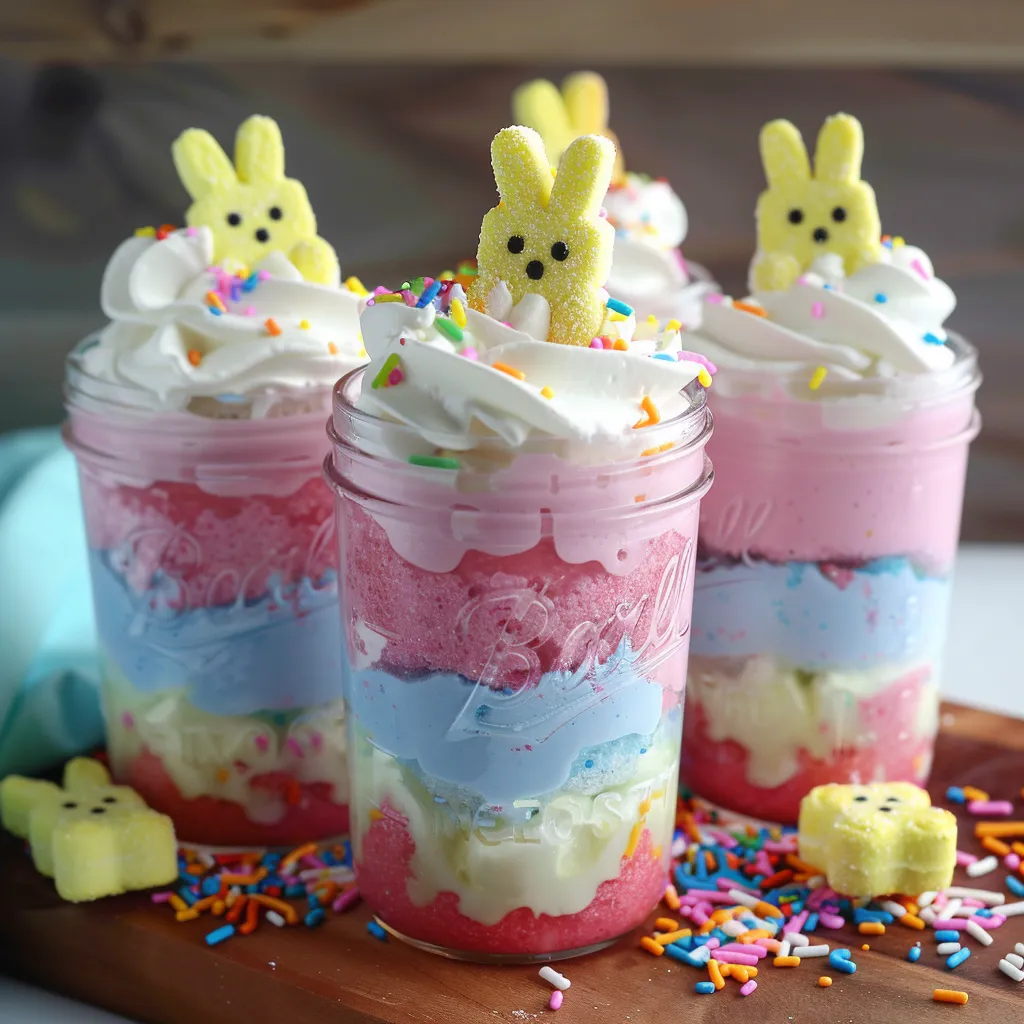
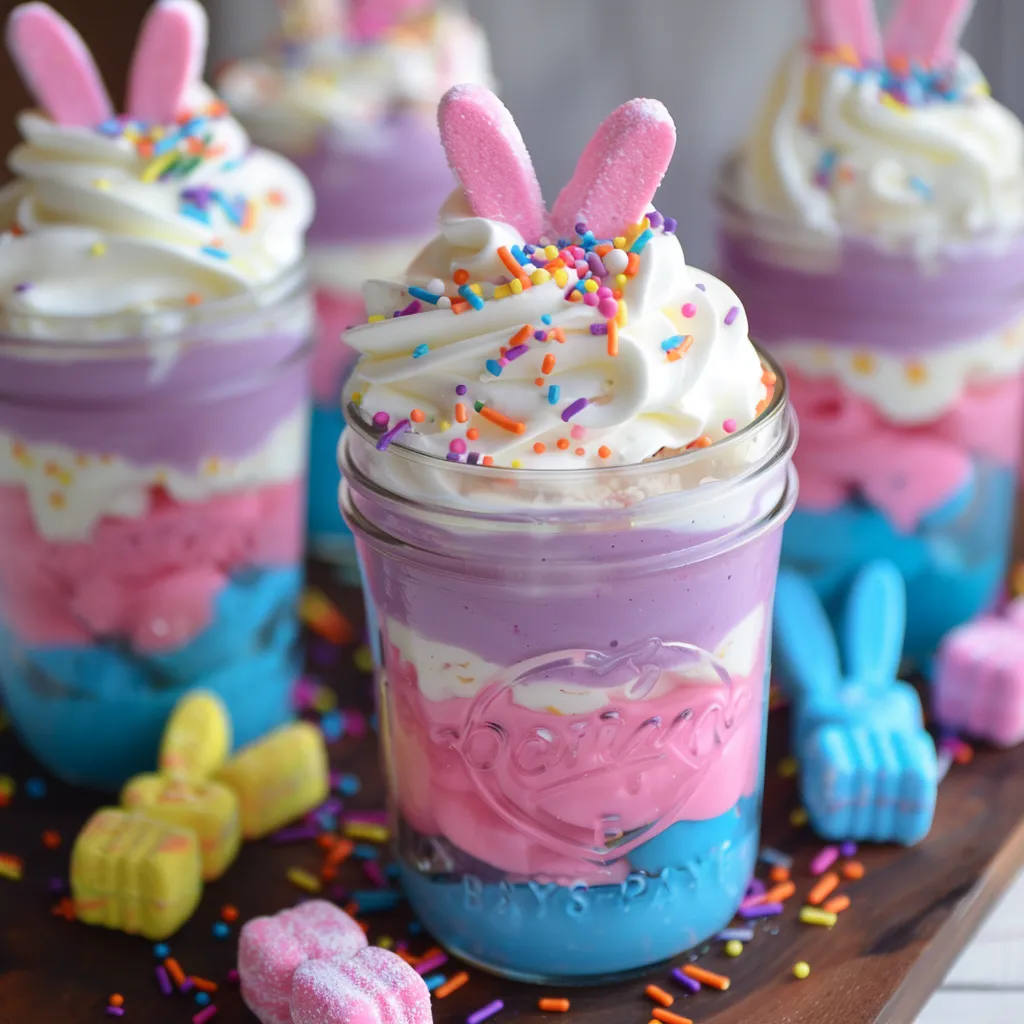
These Mason Jar Bunny Parfaits turn basic items into an enchanting spring dessert that catches your eye and pleases your palate. The stacked soft colors look amazing in clear jars, while the fluffy, cloud-like texture hits the sweet spot between light and satisfying. With a cute Peep poking out on top, these treats add fun flair to your Easter spread but don't need much effort to put together.
I brought these to a family get-together last spring and everyone grabbed them right away. My buddy's husband, who usually skips dessert, actually came back for another one. He was surprised by how fancy it tasted under all that fun decoration. The trick is waiting between layers - that's what gives you those clean color lines and that amazing mousse feeling.
Key Components and Shopping Advice
- Jello: Go for bright options that'll turn pastel when you mix them with Cool Whip. Try Berry Blue, Grape, Strawberry, and Lemon for a pretty spring mix.
- Cool Whip: This ready-made topping helps create that perfect fluffy texture that doesn't fall flat. Make sure it's completely thawed in your fridge first.
- Mason Jars: The 8-ounce wide-mouth ones work best for portion size and show off your colorful work.
- Peeps: These sugary marshmallow bunnies make the perfect topper. Pick colors that go well with your Jello choices.
- Sprinkles: Tiny pastel rods or flat circles work great since they won't smear colors into your white topping.
 Pin it
Step-by-Step Making Process
- Get Everything Ready:
- Put out four medium bowls, one for each Jello shade. Split each 3-ounce Jello pack in half and put into its matching bowl.
- Mix Your Jello Right:
- Heat up 3 cups of water until it's bubbling. Pour 2/3 cup hot water into each bowl and keep stirring for a full minute. Next, add 1/3 cup cold water to each and mix again.
- First Cooling Time:
- Cover the bowls and pop them in the fridge for exactly 30 minutes until they start to thicken a bit.
- Make It Fluffy:
- Gently fold 1 cup of softened Cool Whip into each bowl of Jello using a light touch.
- Second Cooling Time:
- Chill for an hour until the mix holds shape when you scoop it.
- Get Ready to Layer:
- Put each color in a piping bag or zip-top bag with a tiny corner cut off.
- Start Building Layers:
- Pipe the darkest shade first, then work toward lighter colors, giving the jar a gentle tap after each layer.
- Keep Going Up:
- Add more layers, waiting about 5 minutes between each for the best color separation.
- Final Cooling:
- Put jars in the fridge for at least an hour before adding final touches.
- Dress Them Up:
- Add a dollop of whipped cream, some sprinkles, and a Peep right before you serve them.
Surprising Family Bonding Moment
What started as a kid-friendly treat turned into something special at our Easter lunch. My grandma, who doesn't usually go for modern desserts, started talking about similar Jello treats that were all the rage when she was young in the 50s. This sparked a whole conversation about how food trends come and go, with each generation putting their own spin on things.
Your Time-Saving Party Hack
During one crazy busy Easter weekend, these parfaits saved me tons of stress. Finding out I could make them a full day ahead—and that they actually got better overnight—changed how I plan my holiday cooking. Now I always balance my menu with some things I can make ahead, like these parfaits, and others that need last-minute attention.
Not Just For Easter
What began as something for Easter has grown into something I make year-round. Red and green layers work great for Christmas, while red, white, and blue are perfect for summer cookouts. The biggest hit was making rainbow layers for my niece's birthday party, showing how one simple idea can work for so many different celebrations.
Accidentally Inclusive Dessert
When my cousin found out she had celiac disease, these naturally gluten-free parfaits became her go-to dessert option. The look on her face when she realized she could enjoy the same fun treat as everyone else—without drawing attention to her dietary needs—was something I'll never forget.
Outdoor Party Winner
One surprisingly warm Easter, we decided to move our meal outside at the last minute. The mason jars, which I picked mainly because they looked cute, turned out to be super practical for an outdoor setting. Unlike cakes or pies that need cutting and serving plates, these ready-to-eat parfaits traveled perfectly and made cleanup a breeze.
Pro Tricks For Perfect Results
Making these Mason Jar Bunny Parfaits brings together old-school holiday fun with the thrill of creating something that looks fancy but isn't hard to do. The way everyone's face lights up when they see them—kids loving the playful look and adults surprised by the tasty, smooth texture—shows that sometimes the best treats are the ones that make people smile before they even take a bite.
 Pin it
Frequently Asked Questions
- → Can I prepare the jars in advance?
- Definitely! These desserts can be made up to two days early. Simply store them covered in the fridge and add toppings like whipped cream, sprinkles, and Peeps right before serving.
- → What if I don’t have Bunny Peeps?
- No Bunny Peeps? No sweat! Use chocolate-covered eggs, jelly beans, marshmallow chicks, or Easter cookies instead. A strawberry shaped like ears works too!
- → Can I use sugar-free Jello?
- Sure, sugar-free Jello works just as well! Follow the same steps, and you'll still get light, creamy layers with less sugar.
- → What can I use instead of piping bags?
- If you’re out of piping bags, use a zip-top bag with the tip snipped, or carefully spoon the mixtures into jars. Wipe the jar edges as needed for a clean look.
- → Can I switch up the Jello flavors?
- Absolutely. Mix and match your favorite Jello flavors or pick colors that work with your Easter theme. Just stick to the same water and Cool Whip ratios.