
 Pin it
This authentic pizza base inspired by Bobby Flay gives you that amazing balance of chew and crunch every time. I've gone through so many trial runs, and this approach consistently brings top-notch pizza shop quality right to my family table.
I came across this formula during an intense cooking session where I was set on nailing homemade pizza. After striking out with several other versions, this one quickly turned into our end-of-week custom, and my children now turn down delivery pizza because they prefer our homemade stuff.
What You'll Need
- Warm water: roughly 110°F to wake up the yeast without damaging it
- Quick-rise yeast: gives steady fermentation and saves waiting time
- Honey: brings light sweetness and boosts yeast activity
- Fine granulated sugar: teams up with honey to jumpstart the yeast
- All-purpose bread flour: makes that wonderful chewy bite with good gluten
- Flaky sea salt: boosts taste and helps manage fermentation
- Garlic powder: adds a mild savory touch throughout
- Extra virgin olive oil: gives richness and helps create that crispy outside
How To Make It
- Get Everything Ready:
- Gather all items before you start so everything's at hand. The water should be about 110°F which feels warm but not hot on your wrist. Water that's too warm will ruin the yeast and too cool will slow things down. Having stuff ready stops mistakes during the key rising phase.
- Wake Up The Yeast:
- Mix warm water, honey, and sugar in a big bowl until they melt together. Scatter yeast across the top and leave it alone for 5-10 minutes. Watch for foam and bubbles showing the yeast is working. This visual check means your dough will puff up right. No bubbles after 10 minutes means your yeast might be dead and you'll need to start fresh.
- Combine Dry Stuff:
- In another bowl, stir together 3 1/2 cups of bread flour, sea salt, and garlic powder until they're fully mixed. Stirring spreads the salt and garlic powder all through the flour. Keep the leftover flour nearby for tweaks during kneading since moisture in the air changes how much flour gets soaked up.
- Form The Dough:
- Add olive oil to the bubbly yeast mix, then slowly put in the dry stuff about a cup at once. Stir after each cup until you get a rough dough. This slow adding stops dry pockets and makes sure everything gets wet evenly. The dough should start pulling away from the bowl sides but feel a bit sticky.
- Work The Dough:
- Put dough on a lightly floured counter and push it with your palms for 5-7 minutes. Good kneading builds gluten which makes that perfect chewy texture. You'll feel the dough getting smoother as you work it. It's ready when it bounces back after you poke it gently.
- Let It Grow:
- Roll the worked dough into a smooth ball and put it in a bowl with a light coat of olive oil. Cover fully with plastic or a damp cloth. Let it sit in a warm spot with no drafts for about an hour until it doubles up. The best temp for rising is about 75-80°F. Look for a clearly bigger, puffy dough that's twice its starting size.
- Push Down And Form:
- Gently push your fist into the middle of the puffy dough to let gas escape. This stops big air bubbles in your final crust. Cut the dough into two equal parts using a scraper or knife. Shape each piece into a tight ball by tucking edges under and turning in your hands until the top looks smooth.
- Let It Grow Again:
- Place the dough balls on a lightly floured surface, cover with plastic or a clean towel, and let them puff up again for 30 minutes. This second rise builds flavor and makes the dough easier to stretch out. The dough should puff up again but doesn't need to double.
- Stretch It Out:
- On a floured surface, press each ball into a flat circle using your fingertips, working from middle to edge. Then pick up the circle and gently stretch it using your knuckles, turning as you go to keep the thickness even. Aim for about 12 inches across with slightly thicker edges to make a natural crust.
- Cook The Dough:
- Heat your oven to 475°F with a pizza stone or baking sheet inside for at least 30 minutes. Move shaped dough onto a pizza peel sprinkled with cornmeal or flour. Cook for 5-7 minutes until just firm but not brown. This makes a barrier so your toppings won't make the crust wet.
 Pin it
This dough has totally upgraded my pizza making at home. The honey might look odd in the list, but it adds this slight depth that makes everyone ask what my trick is. My best memory with this was during a power cut when we fired up our backyard grill and made pizzas outside. That hint of smoke from the grill paired with this dough created such an amazing meal that all the neighbors ended up in our yard.
Keeping It Fresh
After the first rise, you can keep this dough in the fridge up to three days in a sealed container or wrapped in plastic. The taste actually gets better overnight in the fridge as the yeast slowly works, making more complex flavors. When using cold dough, take it out about an hour before shaping so it can warm up. For longer keeping, freeze the dough balls right after the first rise by wrapping them tight in plastic and putting them in freezer bags. Frozen dough stays good about three months. Thaw in the fridge overnight, then let it sit at room temp for about two hours before shaping.
Great Topping Ideas
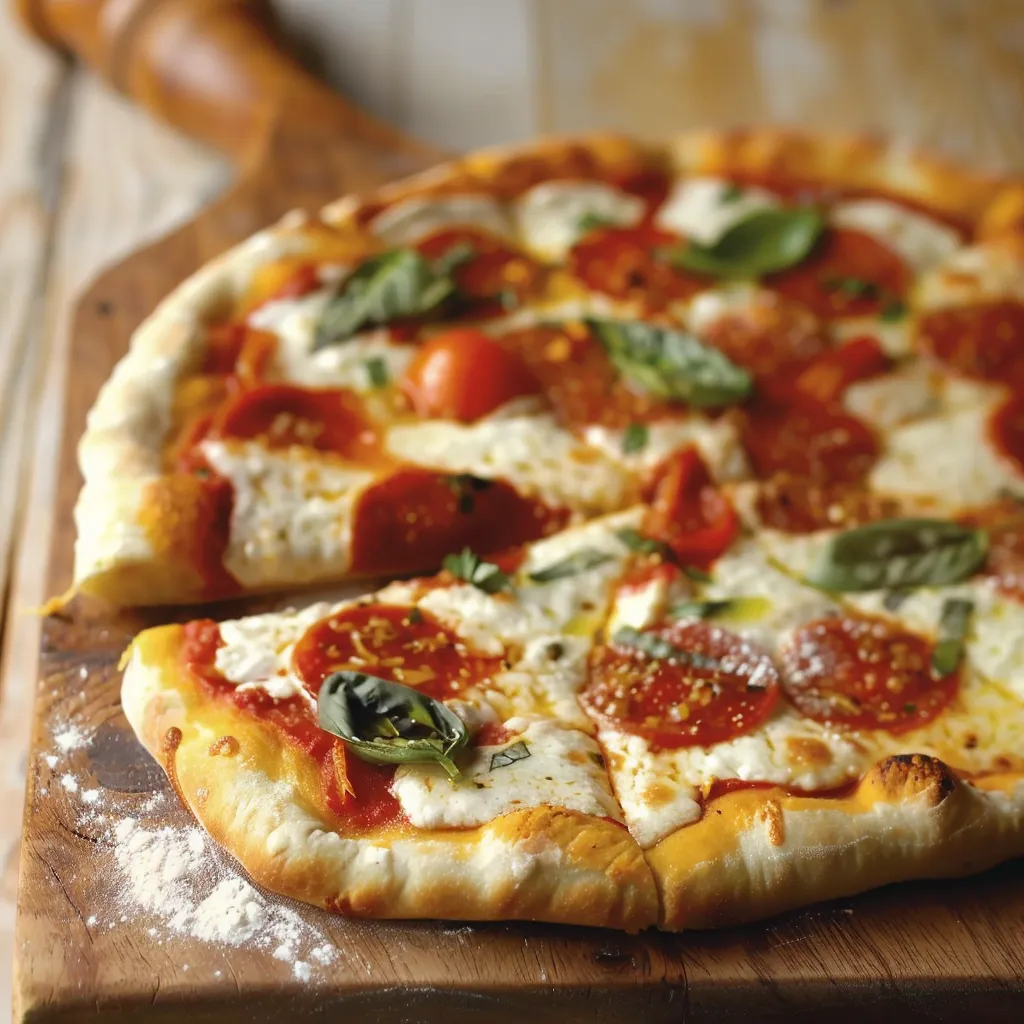
This flexible dough works great with both classic and creative toppings. For a true Neapolitan style, add simple San Marzano tomato sauce, fresh mozzarella, and basil after the pre-bake. For a white pizza, brush the pre-baked base with olive oil, add some minced garlic, and top with ricotta, mozzarella, and Parmesan. The sturdy texture even holds up heavy toppings like Bobby Flay's favorite mix of caramelized onions, gorgonzola, and arugula added after cooking. To make it a full meal, serve with a simple arugula salad dressed in lemon and olive oil to cut through the rich pizza.
Fixing Common Problems
If your dough feels too sticky while kneading, add flour one spoon at a time until it's easier to handle. If it seems too dry and falls apart, wet your hands and keep kneading to work in more moisture. If you can't shape it because it keeps shrinking back, let the dough rest 5 minutes so the gluten can loosen up. If your finished crust isn't crunchy enough, your oven might not be hot enough. Get an oven thermometer to check the real temp and try adding 2-3 minutes to the pre-bake time. For the crunchiest bottom, get a pizza stone or steel that holds tons of heat.
 Pin it
Getting good at this pizza dough means your homemade pizza nights will beat takeout every time. Have fun playing with flavors and methods to make your own signature pies!
Frequently Asked Questions
- → How warm should the water be for yeast?
It needs to be about 110°F—warm enough to stir the yeast awake but not hot enough to kill it.
- → Can kneading be done with a stand mixer?
Definitely! Attach a dough hook to your mixer. This makes kneading quicker and easier, but doing it by hand works too.
- → Why do you need to knead the dough so much?
Kneading stretches gluten strands, making the dough nice and elastic so it rises well and bakes evenly.
- → Is pre-baking the crust necessary?
Giving the crust a quick bake for 5-7 minutes helps prevent sogginess by ensuring the base gets a head start before toppings are added.
- → What’s the best way to keep leftover dough fresh?
Wrap it tightly or store it in an airtight container. It lasts in the fridge for 3 days or can be frozen for much longer.
- → Can whole wheat flour replace all-purpose?
Yes, but it’ll make the dough heavier. Mix the two flours for a texture and flavor that’s better balanced.