
 Pin it
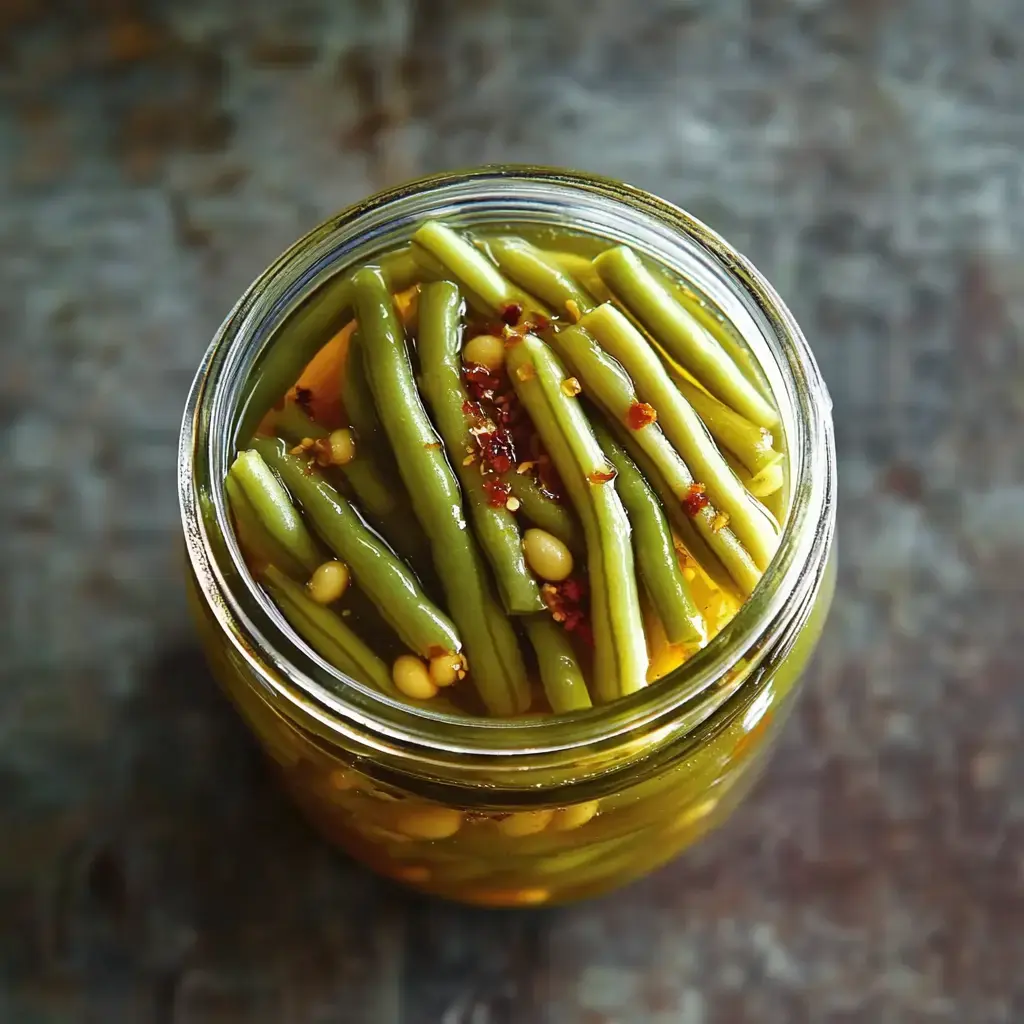
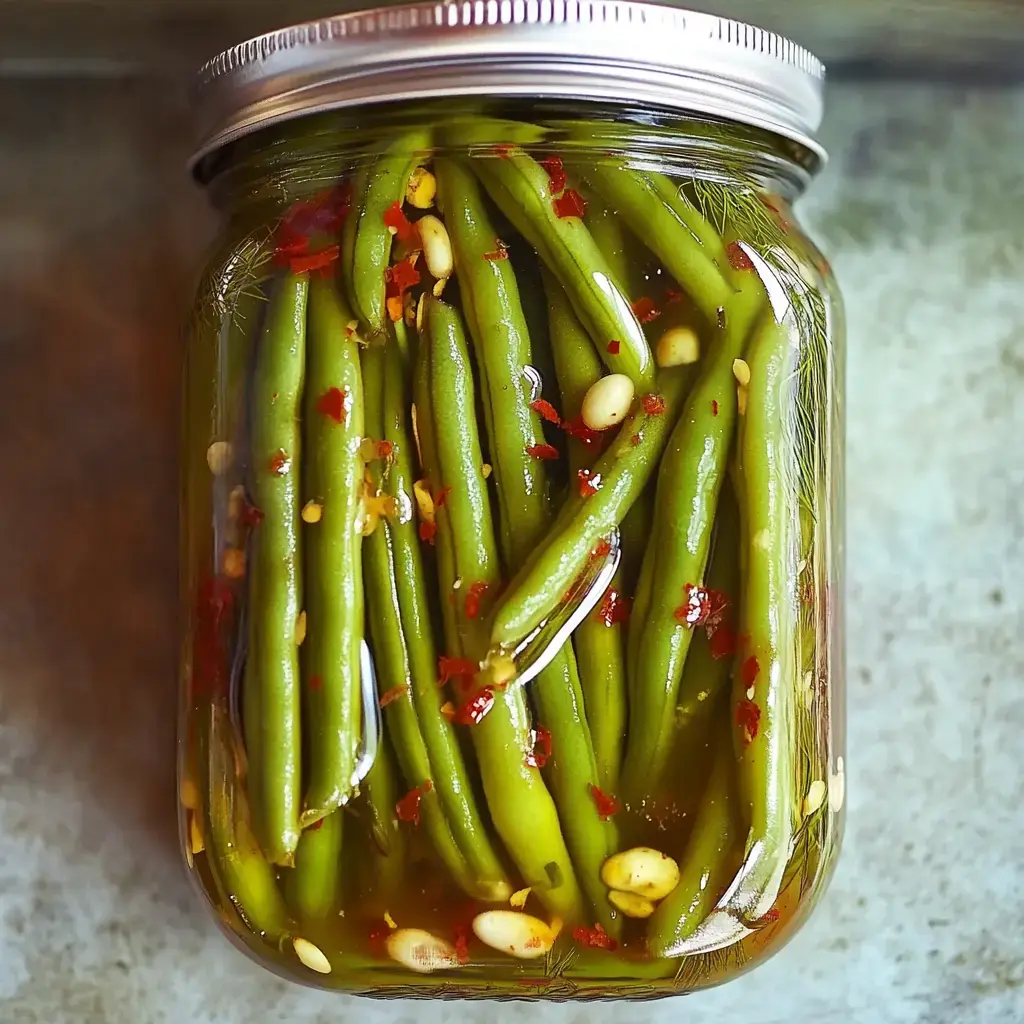
I transform garden veggies into these zingy dilly beans every summer. The mix of dill seed, garlic and spicy chile flakes packs an incredible punch while keeping the beans super crunchy. There's nothing better than cracking open a jar in the middle of winter – whether I'm jazzing up a Bloody Mary or just munching on them straight from the jar.
What Makes These Beans Special
The spicy kick from red chile flakes keeps you reaching for another bean every time. They're super simple to make with basic ingredients and zero fancy equipment needed. I love how the beans stay wonderfully crisp even after they've been canned.
Gathering Your Supplies
Grab some snappy, firm green beans for the best texture. Regular white vinegar creates that zippy brine, and pickling salt helps everything stay nice and clear. The flavor magic happens with dill seed, fiery red chile flakes, and fresh garlic – they team up for that classic dilly bean taste you can't get enough of.
Pickling Process
Trim your beans to match your jar height and get your canning pot of water heating. Mix up your brine by simmering vinegar, water and salt together. Stand those beans upright in each jar, then sprinkle in garlic, dill seed and chile flakes. Fill jars with the hot brine, leaving a bit of headspace at the top. Boil the sealed jars and wait for that sweet popping sound as they cool down.
Customization Ideas
Want them less spicy? Just use fewer chile flakes. You can toss in some mustard seeds or black peppercorns for a flavor twist. They'll definitely upgrade your Bloody Mary game, but don't forget to try them chopped in salads or next to your favorite sandwich.
Storage Tips
For quick refrigerator pickles, they'll last about 3 weeks in the fridge. If you can them properly, they'll stay good on your shelf for a full year. You'll need to wait at least a week for the flavors to really come together, but I promise it's totally worth the patience.
 Pin it
Frequently Asked Questions
- → Why is it important to remove air bubbles?
- Leaving air bubbles might mess with sealing or storage. A chopstick helps push them out to keep your jars sealed and safe.
- → Why can't I eat them right away?
- It takes about a week for the flavors to blend nicely and the beans to fully pickle. That wait makes all the difference!
- → What's the deal with dill seed vs dill weed?
- Dill seed holds up better for canning and tastes different compared to dill weed. They aren’t swap-friendly in this.
- → How will I know if the jars sealed properly?
- When they're sealed, the lids dip inward and don’t move when pressed. You'll hear them pop as they cool and seal.
- → How long will the pickled beans stay fresh?
- If sealed and stored right in a cool, dark spot, they last up to a year. Once you open a jar, keep it refrigerated and eat within a few weeks.