
 Pin it
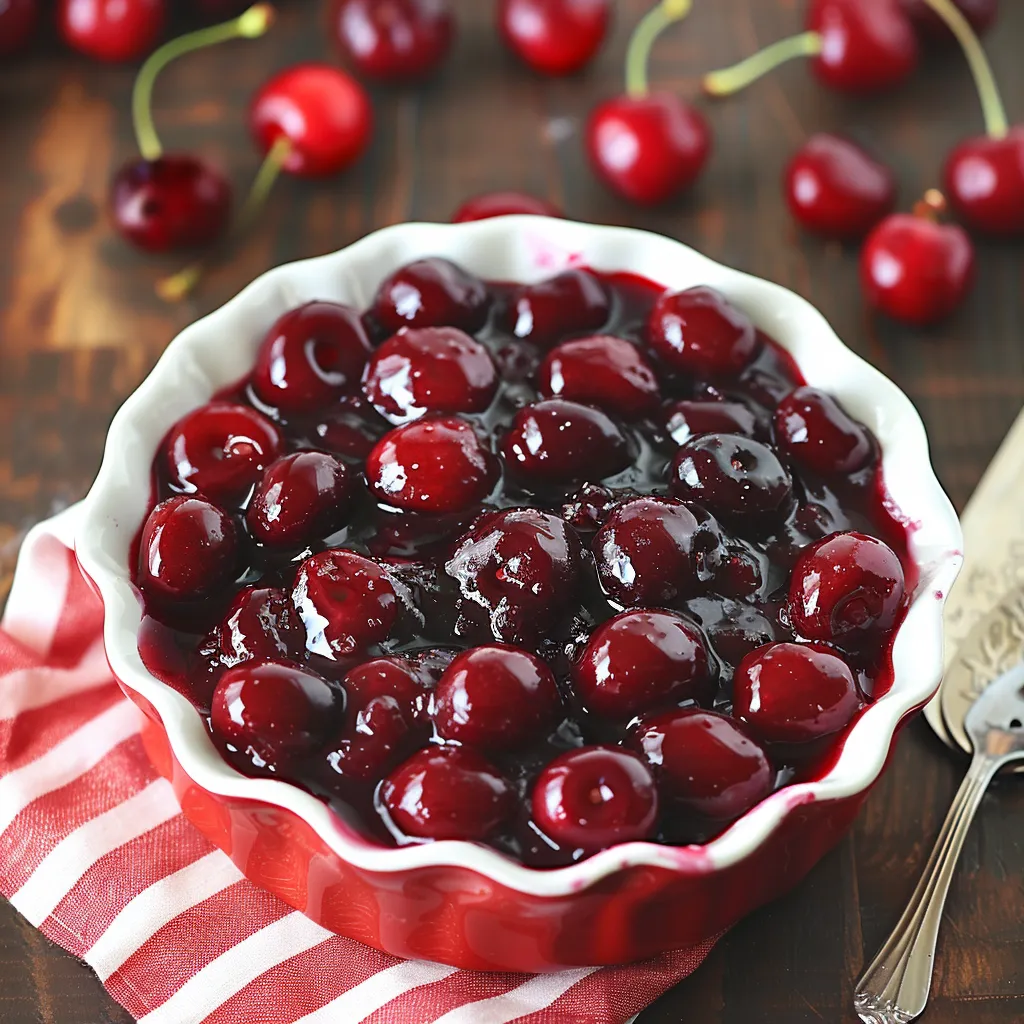
This made-from-scratch cherry pie filling turns ordinary sour cherries into a gorgeous, deep red delight that's way better than anything from a store. It perfectly balances tangy and sweet notes, making it great for pies, tarts, as a topping for cheesecake, or just drizzled over a scoop of vanilla ice cream.
I started making this cherry filling when cherry season hit and my next-door neighbor gave me tons more cherries than we could eat by themselves. It quickly turned into our favorite summer sweet tradition, and now my kids always ask for "the special cherry pie" whenever there's a birthday coming up.
What You'll Need
- Pitted cherries: The tastiest ones are fresh, but don't worry - frozen ones work great when cherries aren't growing. Go for plump, solid cherries with vivid color.
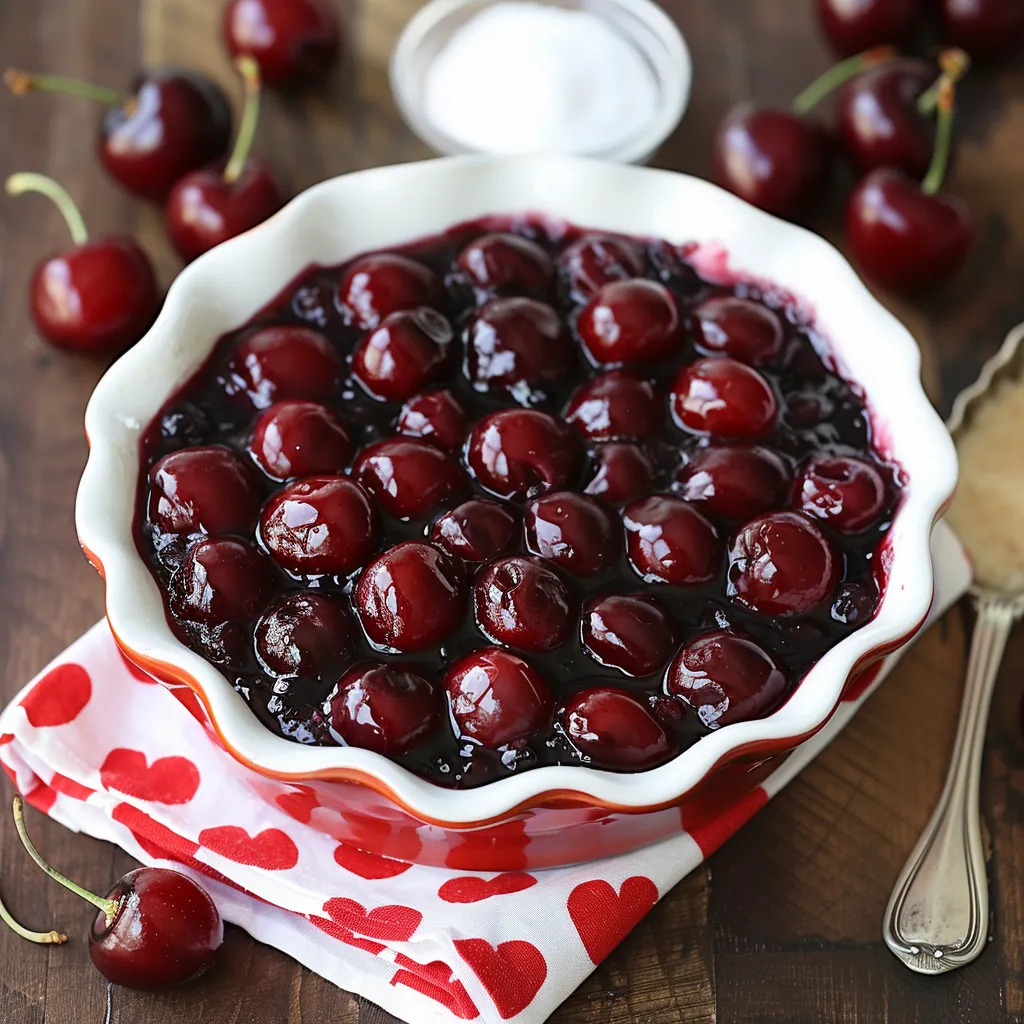
- Granulated sugar: Plain white sugar cuts the sourness just right. You can add more or less depending on how naturally sweet your cherries are.
- Lemon juice: Try to use fresh squeezed. It adds brightness and helps everything set up properly.
- Cornstarch: This thickens everything up. Always mix it with your fruit completely before heating so you don't get clumps.
- Salt: A tiny bit brings out all the flavors without making anything taste salty.
- Cinnamon: You can skip this, but it's really worth adding. It gives a gentle warmth that goes so well with cherries.
- Pie crusts: Make your own or buy them ready-made. A crust made with butter tastes amazing with the tangy filling.
Easy Preparation Guide
- Mix Everything Together:
- Dump your pitted cherries, white sugar, freshly squeezed lemon juice, cornstarch, salt, and cinnamon into a medium pot. Stir it all up really well until you can't see any white cornstarch spots anymore. Getting this first mix right stops lumps from showing up later.
- Check If You Need More Liquid:
- Look at your cherry mix. If your cherries seem pretty dry or the mixture looks too thick before cooking, slowly pour in some water. Start with just a couple tablespoons and go up to 1/2 cup if needed. Your cherries will let out juice while cooking, but some types need a little extra help at first.
- Cook Until It Gets Thick:
- Put the heat on medium and let the mixture come to a gentle bubble, stirring often so nothing sticks. Once it's bubbling, turn the heat down to medium-low and keep cooking for 8-10 minutes. Watch as the mix changes from runny and clear to shiny and thick enough to stick to your spoon. The color will turn into a beautiful deep red.
- Let It Cool Down:
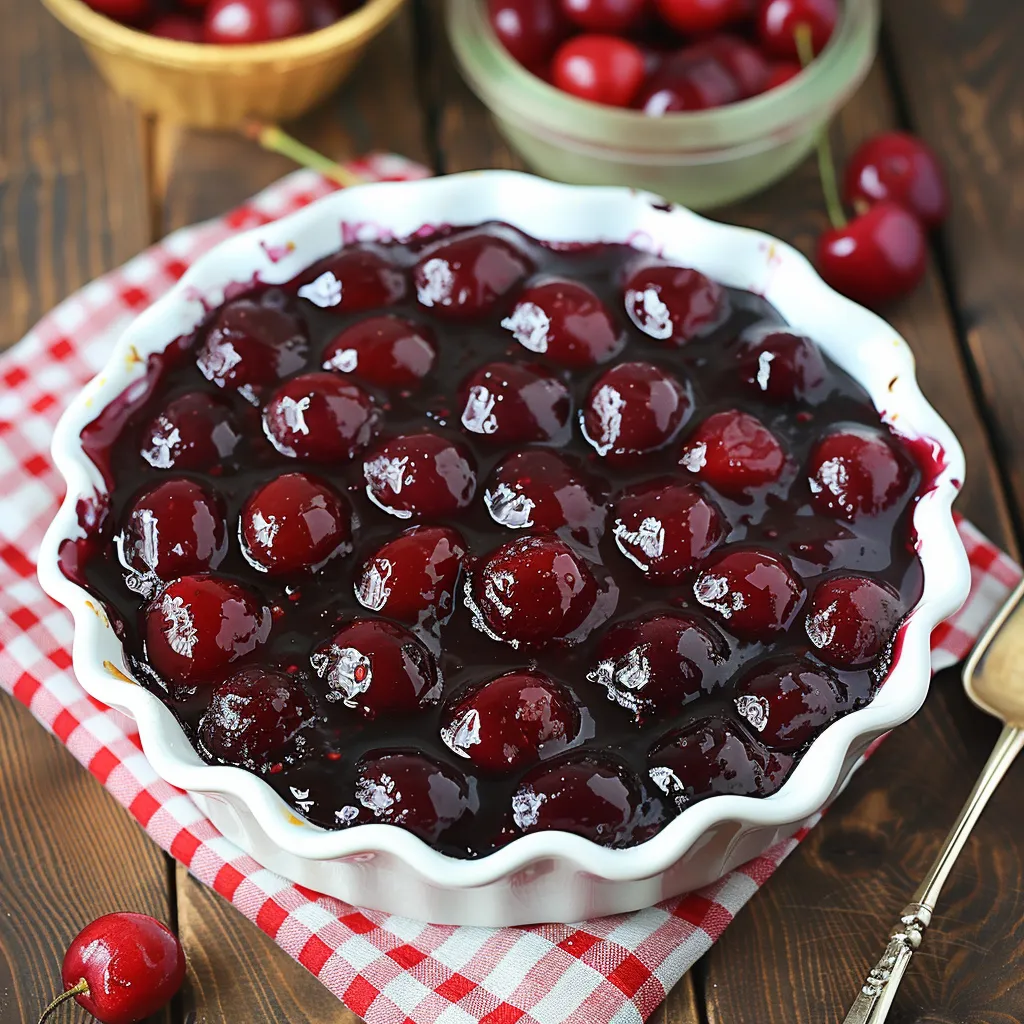
- Take it off the heat once it's thick and let it cool a bit before using it. The filling will get even thicker as it cools down. For pies, you can use it while it's still warm but not hot. For other things like topping cheesecake, let it cool completely.
- Get Your Pie Ready:
- If you're making pie, heat your oven to 375°F. Put your bottom crust in a pie dish, pour in the slightly cooled filling, then cover with your top crust. Press the edges together to seal, cut some small slits in the top, and if you want, sprinkle some sugar on top for extra crunch and sparkle.
- Bake Until Golden:
- Bake your pie for 45-50 minutes until the crust turns golden brown and you can see filling bubbling through the slits. Let it cool quite a bit before cutting so the filling can firm up properly.
 Pin it
The dash of cinnamon might sound weird, but it's actually my hidden trick that gives depth without tasting like cinnamon at all. I learned this from my grandma who always put just a tiny bit of warm spices in her fruit fillings. She always told me it's what makes people remember your pie instead of just eating it.
Choosing The Right Cherries
The cherries you pick really change how your filling turns out. For a classic cherry pie taste, sour cherries like Montmorency give that perfect sweet-tart combo. Bing and other sweet cherries work great too, but you might want to use a bit less sugar and a splash more lemon juice. Frozen cherries are fantastic all year long, just make sure to thaw them fully and drain off any extra juice before you measure them out. The stunning red color comes naturally from the cherries themselves, so you don't need to add any food coloring.
Keeping It Fresh
This cherry filling stays good in the fridge for up to 5 days if you keep it in a container with a tight lid. If you want to save it longer, you can freeze it for up to 3 months. Just let it thaw in the fridge overnight before using it. You can also can this filling in clean jars, which is perfect for saving summer cherries when they're at their best. Just process the filled jars for 15 minutes in boiling water, and you'll have homemade cherry filling waiting for you to make winter pies.
More Than Just Pie
While pie is the obvious choice, this filling tastes amazing in lots of other treats. Try putting it on top of cheesecake, mixing it into yogurt, pouring it over pancakes, or layering it in parfaits. For a fancy dessert, serve warm cherry filling over vanilla ice cream with some crunchy toasted almonds on top. You can mix it into frosting for cherry-filled cupcakes or use it between cake layers. The rich cherry flavor also makes wonderful thumbprint cookies or works as a sauce drizzled over chocolate desserts.
 Pin it
Once you've got this cherry filling down, you'll never want to buy the canned stuff again.
Frequently Asked Questions
- → Can frozen cherries work for this?
Of course! Frozen cherries work great. Just defrost them first and get rid of any extra water.
- → What thickens the cherry mix?
Cornstarch does the trick. Stir constantly as it cooks to make sure the cornstarch activates. If it gets too stiff, just add a dash of water to loosen it up.
- → Any ways to tweak the flavor?
You bet! Throw in a pinch of cinnamon or a dash of vanilla for a twist. You can also tweak the sugar and lemon juice amounts to match your taste.
- → How can I use the filling?
This filling works wonders in pies, tarts, or small turnovers. Spoon it over pancakes, cheesecake, or even some ice cream for a tasty topping too!
- → What if it sticks to the pan?
If it starts sticking, lower the heat a little and splash in a bit of water. Keep stirring to avoid burning.