
 Pin it
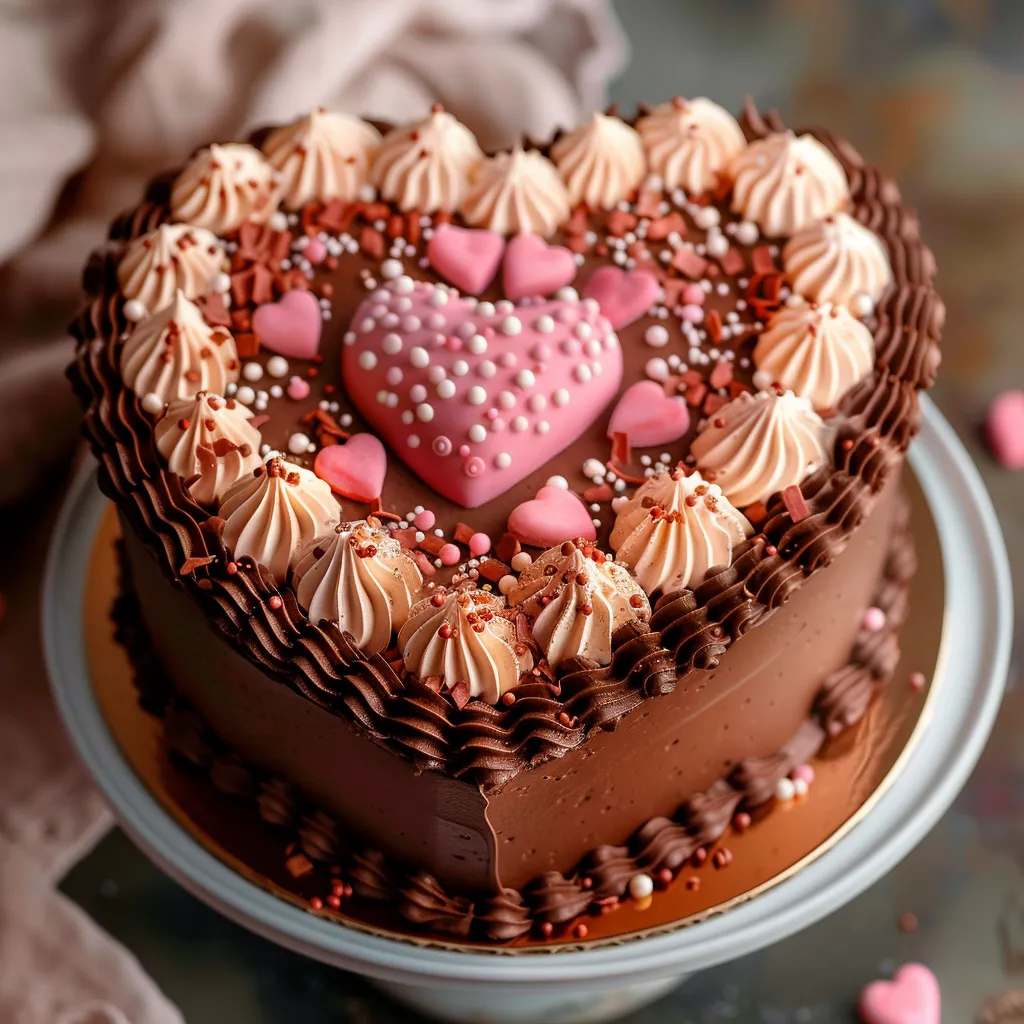
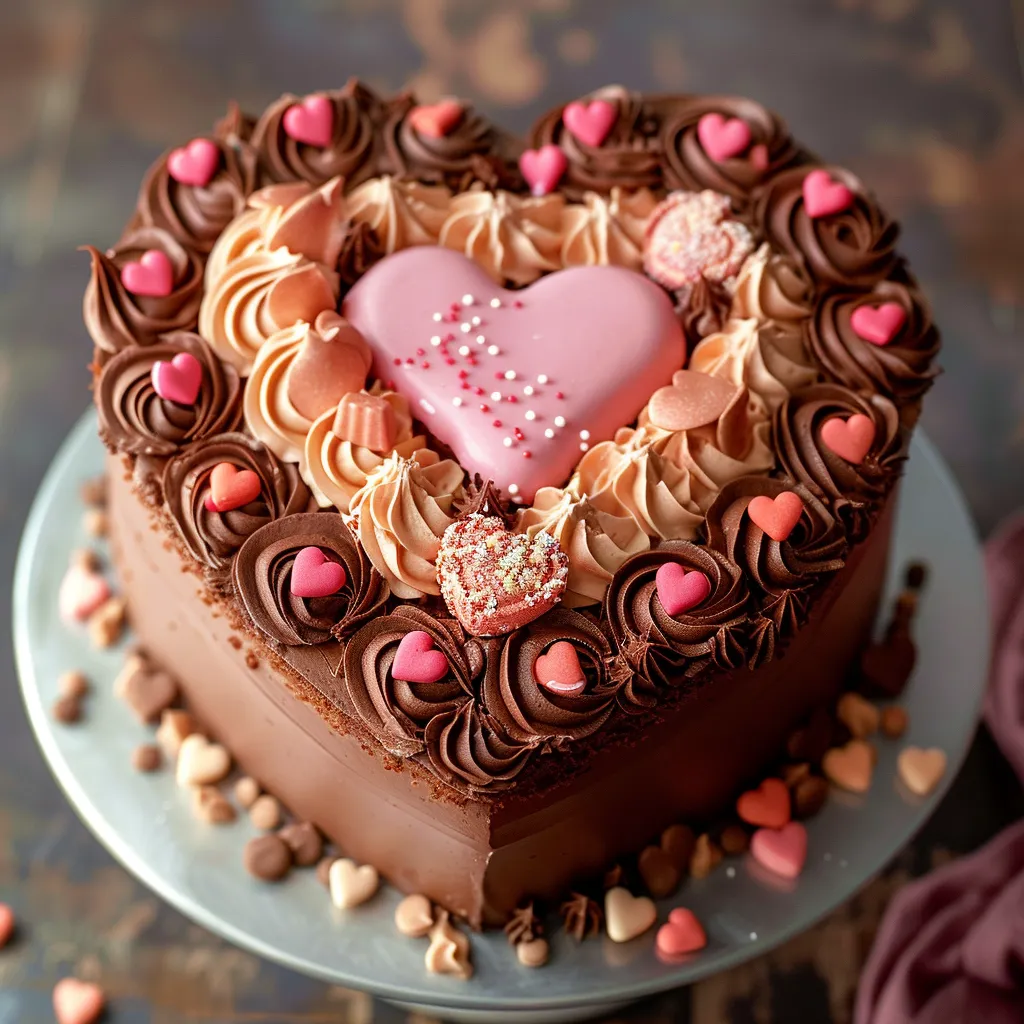
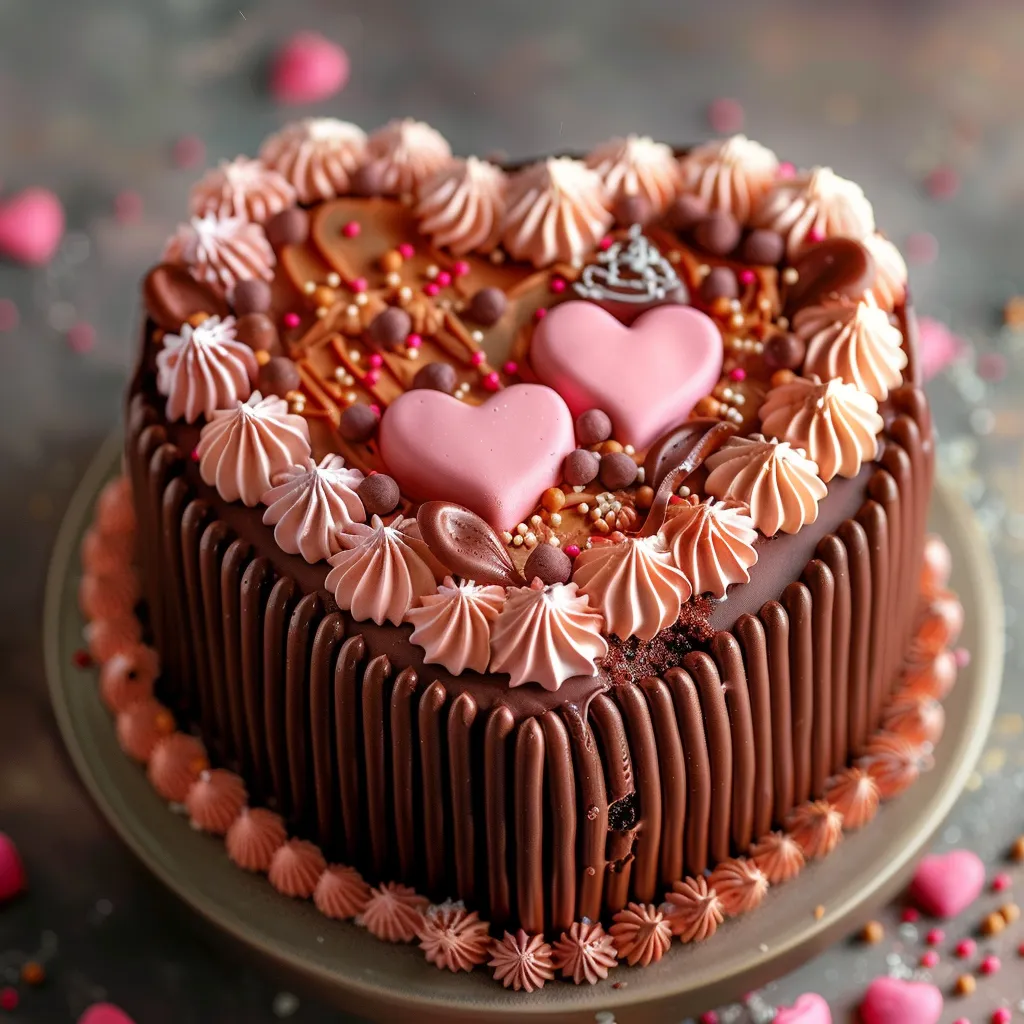
Making a lovely heart-shaped cake with old-school piping brings real joy to any celebration. After making tons of these for birthdays and showers, I've found that turning ordinary round cakes into an elegant heart is much simpler than you'd guess - and you don't even need a special pan! This sweet creation mixes traditional piping styles with fresh touches, making it great for anything from Valentine's dates to wedding parties.
I whipped this up for my sister when she got engaged last month. Everyone couldn't help but gasp when they saw those delicate piping details. The best part? Watching my sister's eyes light up at the sight of her favorite shade of pink swirled into those beautiful vintage-style patterns.
Must-Have Supplies and Components
- Two 8-inch Round Cake Layers: Pick any flavor, though chocolate makes a nice contrast
- Vanilla Buttercream: Plan for roughly 9 cups in total
- Food Coloring: Go with gel types as they won't thin your frosting
- Piping Tips: Grab Wilton numbers 4B, 32, and 102 for those classic touches
- Good Serrated Knife: You'll need this for shaping the cake neatly
- Cake Turntable: This really helps you get smooth frosting
- Cardboard Circle: Gives you support during decoration
- Offset Spatula: Perfect for getting those clean edges
 Pin it
Follow these steps for an amazing centerpiece
- Create Your Heart Shape:
- Put one round cake on your cutting board. Cut two angles to form a point at the bottom. Keep those cut pieces for the top curves. Do the same with your second layer, using the first as your guide. Then trim cardboard to match.
- Stack Your Layers:
- Put your cake in the middle of the board. Add those curved pieces to the top. Use buttercream as "glue" to hold them. Add plenty of filling between layers. Line up the top layer carefully.
- Apply First Thin Layer:
- Spread a light coat of buttercream everywhere. Shape your heart as you smooth. Make a slight 'V' at the top if needed. Cool for at least 30 minutes until solid. Don't skip this cooling - it's key for nice piping.
- Add Final Frosting:
- With your cake properly chilled, put on a thick layer of buttercream. Turn the cake on your turntable while smoothing the sides. Make sharp corners by pulling inward. Chill again until it's fully firm.
Through my years of making special cakes, I've learned you can't rush the process. My first try at fancy piping looked like a kid made it, but each cake taught me something new about how and when to do things right.
Getting Your Frosting Right
You need just the right thickness for those fancy old-time designs. Once I tried piping with buttercream that was too runny and watched sadly as my pretty shells turned into messy blobs. Now I always test a bit on the back of my hand first.
Playing With Colors
Splitting your frosting into different shades adds real depth to your design. Start with the palest color, then slowly add more coloring for darker tones. This way you'll get that beautiful fading effect in your piping work.
Keeping Things Cool
A cool kitchen really matters. In hot weather, I often put my piping bags in the fridge between uses to keep the frosting firm. Warm, soft buttercream will ruin those vintage patterns faster than anything.
Testing Your Skills
If vintage piping is new to you, try each pattern on wax paper first. You can scrape off the buttercream and use it again, giving you a worry-free way to get your technique just right.
This old-fashioned heart cake has turned into my go-to party showpiece. Whether it's done in romantic pinks for Valentine's Day or classy whites for weddings, it always creates that special moment when guests first spot it. The mix of traditional methods and modern style makes it timelessly appealing, while the heart shape brings that perfect touch of fun that makes any party more memorable.
 Pin it
Frequently Asked Questions
- → How much time should I set aside for this cake?
- It takes about 3-4 hours, including chilling and decorating.
- → Can I prepare the cake layers beforehand?
- Absolutely, bake and freeze them up to a month in advance.
- → What should the buttercream look like?
- Go for medium-thick buttercream for piping and filling jobs.
- → What's the safest way to move this cake?
- Use a tough cake box, keep it cold, and carry it in a cool car.
- → Can I switch up the colors?
- Sure! Pink's classic, but this works with any color scheme.