
 Pin it
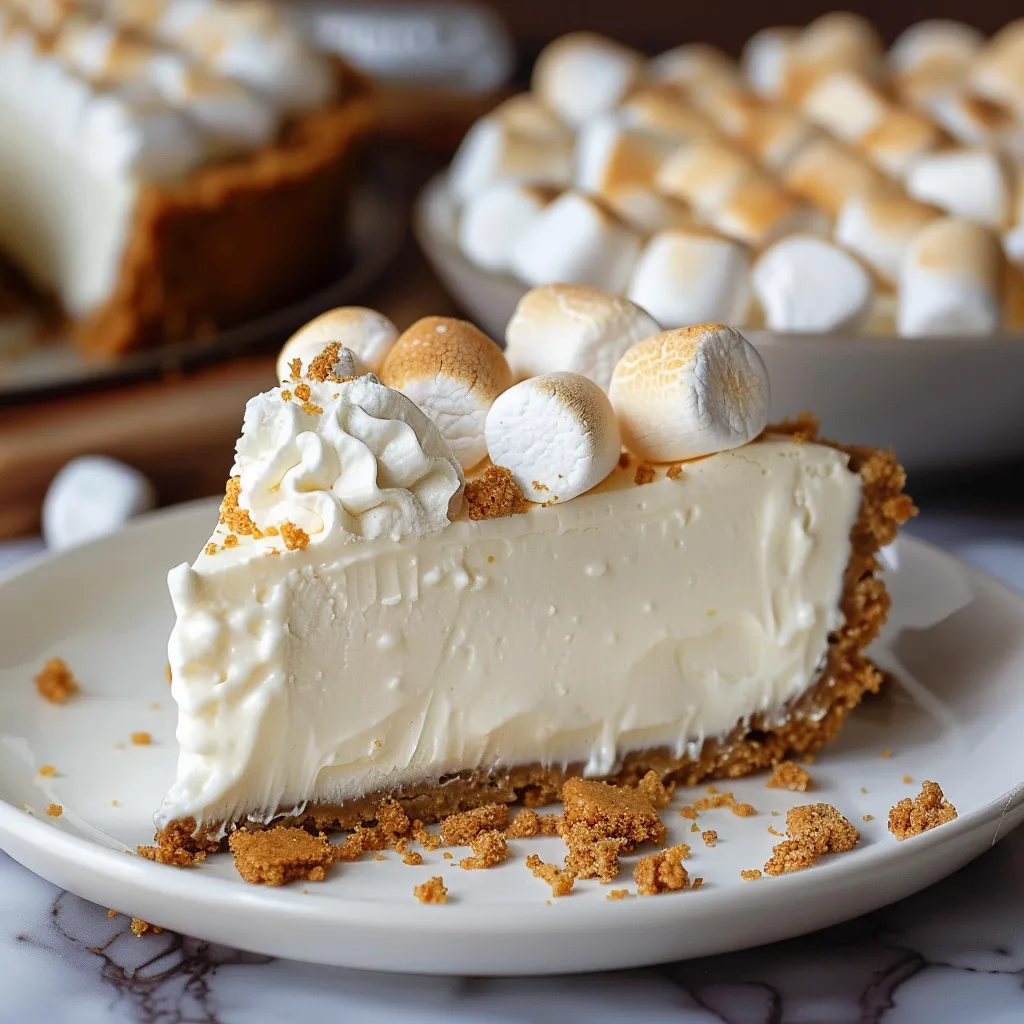
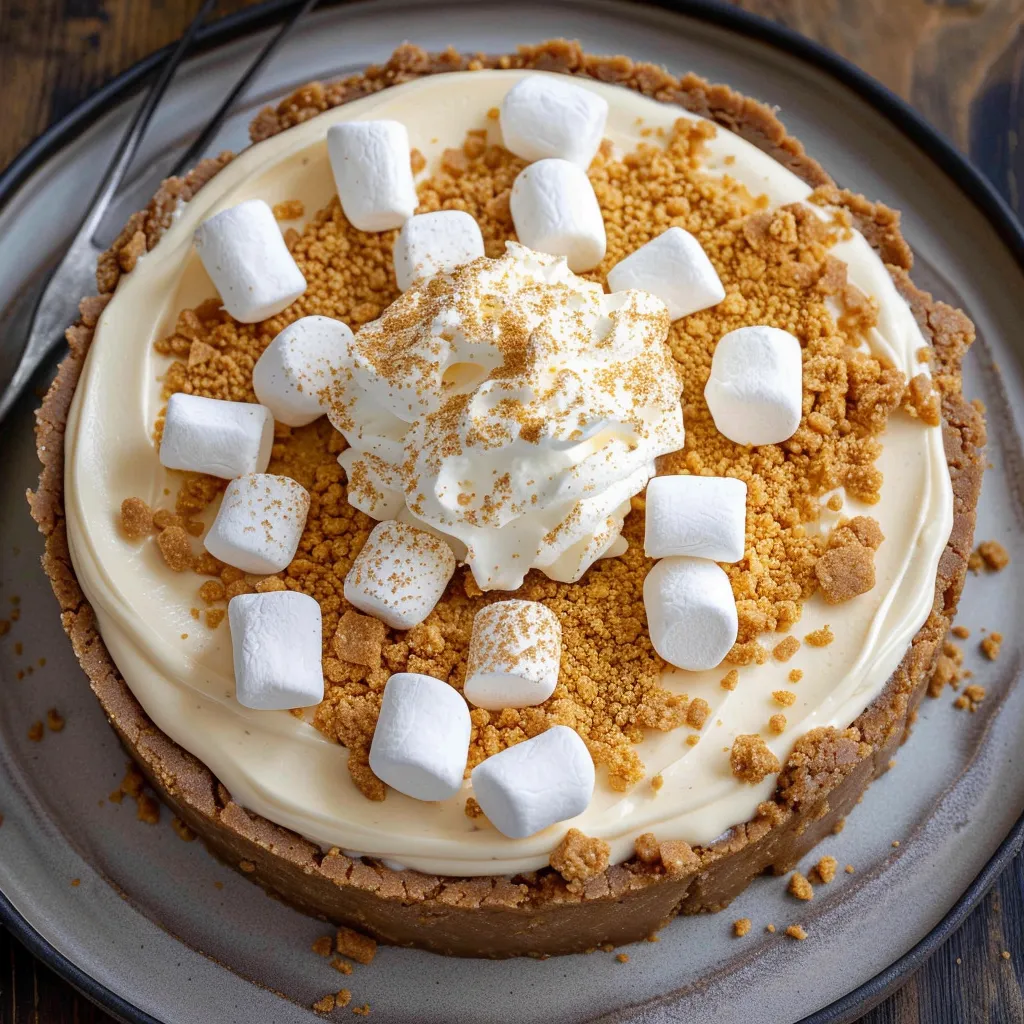
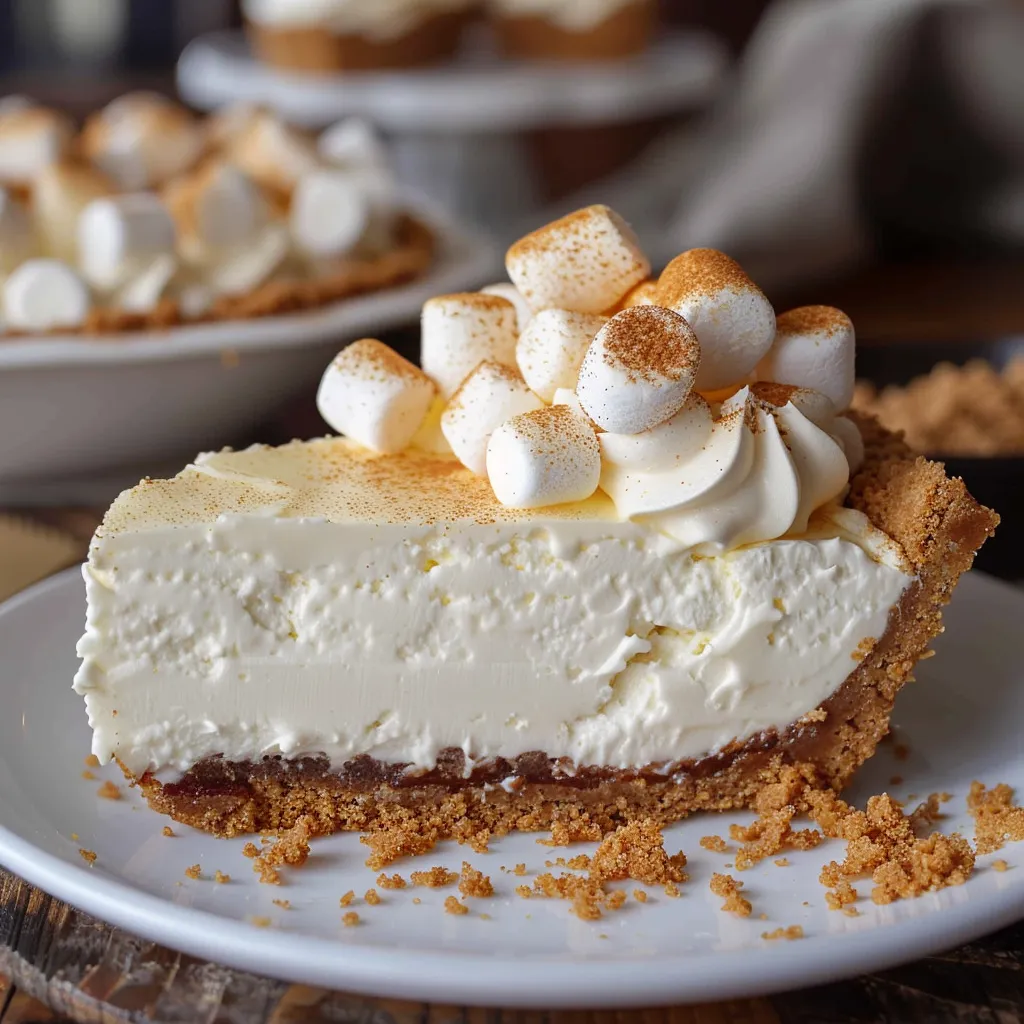
This velvety no-bake treat blends the classic taste of toasted marshmallows with smooth cheesecake for a dessert you won't forget. The buttery graham base works perfectly with the airy marshmallow topping, making it taste like an upgraded s'more in a fancy cheesecake package.
I whipped this up during my kid's party when our oven suddenly quit working. What started as a kitchen emergency turned into a happy accident when everyone said they liked it more than any baked cheesecake they'd tried before. Now my family asks for it at every get-together.
Ingredients
- Graham cracker crumbs: They make the crunchy bottom that reminds you of real s'mores. You can buy them ready-made or smash whole crackers in your blender.
- Unsalted butter: Holds your crust together. Get it completely melted to coat all the crumbs right.
- Granulated sugar: Gives the crust just enough sweetness. Feel free to use less if you want.
- Cream cheese: Forms the creamy foundation. Always pick full fat and let it warm up fully to room temp so you don't get bumps.
- Confectioners' sugar: Mixes in without any graininess. Run it through a strainer if you notice lumps.
- Marshmallow fluff: Brings that yummy toasted marshmallow flavor without the hassle of melting real ones. Look by the peanut butter at the store.
- Vanilla extract: Makes everything taste better. Go for real vanilla instead of the fake stuff.
- Heavy whipping cream: Creates the fluffy texture. Keep it super cold until you're ready to whip it up.
- Mini marshmallows: Add pretty touches and extra flavor pops. Make sure they're fresh since old ones get too hard.
Step-by-Step Instructions
- Prepare the Crust:
- Mix the graham cracker crumbs with sugar and melted butter until everything looks damp. It should feel like wet beach sand and stick together when squeezed. Push it firmly into your pie dish using a measuring cup to flatten it evenly across the bottom and sides. Try to keep the thickness around 1/4 inch everywhere.
- Create the Filling Base:
- Mix your room temperature cream cheese with powdered sugar for about 2 minutes until it looks super smooth. Make sure to scrape down the bowl sides a few times while mixing. Your mix needs to be completely smooth and fluffy before moving on. If the cream cheese isn't warm enough, you'll end up with little lumps.
- Incorporate Marshmallow Flavor:
- Put the marshmallow fluff and vanilla into your cream cheese mix. Blend until everything combines smoothly. The mixture will get really sticky but that's totally normal. Keep mixing on medium speed for about a minute until everything comes together.
- Whip the Cream:
- In another bowl that's been chilled, whip your heavy cream starting slow and getting faster as it thickens. Keep going until you can pull the beaters out and see stiff peaks standing up. This usually takes 3-4 minutes. Don't go too far or you'll accidentally make butter!
- Complete the Filling:
- Gently fold the whipped cream into your marshmallow mixture. Cut through the middle with a spatula, then scrape around the edges and fold over. Turn the bowl and do it again until it's just mixed but still really fluffy. Pour everything into your crust and smooth the top flat.
- Chill and Set:
- Put your cheesecake in the fridge for at least 4 hours, but leaving it overnight works even better. It needs time to firm up and let all the flavors come together. After it starts to set, cover it loosely with plastic wrap so water drops don't mess up the top.
- Add Final Touches:
- Top your set cheesecake with marshmallow whipped cream, making pretty swirls with your spatula. Right before serving, sprinkle on mini marshmallows and some crushed graham crackers for the best crunch and freshest look.
 Pin it
That marshmallow fluff really makes this dessert special. I stumbled on this idea while trying to copy my grandma's famous marshmallow pie she'd always make during our summer trips to the lake house. Something about that sweet, sticky marshmallow taste takes me right back to childhood bonfires and sticky, happy fingers.
Make It Your Own
You can switch this cheesecake up in so many ways. Try putting a thin chocolate layer between the crust and filling for a true s'mores feel. Just melt a cup of chocolate chips with 1/4 cup cream, spread it on your crust, and chill for 15 minutes before adding the filling on top.
Storage Tips
This treat stays fresh in your fridge for up to 5 days. Keep it in the original pan with plastic wrap on top, or put leftover pieces in a sealed container. For the best look and texture, wait to add the mini marshmallows and graham cracker bits until right before you serve it.
Perfect For Entertaining
The best thing about this dessert is that you have to make it ahead, so you'll have more time to handle other party stuff. It looks super fancy even though it's actually pretty easy to make, which is great if you're new to baking but want to wow your friends.
 Pin it
Putting together this cheesecake feels like a trip down memory lane with every sweet, fluffy bite. It's a no-bake wonder you'll want to share again and again.
Frequently Asked Questions
- → What’s the trick to keeping the crust firm?
Mix graham crumbs thoroughly with melted butter, then press firmly into the pan. A measuring cup helps make it tight and smooth.
- → Is this dessert good to prepare ahead?
Absolutely! You can make this cheesecake a day before serving. Chill it in the fridge so it sets well before you add the toppings.
- → Is there a marshmallow fluff substitute?
If you’re out of marshmallow fluff, melt marshmallows over low heat. Stir constantly for the same gooey texture.
- → How do I whip cream to stiff peaks?
Begin with low-speed whipping, slowly increasing to high. Stop once you see stiff peaks form to avoid overmixing.
- → What toppings can I try instead?
Switch it up with options like grated chocolate, caramel sauce, or fresh fruits for an extra special touch.