
 Pin it
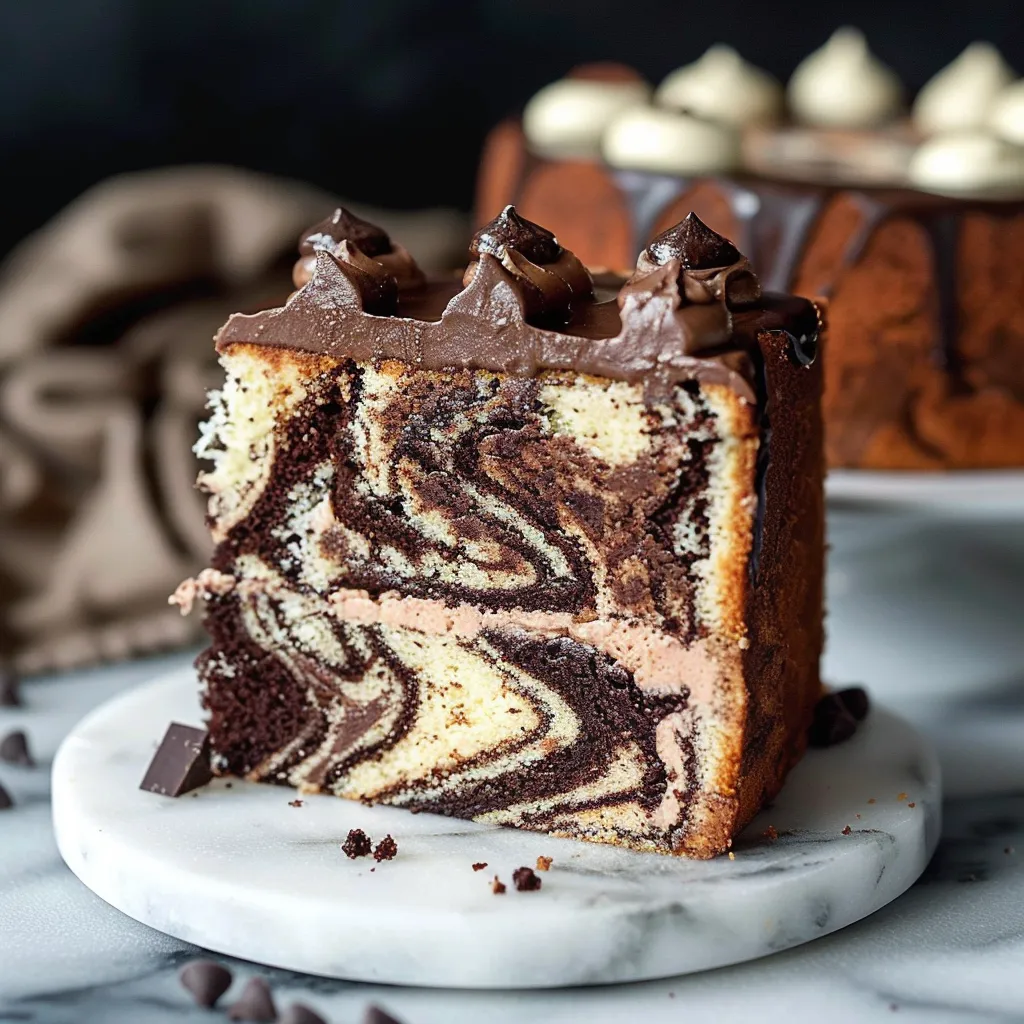
Take one bite of this Velvety Swirled Marble Cake and you'll taste the magic when vanilla meets chocolate. Every forkful shows off stunning swirls that look as good as they taste. The cake feels incredibly soft against your tongue, with the light vanilla perfectly playing off the deep chocolate notes. The textures melt away as you eat, creating this amazing moment where the flavors don't fight each other—they dance together in perfect balance.
I brought this to my sister's birthday last week and watched as her family fought over the last pieces. Her hubby (total chocolate fiend) and daughter (vanilla all the way) both grabbed seconds. There's nothing better than watching someone's eyes light up when you cut that first slice and reveal all those beautiful swirls.
Key Ingredients and Smart Selection Advice
- Buttermilk: The acidity and protein content in real buttermilk makes your cake super tender. Any grocery store option works fine, but grab full-fat for the tastiest results.
- Cake Flour: It has less protein than regular flour, making your cake extra soft. Don't swap in all-purpose without adjusting other things or your cake won't be as fluffy.
- Cocoa Powder: Go for plain unsweetened natural cocoa. Fancy brands like Ghirardelli or Valrhona will give you a richer chocolate taste.
- Extract Mix: Adding a tiny bit of almond extract with your vanilla creates that special bakery flavor you can't get with vanilla alone.
 Pin it
Step-by-Step Baking Guide
- Set Up Your Kitchen:
- Heat your oven to 335°F (168°C). Grease three 8-inch cake pans and put parchment paper on the bottoms.
- Wake Up Your Cocoa:
- Stir 1/4 cup cocoa powder with 1/4 cup hot water (190°F) until smooth, then put it aside.
- Mix Your Wet Stuff:
- In one bowl, mix 3/4 cup buttermilk with 1/2 cup vegetable oil. In another bowl, beat together 1/4 cup buttermilk, 3 eggs, 2 tsp vanilla, and 1/2 tsp almond extract.
- Try the Backwards Mixing Method:
- Combine 3 cups cake flour, 1 3/4 cups sugar, 1 tbsp baking powder, 1/2 tsp baking soda, and 1/2 tsp salt. Add 1 cup butter bit by bit until it looks like wet sand.
- Build Your Batter:
- Slowly pour in the buttermilk/oil mix, then beat for exactly 2 minutes on medium to get air into the batter.
- Add Eggs Carefully:
- Pour in the egg mixture in three parts, mixing just 15 seconds after each addition so you don't overwork the batter.
- Make Your Marble Pattern:
- Take 1/3 of your batter and fold in the cocoa mixture. Drop spoonfuls of both batters into your pans, then run a knife through them a few times.
- Bake It Just Right:
- Bake for 35-40 minutes until a toothpick comes out clean. Tap each pan once on the counter right after baking.
- Cool Your Cakes:
- Let them sit in the pans for 10 minutes, then move them to a cooling rack.
- Make Chocolate Ganache:
- Bring 16 oz heavy cream almost to a boil, pour it over 16 oz chopped chocolate, wait a bit, then stir until smooth.
I learned the hard way about being patient with the cocoa mixture. Once I rushed and didn't let it cool enough before adding it to my batter. The result? Little dry cocoa clumps in my finished cake. Now I always make sure it's completely cool before I mix it in.
That quick tap on the counter right after baking lets trapped steam escape so your cake doesn't shrink too much. This small trick means your layers will stack nicely without weird dips or bumps.
Did you know marble cake goes way back to 1800s Germany? Bakers used to swirl molasses into light batters for that special effect. When Germans moved to America, they switched to chocolate instead. By the mid-1900s, New York bakeries were adding almond extract to create what they called "German marble cake." This recipe keeps those old traditions alive while using modern baking tricks.
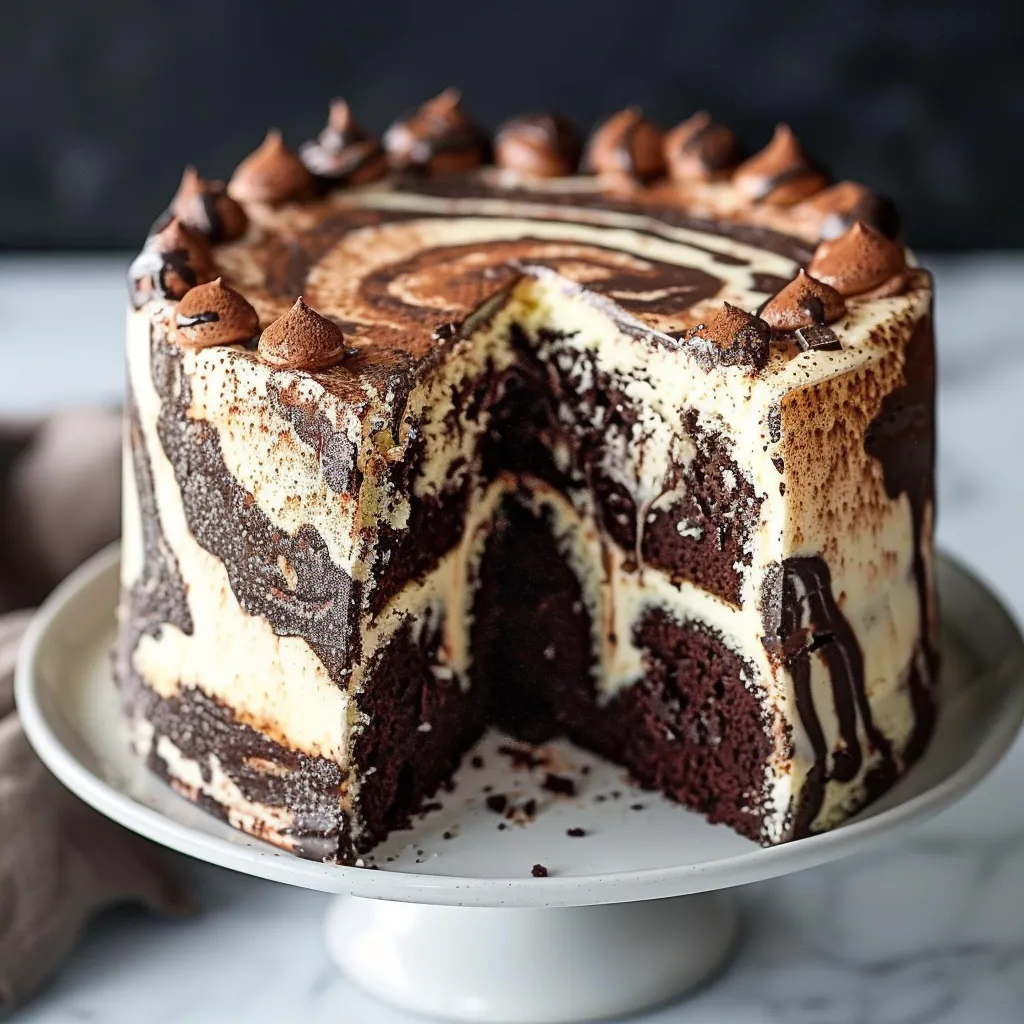
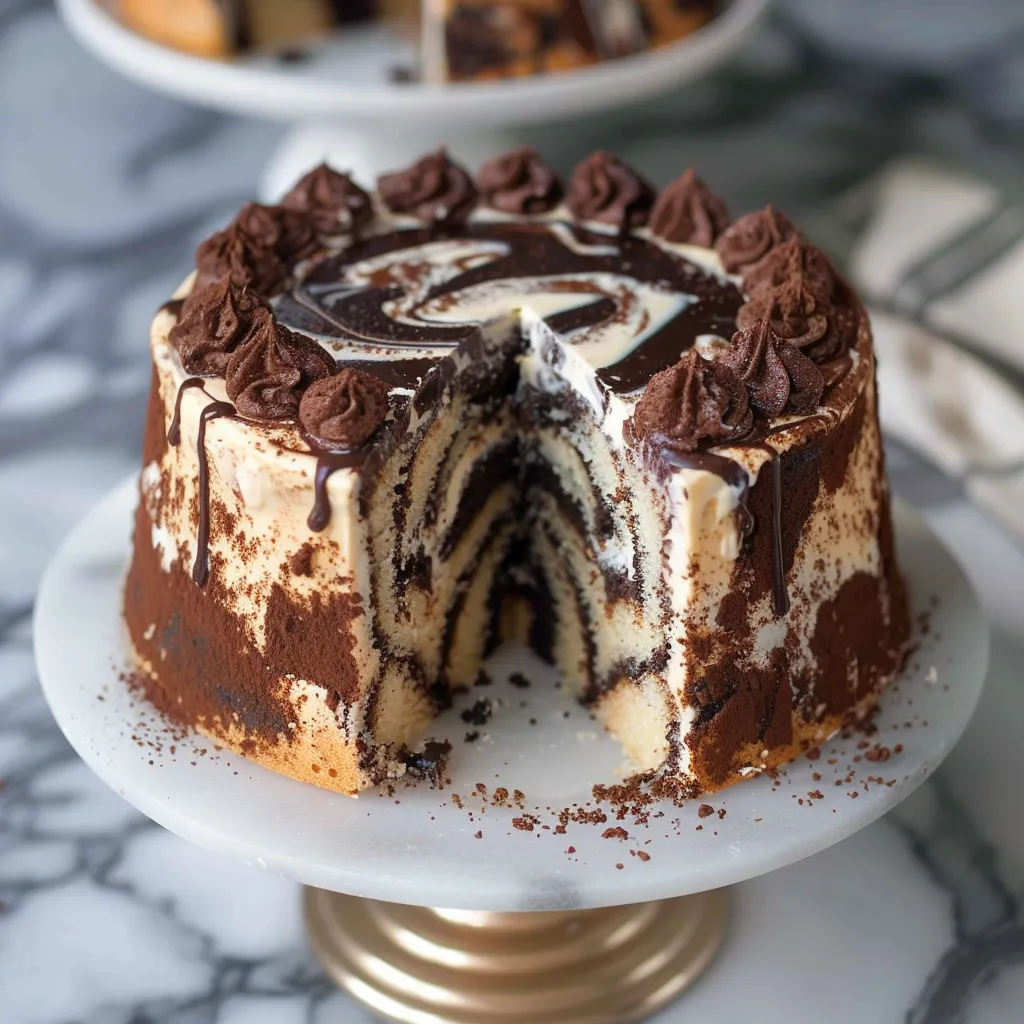
The real magic here is how this cake makes everybody happy. Chocolate lovers get their fix while vanilla fans aren't left out. When you cut that first slice, those beautiful swirls make everyone go "wow!" And pairing that super soft cake with rich ganache frosting hits that sweet spot between comfort food and fancy dessert.
I always make this cake when I need something everyone will like but that still feels special. It's my go-to for birthdays and family get-togethers. The moment you cut into it and show off those swirls, it turns from just dessert into the star of the show. It's perfect when you want to impress people without spending all day in the kitchen.
 Pin it
Frequently Asked Questions
- → What does the reverse creaming method do?
- It means mixing butter into the dry ingredients first to get a sand-like texture before adding the liquids. This helps make the crumb super soft and the cake stay moist longer.
- → Is there a buttermilk alternative I can use?
- Yep, just add 2 tablespoons of lemon juice or vinegar to regular milk. You can also go for powdered buttermilk and follow its instructions.
- → Why do you tap the pans after baking?
- Tapping the pans right out of the oven lets steam escape, so the cake doesn’t shrink too much as it cools down.
- → Can all-purpose flour replace cake flour?
- No, it’s not recommended. Cake flour’s lower protein content (around 9%) is key to the softer cake texture.
- → How do you nail the marbling design?
- Layer the batters (vanilla, chocolate, vanilla) in the pan, then drag a butter knife gently through them. Don’t overdo it or the patterns will mix too much.