
 Pin it
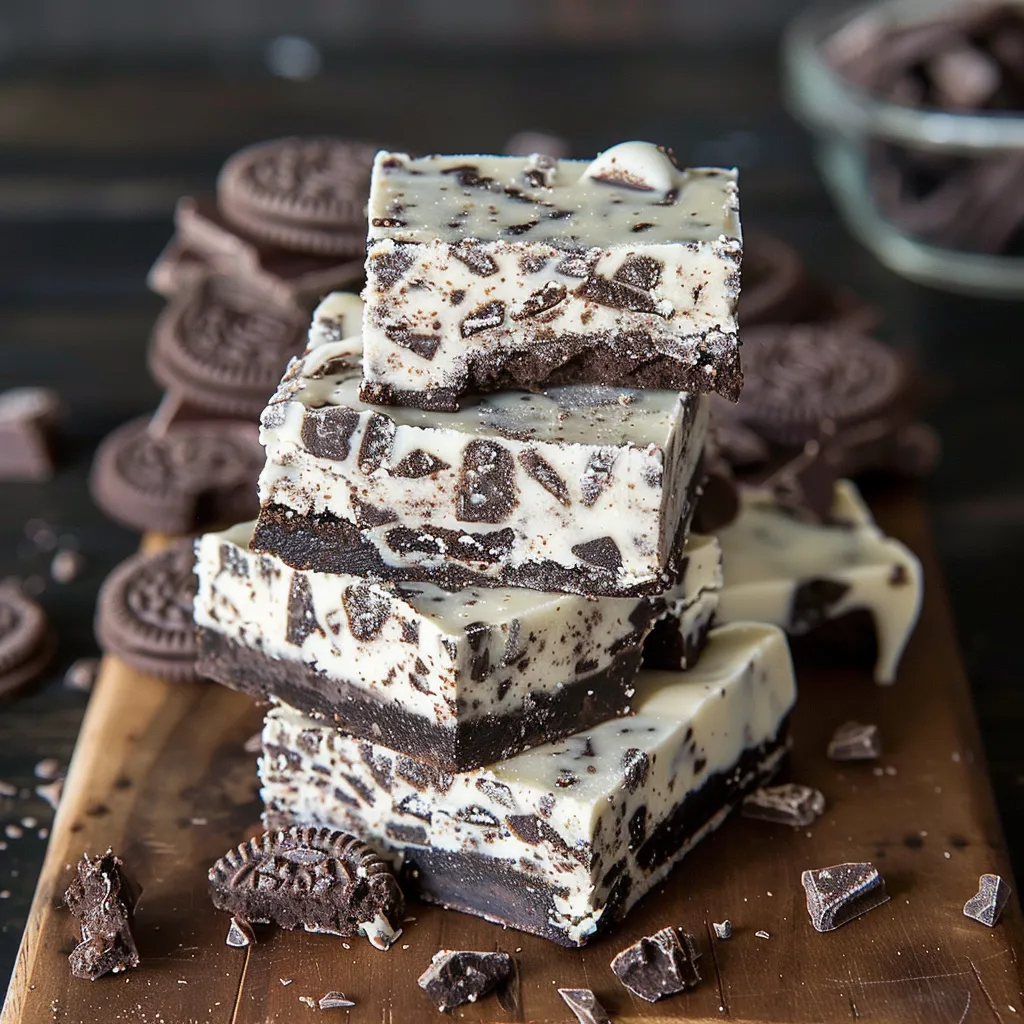
This three-ingredient Oreo fudge turns basic components into a luxurious sweet that'll win over chocolate fans everywhere. The mix of smooth white chocolate and crunchy Oreo bits creates an addictive texture that never lasts long at any party I bring it to.
I whipped this up when my kid needed something fast for a school fundraiser. It sold out in minutes flat, and now everyone in the family asks for it whenever we get together.
Ingredients
- White chocolate: 14 ounces grab premium chips or baking bars to get the creamiest melt
- Sweetened condensed milk: 14 ounces delivers rich sweetness and helps you get perfect fudge texture without complicated steps
- Oreo cookies: 28 pieces these iconic sandwich cookies add both color contrast and wonderful crunch throughout
Step-by-Step Instructions
- Get the Mix Started:
- Put white chocolate and sweetened condensed milk together in a microwave-safe bowl. Heat for 1 minute, then stir thoroughly even though it won't be fully melted yet. Keep heating in 15-second bursts, stirring after each, until it's totally smooth. Don't let it get too hot or your chocolate might clump up and turn grainy.
- Break Down the Cookies:
- Dump your Oreos in a strong ziplock and smash them with a rolling pin or heavy spoon. Go for a mix of tiny bits and bigger chunks for the best texture in your fudge. I like keeping some bigger pieces for extra cookie surprises in each bite.
- Mix It All Together:
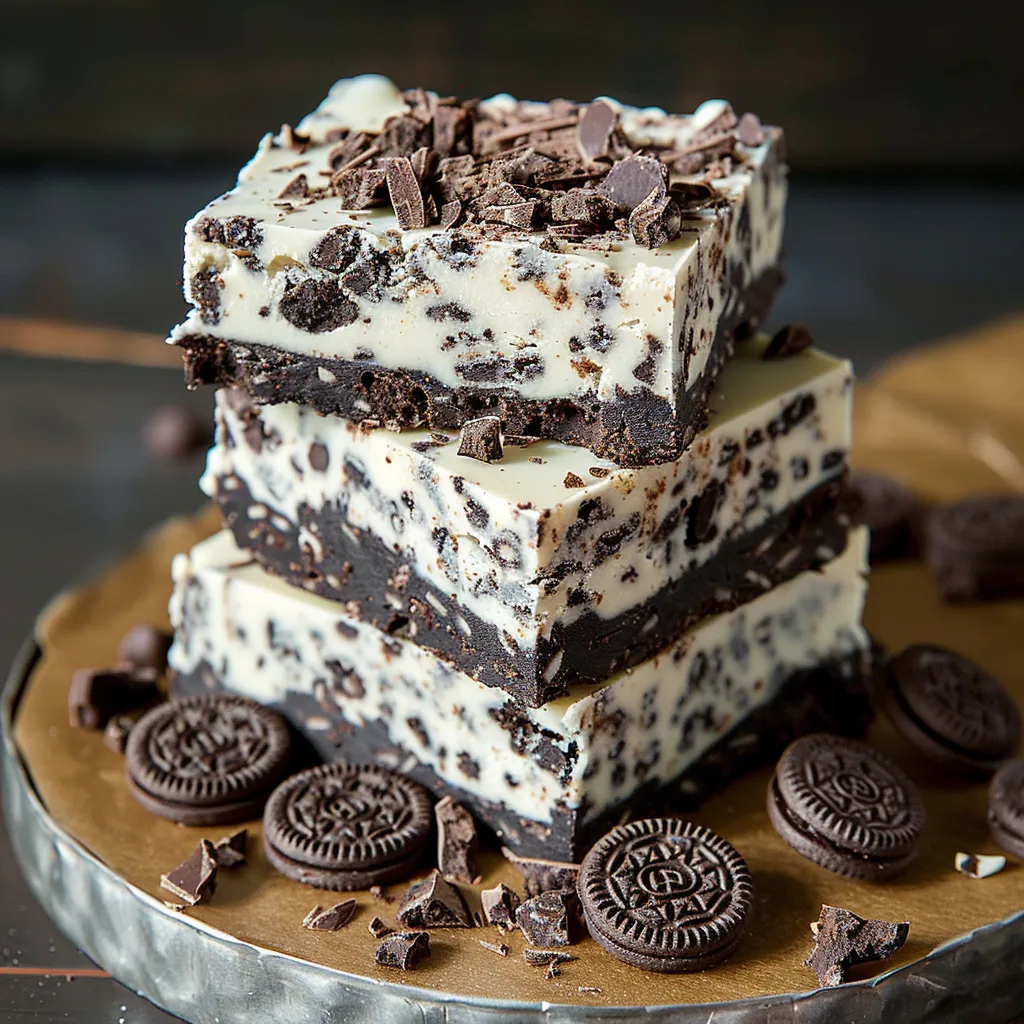
- Toss your crushed Oreos into the melted chocolate mixture. Fold them in gently with a spatula until they're spread throughout. The warm chocolate will slightly soften some cookie bits, creating that perfect fudge feel once it hardens.
- Let It Take Shape:
- Put parchment paper in an 8-inch square baking dish, leaving extra hanging over the sides for easy lifting later. Pour in your Oreo mixture and spread it evenly to all corners. Tap the pan on the counter a few times to get rid of any air bubbles.
- Cool and Enjoy:
- Stick the fudge in the fridge for at least 8 hours, but overnight works best. When it's firm, grab those parchment paper edges to lift the whole block out. Cut into squares using a knife that's been run under hot water and wiped between cuts for the cleanest edges.
 Pin it
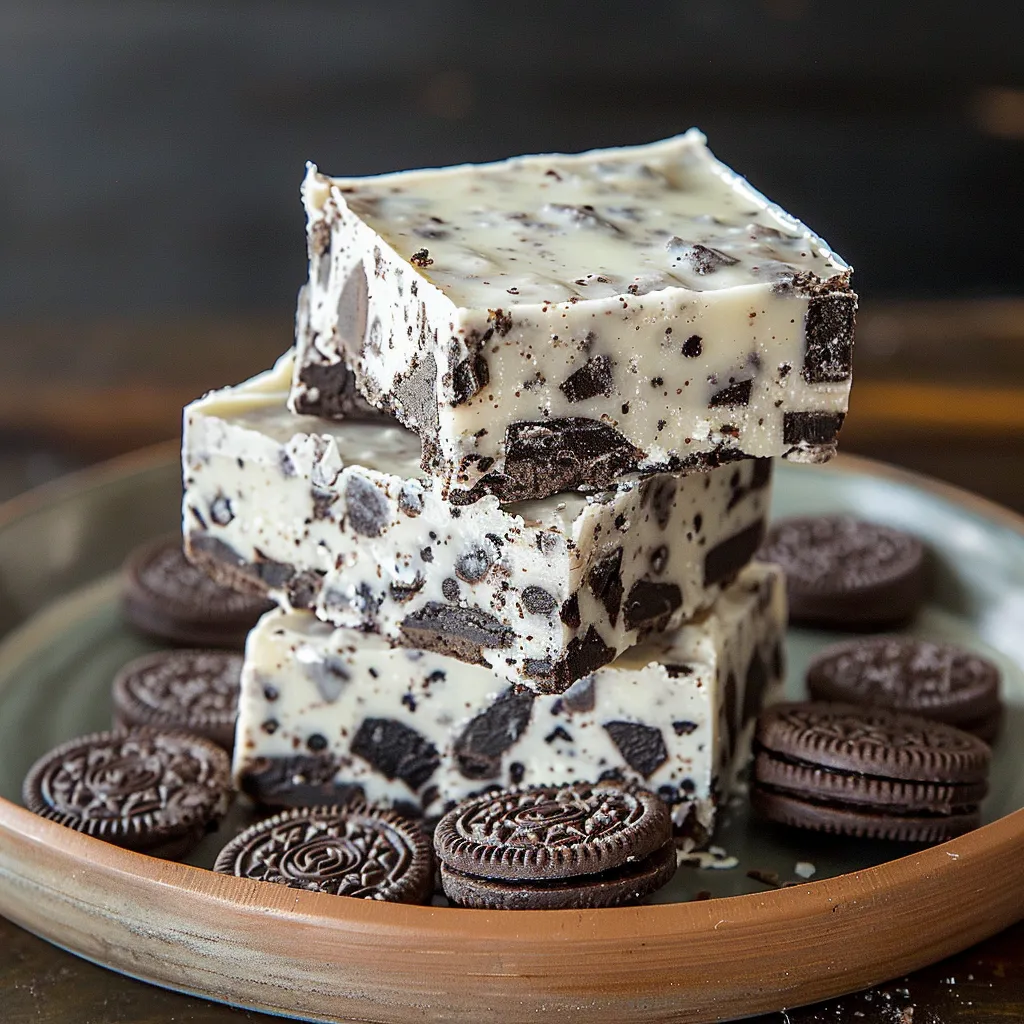
The first batch I ever made was with double-stuffed Oreos by mistake instead of regular ones. That lucky error turned into our family favorite version now, since the extra filling creates gorgeous cream swirls through the white chocolate base. Sometimes the best kitchen discoveries aren't planned at all!
Storage and Shelf Life
This Oreo fudge stays fresh in the fridge for up to two weeks when kept in an airtight container with parchment between layers so they don't stick together. You can freeze portions for up to three months too. I suggest cutting it into squares before freezing, then wrapping each piece in plastic before putting them in a freezer bag. That way you can thaw just what you want when a sweet craving hits.
Tasty Variations
The basic recipe works perfectly as is, but you can make fun versions by switching the cookie type or adding new flavors. Try mint Oreos for a cool twist, or golden Oreos with white chocolate for a double vanilla treat. During holidays, I throw in some festive sprinkles or a tiny bit of food coloring to match the season. Coffee fans might like adding a teaspoon of espresso powder to the melted chocolate mix for a yummy mocha flavor that goes great with the Oreos.
Gift Giving Ideas
This fudge makes an awesome homemade present that seems way harder to make than it really is. For holiday gifts, I cut it into neat squares and put them in cute mini cupcake papers before arranging in a pretty container or box. Add a ribbon and a little note with storage tips. Friends, teachers and coworkers always love getting these homemade sweets, especially when they're packaged with a personal touch.
 Pin it
This easy treat shows that you don't need a lot of ingredients to make something truly amazing.
Frequently Asked Questions
- → Can I swap the white chocolate for another type?
You can use dark or milk chocolate if you'd like, but it will change how the fudge looks and tastes.
- → Is the 8-hour chilling time necessary?
Yes, it's important to give it at least 8 hours in the fridge so the fudge sets correctly.
- → Can I add extras to the fudge?
For sure! Try mixing in nuts, sprinkles, or adding a chocolate drizzle on top for more variety.
- → What's the best way to store this fudge?
Keep it in an airtight container in the fridge, and it should stay good for about a week. Chilling helps maintain its texture.
- → Is there a way to make this without dairy?
Definitely! Use a non-dairy condensed milk and milk-free chocolate for a vegan-friendly option.