
 Pin it
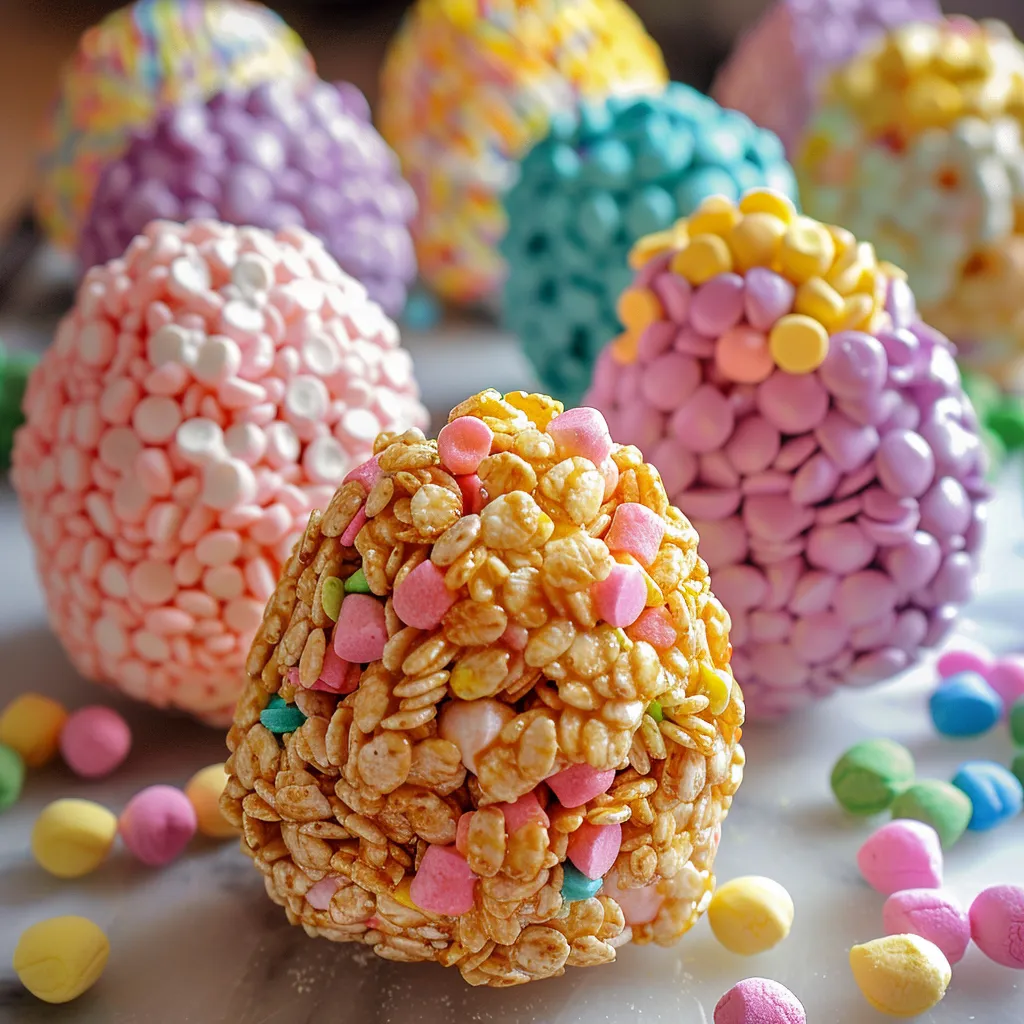
When you take your first chomp of these colorful Krispie Easter Eggs, you'll feel like a kid again but with a holiday spin. The familiar crispy sounds come hugged in a sweet marshmallow coating, all crafted into cute egg shapes that scream Easter fun. Those soft pastel shades grab your attention, while the timeless, much-loved taste handles your sweet tooth with a comfort that brings back memories with every mouthful.
At our Easter gathering last year, I put these bright eggs in a basket with green edible grass, and my nieces couldn't stop staring. Watching their faces light up as they picked their top color choices made dealing with all the sticky fingers totally worth it. I caught plenty of grown-ups sneaking back for more too.
Key Ingredients and Shopping Advice
- Rice Krispie Cereal: Go for a new box to get that super crisp texture. Off-brands can do the job, but nothing beats original Rice Krispies for keeping their crunch.
- Mini Marshmallows: They turn smooth faster and more uniformly than the big ones. Make sure they're fresh for the best gooey mix.
- Butter: Pick unsalted for better taste control, though salted works fine—just skip adding any extra salt.
- Food Coloring: Grab gel colors for bright results without making things runny. Natural dyes work too but give you more gentle colors.
 Pin it
What goes into these simple treats really matters for how they turn out. I've whipped them up so many times now, and I can tell you for sure that new cereal and fresh marshmallows always make the tastiest batch.
Step-by-Step Cooking Guide
- Get Everything Ready:
- Grab a big pot, some silicone spoons, a food scale, separate bowls for each color, and a baking sheet lined with parchment.
- Pick Your Colors:
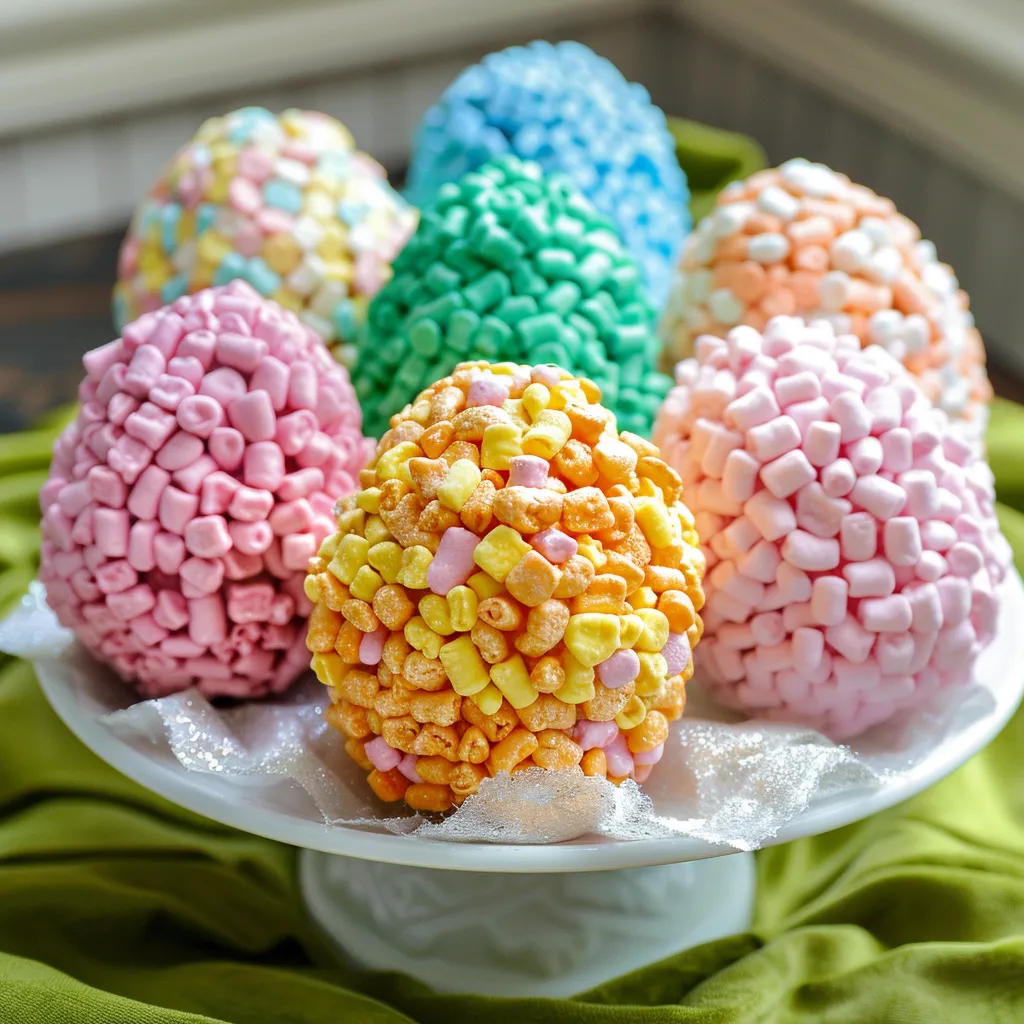
- Decide on your pastel lineup: pink, purple, blue, green, and yellow. Make smaller batches so they're easier to shape.
- Make Your Starting Mix:
- Melt 3 tablespoons butter using low heat, then throw in 4 cups mini marshmallows. Keep stirring until they're almost fully melted.
- Color Your Mix:
- Take off heat and drop in your colors: 4 drops for pink, mix 3 pink with 2 blue for purple, combine 4 yellow with 1 blue for green, 4 blue makes teal, and 3 yellow for yellow.
- Mix In Cereal:
- Add 3 cups Rice Krispie cereal. Stir gently until every bit gets coated without squishing the cereal.
- Let It Rest:
- Give the mix about 2-3 minutes to cool so you can handle it.
- Get Ready to Shape:
- Rub butter on your hands so nothing sticks. Keep extra butter close for when you need more.
- Form Your Eggs:
- Take about 0.5 oz of mix for each egg. Roll into a ball first, then shape it like an egg and set it down on the parchment.
- Do It All Again:
- Wash your pot between colors and follow the same steps for each new color.
- Let Them Set:
- Leave the eggs out at room temp for 30-45 minutes before serving.
The first time I tried making these years back, they came out hard as rocks because I rushed and used high heat for the marshmallows. Now I know that taking it slow with low heat is what gives you that perfect mix of chewy and crispy that everybody wants.
Dealing with multiple colors takes some thinking ahead. Instead of making one big batch and splitting it up (which would cool down too fast), I go with smaller batches for each color. Usually I'll do two colors back to back, shape those eggs, then move on to the next colors. This way, each batch stays just the right temperature for shaping.
You'll get better at shaping with practice. Your first few eggs might look a bit weird, but you'll quickly figure out just how to press and mold them. I found that slightly dampening my fingertips (along with using butter) helps smooth out any bumpy spots for eggs that look like they came from a shop.
How you store them affects how good they stay. While they'll taste great for a few days, they're really at their peak during the first 24 hours when the cereal still has its crunch. If you need to keep them longer, freezing works pretty well—just let them sit out for about 30 minutes before eating.
I tried making these on a really humid day once, and they just wouldn't harden properly. Now I know that weather can mess with how they turn out, so on muggy days, I toss in a bit more cereal to balance things out.
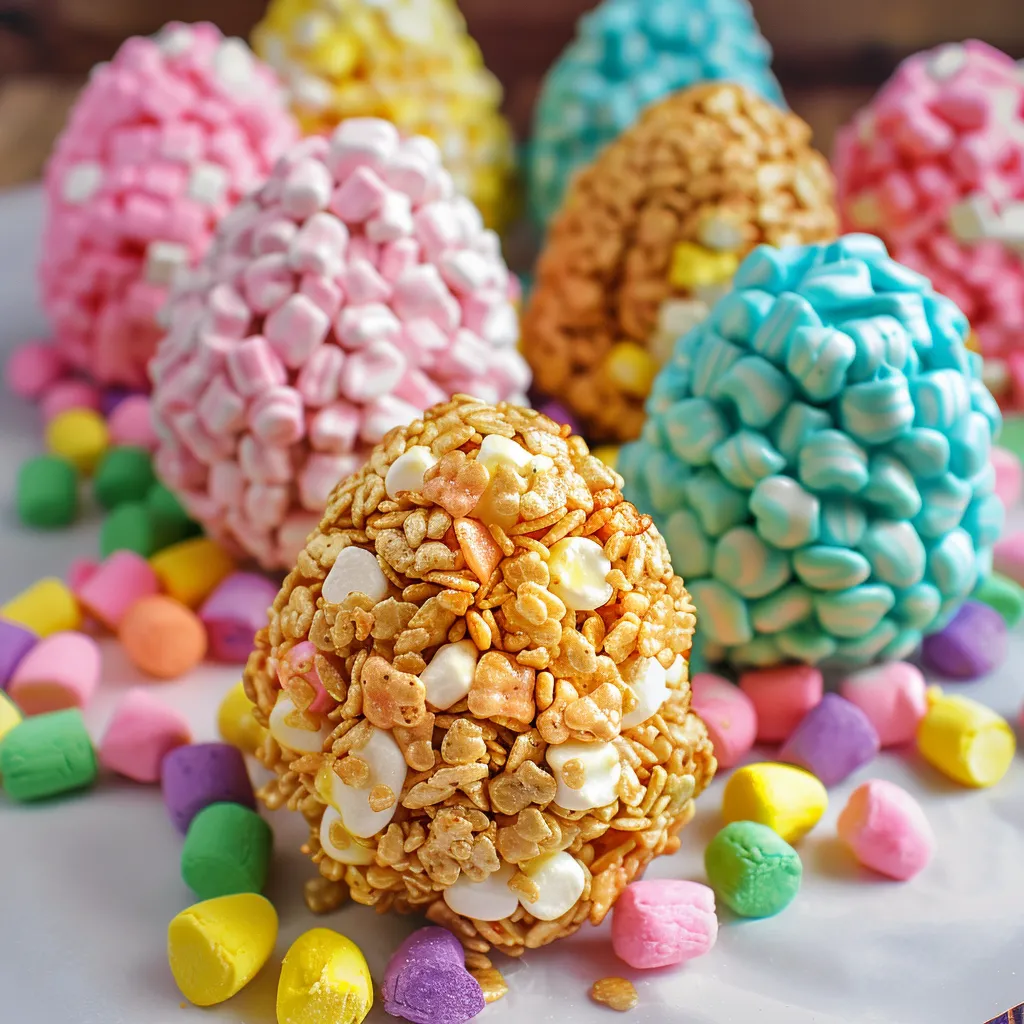
These bright Easter eggs fit into the long history of spring celebration treats. While egg-shaped sweets show up in many different traditions, these Krispie versions offer an easy, current take that anyone can pull off at home.
What really makes these treats stand out is how they bring people of all ages together. Kids love helping with the fun colors, while grown-ups enjoy the familiar taste that takes them back to when they were young. There's something special about a treat that looks fresh and new but tastes like your childhood memories.
I like to display these Krispie Easter Eggs in baskets with green edible grass, making them both pretty to look at and yummy to eat. I love watching guests' faces light up when they realize these colorful eggs are actually their childhood favorite snack in disguise.
 Pin it
Frequently Asked Questions
- → Can I use a different cereal for these Easter eggs?
- Sure! Any crispy rice cereal works great. While Kellogg's Rice Krispies are ideal, a store brand will do the trick too.
- → What if I don’t have the recommended food coloring?
- No worries! Use any kind you have. Gel colors pop more with less, but liquid ones can work fine—you just need to add a bit more.
- → Is it okay to make these treats a day or two in advance?
- Totally! Keep them in an airtight container at room temp for up to 2 days or freeze them for as long as 3 months.
- → Why did my treats turn out hard?
- Pressing too hard while shaping or overcooking the marshmallows can make them tough. Use light pressure when shaping, and take them off heat right after they melt.
- → Can I decorate these Rice Krispie eggs?
- Definitely! Try drizzling with chocolate, adding sprinkles, or using icing. Decorate while they’re warm so it sticks better.