
 Pin it
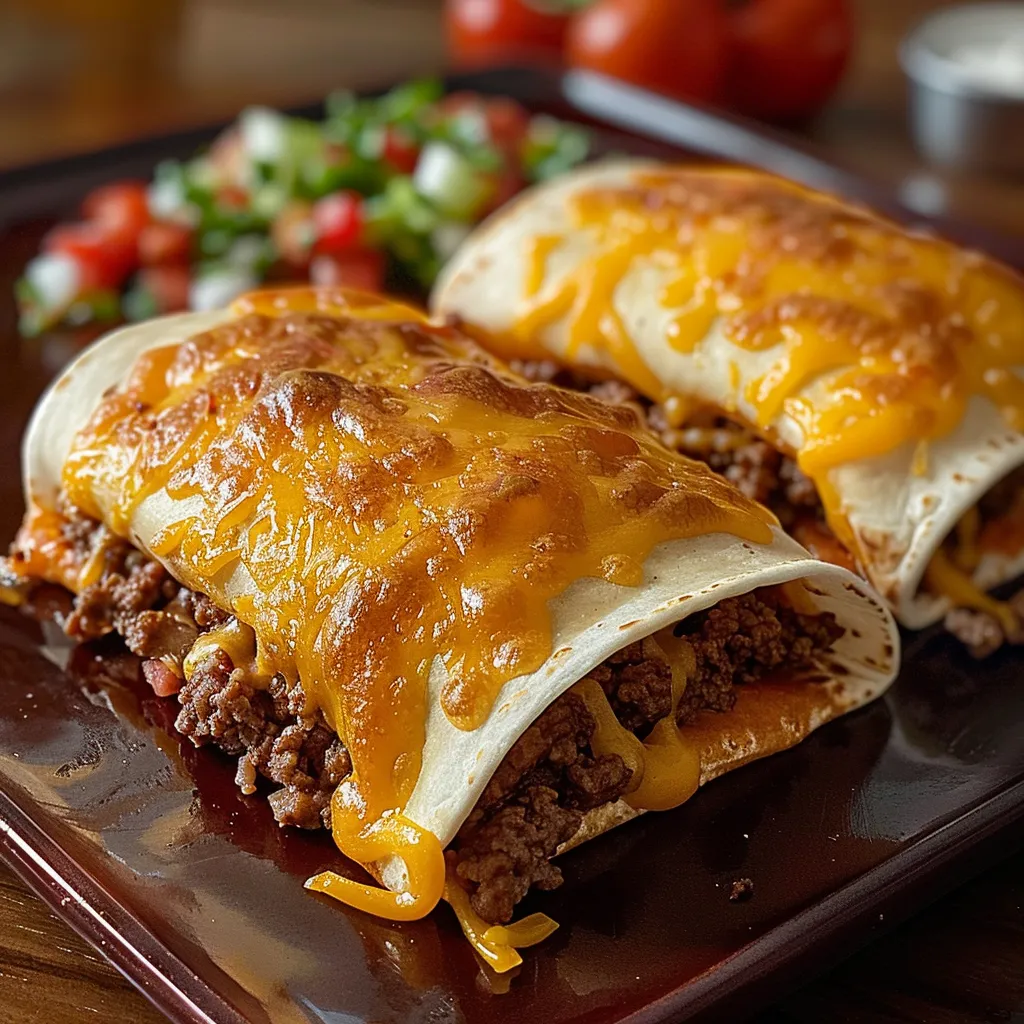
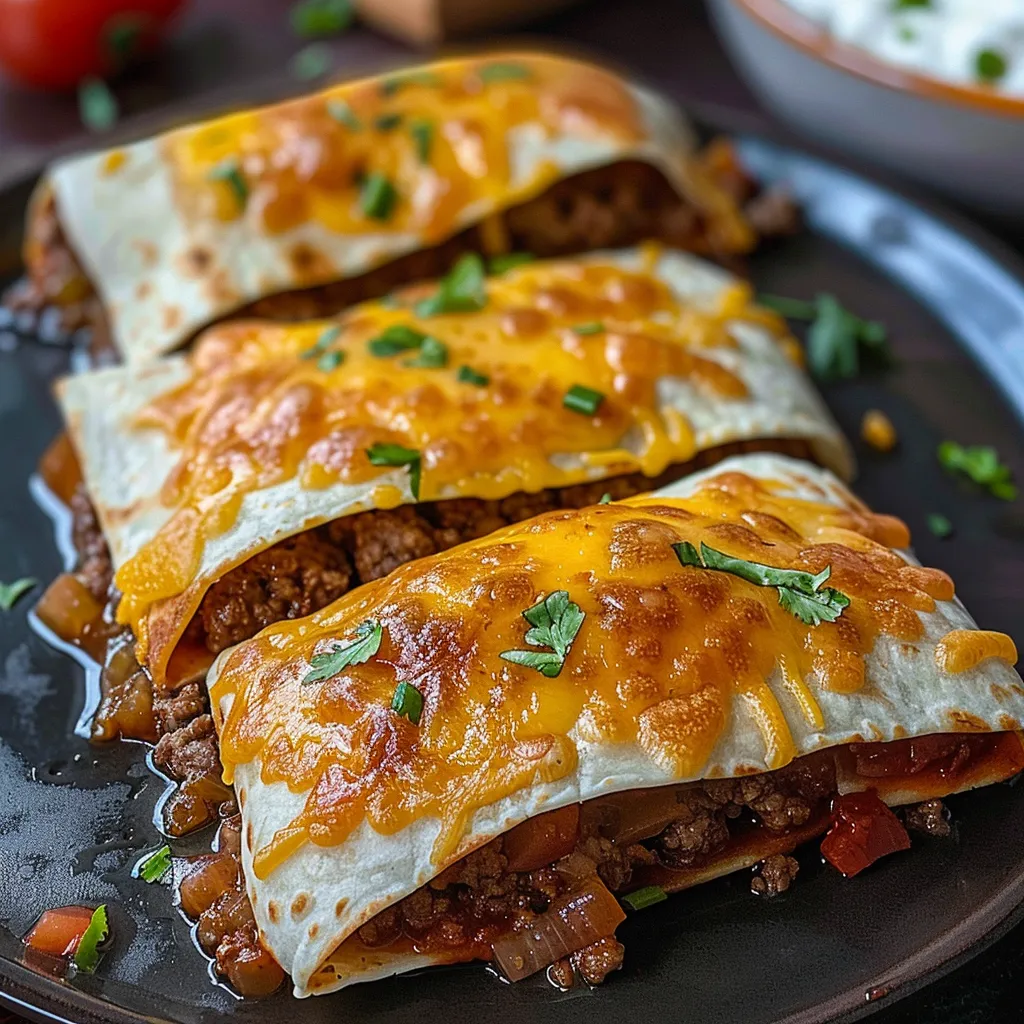
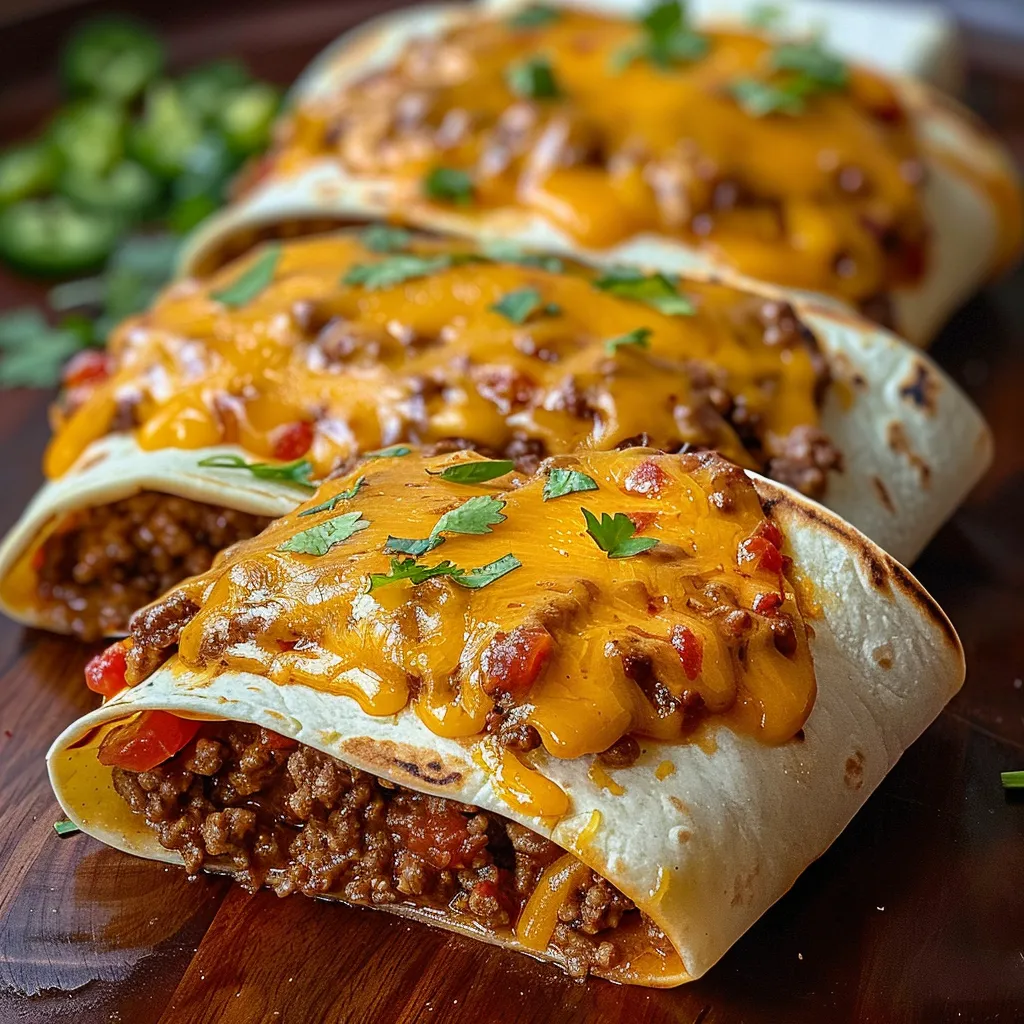
These mouthwatering cheese-filled taco pockets turn basic ingredients into a crowd-pleasing dinner that families gobble up in minutes. The mix of flavorful ground beef, smooth cheese filling, and crunchy baked tortilla wraps makes an ideal hand-held meal that's somewhere between a classic taco and a tasty quesadilla.
I whipped up these taco pockets during one crazy-busy week when I desperately needed something my fussy kids would actually finish. These days they ask for these "taco wraps" a couple times every month and they even jump in to help put them together.
Ingredients
- Ground beef: Makes up the main filling. Go for 80/20 meat-to-fat for the tastiest results
- Taco seasoning packet: Makes prep quicker. Pick reduced salt versions if you're watching sodium
- Cream cheese: Gives that smooth, rich filling. Let it sit out to soften so it mixes easier
- Salsa: Adds wetness and taste. Go with mild for the kids or hot for spice lovers
- Cheddar cheese: Delivers that wonderful melt factor. Grate your own for better melting than store-shredded
- Tortillas: Keep everything wrapped up. Pick flour ones that bend without breaking
- Melted butter: Helps create that irresistible crunchy outside during baking
Easy Preparation Steps
- Cook Your Beef:
- Fry the ground beef in a pan on medium for around 7 minutes till you don't see any pink. Smash it up as it cooks using a wooden spoon. Get rid of extra fat by tipping the pan and scooping it out or draining through a strainer.
- Add Flavoring:
- Mix your taco seasoning into the cooked beef plus the water amount shown on the packet. Let it bubble for 3-5 minutes until liquid reduces and meat gets coated. Your beef should be moist but not swimming in liquid.
- Mix Up The Creamy Part:
- Whip the soft cream cheese in a bowl until it's smooth, taking about a minute. Stir in salsa until they're completely blended. The mix should spread easily but not run. Add another spoonful of salsa if it's too thick.
- Put Them Together:
- Spread a tortilla flat and smear about 2 spoonfuls of cream cheese mix in the middle, leaving space around the edges. Add 2 spoonfuls of seasoned meat and a good pinch of cheddar, about a tablespoon.
- Wrap Them Up:
- Bring the bottom of the tortilla up over your filling, fold in the sides, then roll it up to make a sealed pocket. Put it down with the seam underneath on your baking tray. Wrap them tight so nothing leaks while cooking.
- Get Ready To Bake:
- Heat your oven to 350°F and spray a baking sheet lightly with cooking spray. Put your wrapped tortillas on the tray with the seam down, leaving room between each. Brush butter on top to help them turn golden.
- Bake Until Done:
- Cook in your hot oven for 15 minutes until the tortillas turn crispy and golden brown. The cheese inside will be totally melted and bubbly. Let them sit for 2 minutes before eating so you don't burn your mouth.
 Pin it
The cream cheese truly makes these taco pockets stand out. I learned this trick from my grandma who always put a blob of cream cheese in her tacos. The way it melts into the seasoned meat creates a rich velvety texture that normal tacos just can't match.
Prep Ahead and Storage Tips
You can put these taco pockets together up to a day ahead and keep them covered in your fridge until baking time. If you want to store them longer, make them through the wrapping stage, wrap each one in foil, then stick them in a freezer bag for up to 3 months. Thaw them in your fridge overnight before cooking, and add about 5 extra minutes to the baking time if they're still cold from the refrigerator.
Ways to Switch It Up
The standard version offers tons of ways to change things around. Try ground turkey or shredded chicken instead of beef. If you don't eat meat, swap in black beans and corn. Toss in some chopped bell peppers or jalapeños with the meat for extra crunch and flavor. Switch cheddar for pepper jack if you like it spicy, or use a Mexican cheese blend for more authentic taste.
What to Serve With Them
These taco pockets are filling enough to eat on their own but taste great with simple sides too. Pair them with a crisp green salad or Mexican rice for a full meal. Set out extra toppings like sour cream, guacamole, and hot sauce so everyone can dress up their pockets. For a fun display, arrange the taco pockets on a big plate surrounded by tortilla chips and various dips.
 Pin it
These tasty taco pockets will soon become a regular request in your home. Every crunchy bite is worth savoring!
Frequently Asked Questions
- → How do I keep the taco pockets secure while baking?
Fold the tortilla tightly around the filling and place it with the seam side facing down. Using melted butter on the edges can seal them better as they bake.
- → Can I replace beef with something else?
Absolutely! Swap ground beef for chicken, turkey, or a vegetarian option like plant-based meat. Just season it as you normally would.
- → What kind of salsa pairs best with these pockets?
Go for a salsa you already like—spicy, mild, or medium. Smooth salsa blends well, while chunky adds extra texture to the filling.
- → Can I prepare these a day before cooking?
Sure! Assemble the pockets, refrigerate them, and bake fresh to keep them crispy just before eating.
- → What other cheeses can I try in these tacos?
Mix it up with Monterey Jack, Pepper Jack, or a Mexican cheese blend for an exciting cheesy twist.