
 Pin it
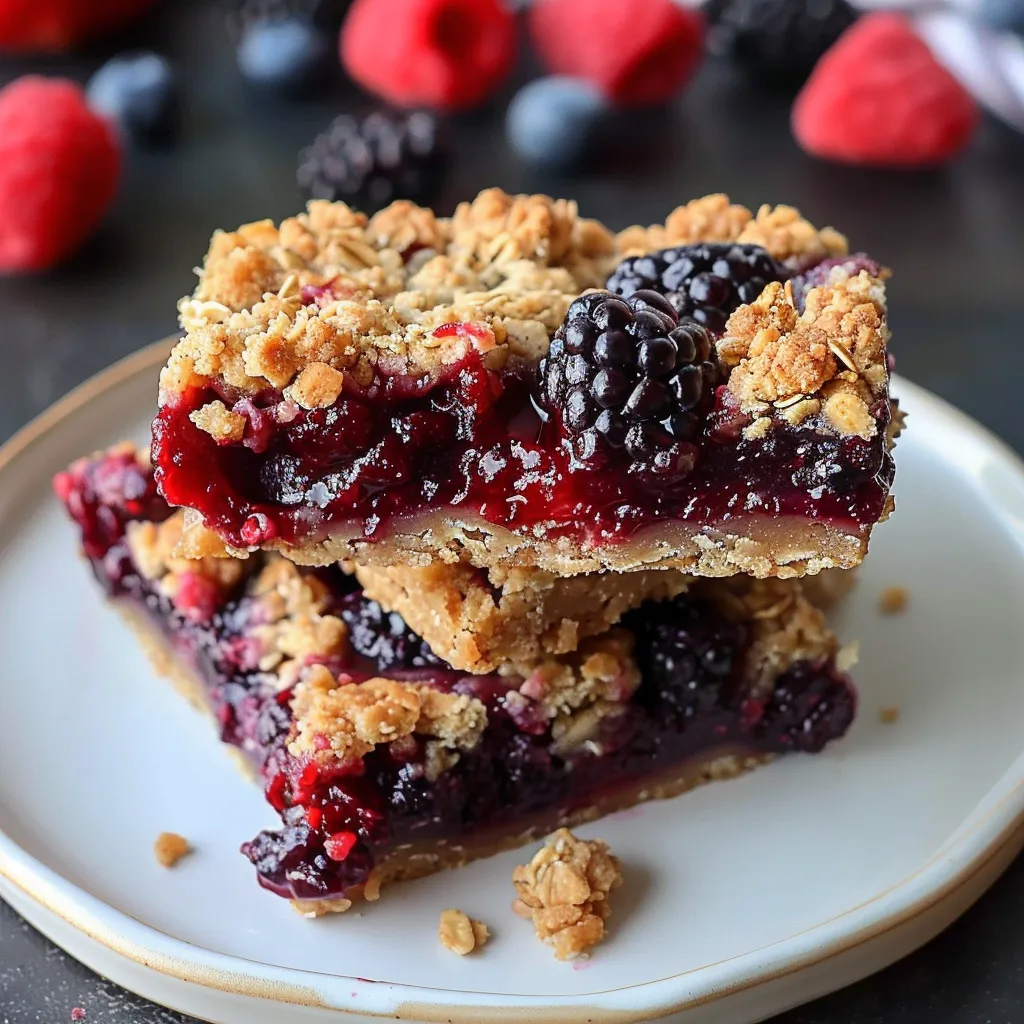
These fruity oat squares turn basic items into a nourishing morning meal that feels like a treat while staying wholesome. The mix of juicy berries and crunchy oat topping makes a prep-ahead choice that'll smooth out your hectic mornings.
I whipped up these squares while hunting for a breakfast my kids would actually eat before heading to school instead of just grabbing a packaged snack. These days they ask for them every week and even jump in to help with the fruit filling.
Ingredients
- Frozen mixed berries: They're the main attraction giving natural sweetness and loads of good-for-you nutrients
- Lemon juice: Adds zip and cuts through the sweetness
- Coconut sugar and maple syrup: Unrefined sweeteners that bring richness without white sugar
- Tapioca starch: The trick to getting that perfect sticky fruit filling
- Rolled oats: Give a satisfying bite and filling fiber to keep you going
- Almond flour: Makes everything crumbly and soft while adding some protein
- Coconut oil: Sticks everything together and adds a touch of richness
Step-by-Step Instructions
- Ready Your Baking Dish:
- Heat your oven to 375°F and put parchment in your 9×9 pan with extra hanging over the sides for easy lifting. Don't skip this part as it stops sticking and makes cleanup way faster.
- Cook Up the Fruit:
- Toss frozen berries into a pot with lemon juice coconut sugar maple syrup and salt. Let it bubble for 5-10 minutes until berries soften and juice comes out. It'll look quite watery. This slow cooking really brings out the berry taste.
- Thicken The Filling:
- Grab some hot berry juice and mix it with tapioca starch in a little cup until smooth. This way you won't get lumps. Pour this back into the pot and keep stirring for about a minute until it gets noticeably thicker. It'll firm up more as it cools down.
- Mix The Oat Blend:
- Throw rolled oats almond flour baking soda and salt into a big bowl. Add maple syrup vanilla and solid coconut oil. Start mixing with a fork then switch to your hands to work in the coconut oil. When squeezed it should stick but still be a bit crumbly. This makes the ideal base and topping.
- Build Your Layers:
- Push about two-thirds of your oat mix firmly into the bottom of your lined pan making it flat all over. Pour your thickened berries on top and spread them out evenly. Sprinkle the rest of the oat mix over the berries making a rough topping. Some bigger chunks give nice texture variety.
- Bake It Up:
- Stick it in your hot oven for 20-25 minutes watching near the end. They're done when the edges turn slightly golden and the filling bubbles a bit around the sides. Don't cook too long or they'll get dry so go for less time if you're unsure.
- Let It Set:
- Wait for the whole thing to cool completely in the pan before you try cutting it. This cooling time lets the bars set up right and hold their shape. For the cleanest cuts put it in the fridge for at least an hour before slicing.
 Pin it
The frozen fruit mix truly stands at the center of this recipe. Through lots of testing I found that mixing different berries instead of sticking to just one type gives a much more interesting taste. My little girl especially loves when we use lots of blueberries because they turn everything a pretty purple that she thinks makes breakfast magical.
Storage Tips
These fruity oat squares stay fresh in the fridge for up to 5 days when kept in a sealed container. They actually taste better after sitting for a day as the flavors mix together more fully making them great for planning ahead.
To keep them longer wrap squares individually and freeze for up to 3 months. Thaw in the fridge overnight or warm gently in the microwave for a fast breakfast. I often cook twice as much to freeze when berries go on sale.
Seasonal Adaptations
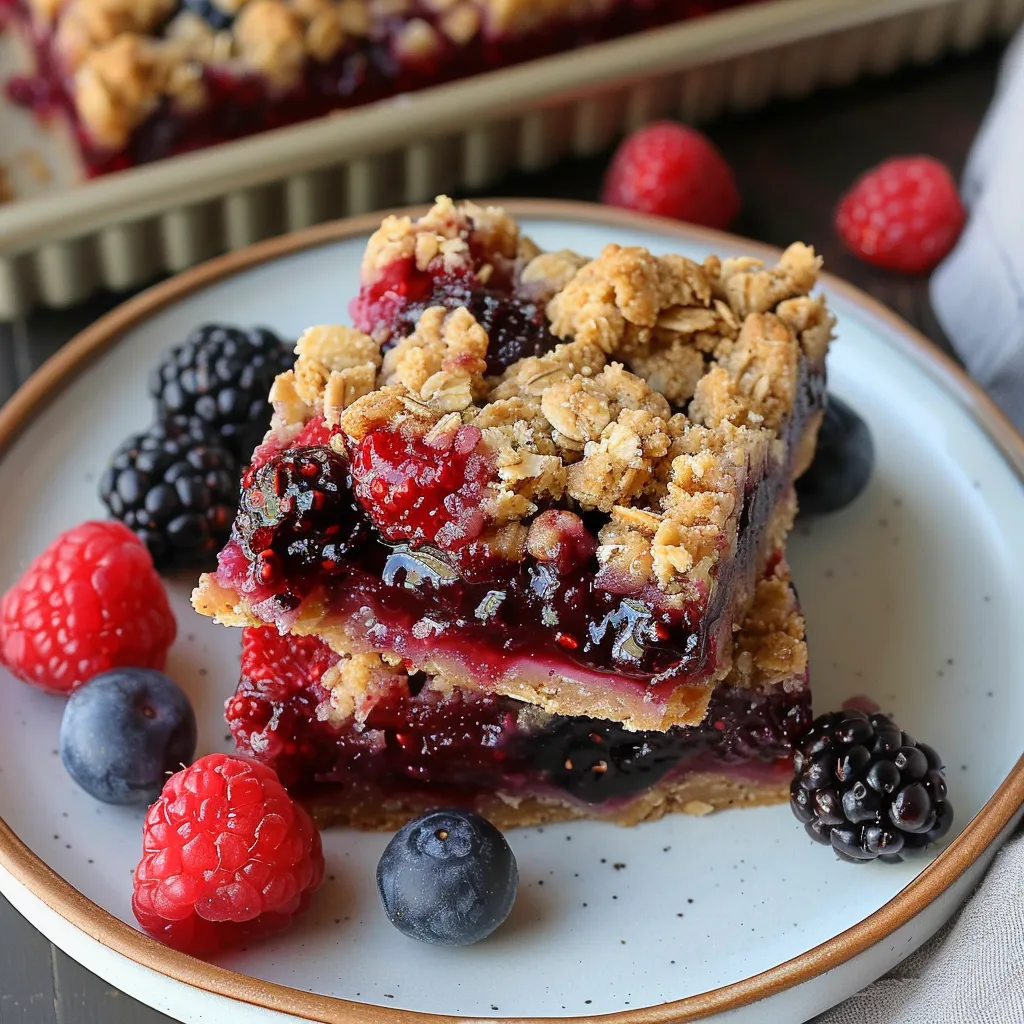
Though this recipe calls for frozen berries so you can make it anytime feel free to use fresh ones when they're in season. Fresh berries won't be as juicy at first so you might need to cook them longer to get the same jammy texture.
Summer's strawberries and blueberries look festive and colorful while fall blackberries bring nice tartness. In winter months mixed frozen berries offer a taste of summer when fresh options aren't as good.
Serving Suggestions
These squares taste great on their own but try them with a spoonful of Greek yogurt for extra protein. For a fancy weekend brunch warm them slightly and drizzle almond butter on top.
They're perfect for lunchboxes too as a healthy treat that doesn't need refrigeration. They'll give lasting energy without the crash that comes from store-bought breakfast bars.
Ingredient Substitutions
Food restrictions shouldn't stop you from trying these squares. Swap almond flour for oat flour if you can't have nuts though it'll change the texture a bit.
You can use butter instead of coconut oil if you don't need the recipe to be plant-based. If you're avoiding coconut products melted butter works just as well in the same amount.
You can switch the maple syrup with honey if you want though it'll add its own flavor. You might need less since honey tends to be a bit sweeter than maple syrup.
 Pin it
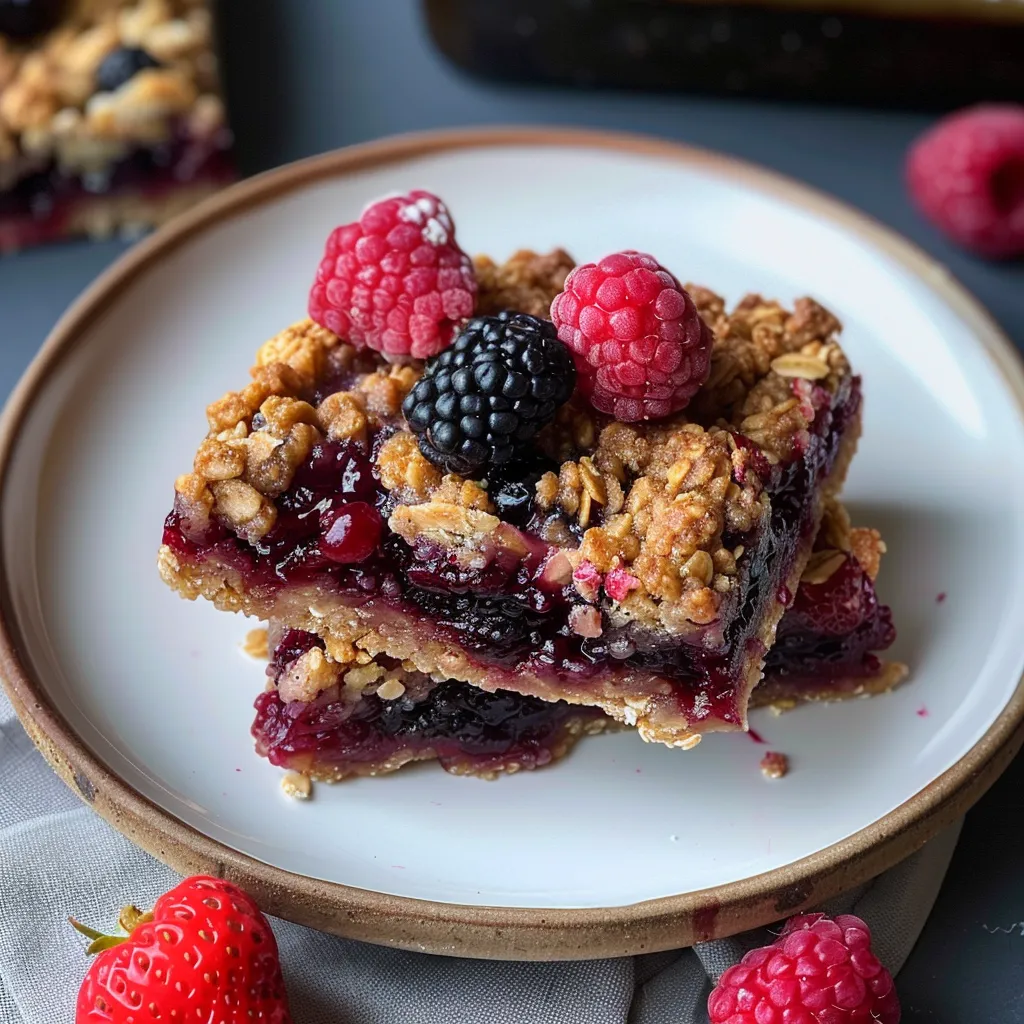
These fruity oat squares offer an easy yet tasty way to start your day with hardly any fuss.
Frequently Asked Questions
- → Is it okay to use fresh berries?
Absolutely, fresh berries are a great substitute. Just know that the cooking time for the filling might be shorter compared to using frozen ones.
- → Can I replace almond flour?
Sure, you can swap almond flour with oat flour or another gluten-free option, but the final result may feel slightly different in texture.
- → Why add tapioca starch to the filling?
It helps thicken the berry layer, giving it that smooth, jam-like texture when baked.
- → What’s the best way to store these bars?
Keep them fresh by storing in the fridge in a sealed container for up to 7 days. You can also freeze them to make them last longer.
- → Can I swap honey for maple syrup?
Of course! Honey works fine and will make them a bit sweeter, but it changes the flavor ever so slightly.
- → Are these bars safe for gluten-free diets?
Yes! Just double-check that your oats and flour are certified gluten-free.