 Pin it
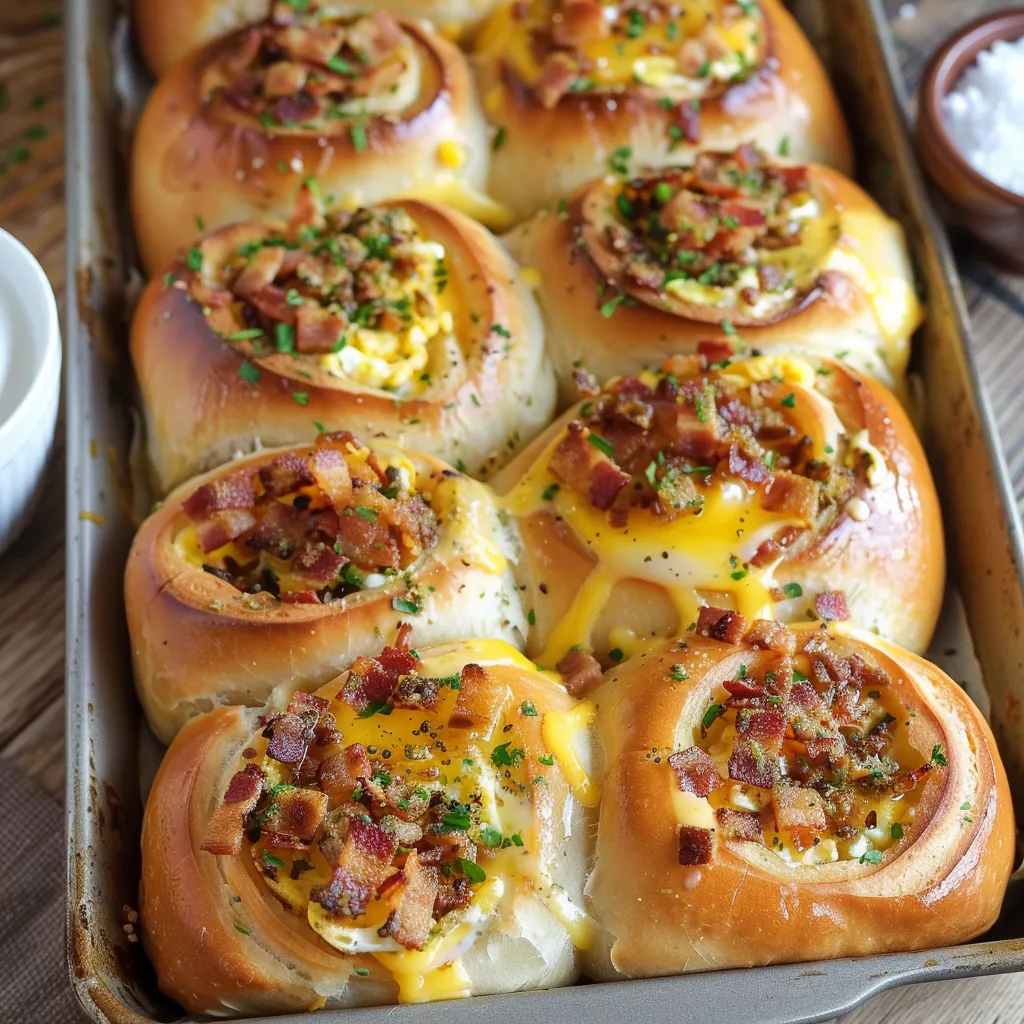
There's something almost magical when the smell of warm bread meets breakfast classics in these morning rolls. My kitchen gets filled with smells so good they'll make anyone jump out of bed. I've hosted countless weekend brunches, and this has turned into my favorite way to please guests - it packs all the best breakfast sandwich elements into one easy-to-hold bundle.
At our family get-together last Sunday, I watched my usually fussy nephew gobble down three of these! The real trick is spending enough time on your dough and picking fillings that really work well together.
Carefully Selected Main Components
- Flour: Grab unbleached all-purpose for best results. I weigh mine instead of using cups for better accuracy
- Yeast: Make sure your active dry yeast is fresh. Double-check when it expires and try it in warm milk first
- Milk: Go for whole milk for the tastiest dough. Warm it to around 110°F - it should feel just like warm bathwater
- Eggs: Pick large eggs and let them sit out until they reach room temp for both dough and stuffing
- Cheese: Grate your own instead of buying pre-shredded bags. I love mixing sharp cheddar with some stretchy mozzarella
- Bacon: Go for the thick slices for better taste and texture. Cook until it's crispy but not burned
 Pin it
Complete Step-by-Step Method
- Getting Your Dough Ready:
- Heat your milk to 110°F - check with your thermometer or wrist. Toss your yeast on top with a tiny bit of sugar. Wait till it gets foamy, around 5-10 minutes. Stir in your room temp egg and softened butter. Slowly add flour while mixing until you get a rough dough. Knead it until it feels smooth and stretchy, about 8-10 minutes.
- Initial Rising Period:
- Put your dough in a bowl with a bit of oil. Cover it with a damp towel or plastic. Let it sit somewhere warm until it doubles up, usually an hour. While waiting, get your fillings ready. Cook your eggs just until they're barely set - they'll finish cooking in the oven. Let everything cool off completely.
- Putting It All Together:
- Gently push the air out of your dough. Roll it into a big rectangle on a floured counter. Spread your cooled eggs all over it. Sprinkle bacon pieces and cheese on top. Leave an inch of space around the edges. Roll it up tightly from the long side, pinching the seam closed. Cut into 12 equal pieces using dental floss or a sharp knife.
- Final Rise and Oven Time:
- Put the rolls in a greased 9x13 baking dish. Cover loosely and let them puff up for 30 minutes. Heat your oven during this time. Brush some melted butter on top. Bake at 375°F until they turn golden brown. Turn the pan halfway through so they brown evenly.
- Last Touches:
- Let them cool for 5-10 minutes after baking. Brush with more butter if you want. Toss on some fresh herbs or extra cheese. They taste best when they're still warm.
I found out how important patience is when I first tried making these. I rushed through and ended up with tough, heavy rolls. Now I know that letting the dough take its time to rise makes everything better.
Managing Your Yeast
I've learned that yeast is basically alive. You need to be nice to it by using liquids at the right temp and giving it enough time to do its thing.
Mix Up Your Fillings
I've tried tons of different stuffing combos over time. My family goes crazy for the southwest version with chorizo, pepper jack, and some roasted peppers.
Prep Them Ahead
These rolls actually taste even better when they sit in the fridge overnight. The slow, cold rise brings out more interesting flavors in the dough.
Storing In The Freezer
When I freeze them, I wrap each roll in parchment paper before putting them in freezer bags. This stops them from sticking together and makes grabbing breakfast super easy.
This whole idea came from my love of both cinnamon rolls and breakfast sandwiches. One morning while making cinnamon rolls, I thought - what if I used my favorite breakfast stuff instead of cinnamon sugar?
Final Thoughts: These breakfast rolls really bring together comfort and ease. They show how breakfast can be both extra special and totally practical. Whether you've got a house full of guests or just need quick breakfasts for your week, they bring something memorable to the table. That combo of soft bread with tasty fillings keeps everyone asking for seconds.
 Pin it
Frequently Asked Questions
- → Can I prep these rolls in advance?
- Absolutely! Put them together the night before, keep them in the fridge, then bake them fresh in the morning.
- → What’s a good bacon swap?
- Sausage or ham works great, or go meat-free with some mushrooms.
- → What kind of rolls should I use?
- Hawaiian rolls are amazing, but soft dinner rolls do the trick too.
- → Can I toss veggies inside these?
- Totally! Spinach, bell peppers, or anything you like will work.
- → How should I store leftovers?
- Pop them in an airtight container in the fridge. They'll keep for up to 3 days and reheat well in the microwave or oven.
