Apple Pie Filling Canned

Featured in Desserts.

Finally got to canning apple pie filling! Spent close to 3 hours from start to finish. Clear-jel worked its magic for perfect texture while Granny Smith apples stayed solid. Followed all safety steps—no cutting corners. So satisfying hearing those lid pops! Ideal for winter comfort pies. Totally worth it.
A woman wearing an apron and smiling.
Updated on Thu, 10 Apr 2025 17:53:07 GMT
Three jars packed with apples in syrup sit next to a green apple. The scene is softened, with apples visible in the back. Pin it
Three jars packed with apples in syrup sit next to a green apple. The scene is softened, with apples visible in the back. | tasteofmoms.com

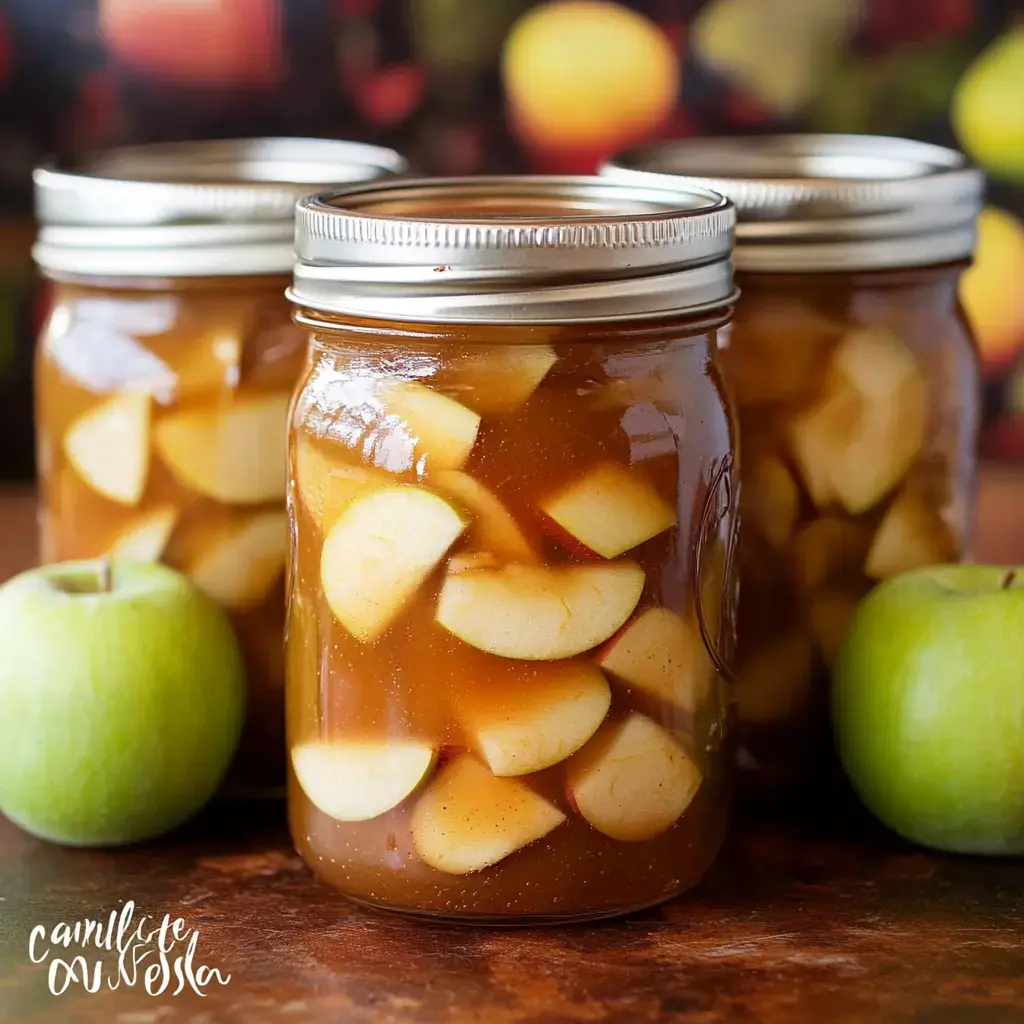
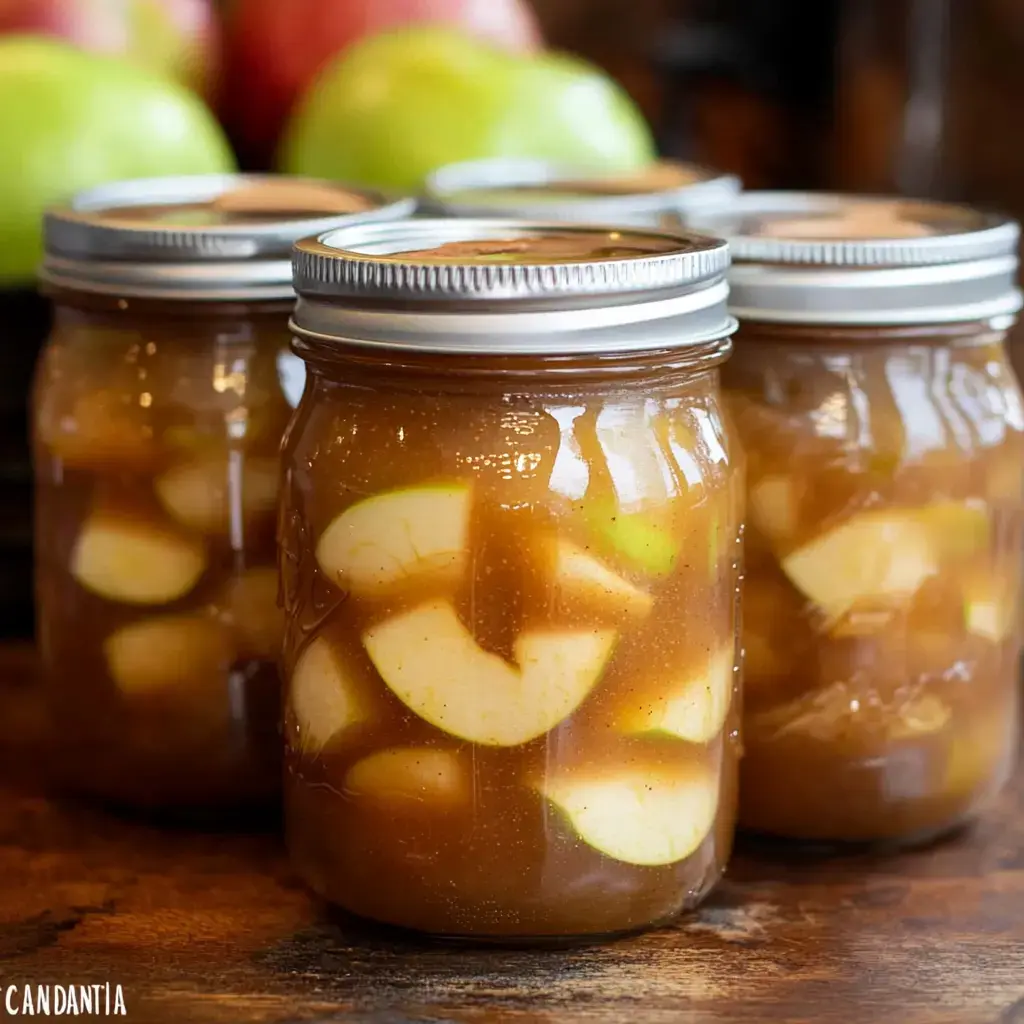
I've bottled up fall's warmest flavors in this home-canned apple pie filling. Each jar takes me straight back to those crisp autumn days spent gathering apples. The Clear Jel gives it just the right consistency, while the combo of cinnamon and nutmeg fills your kitchen with the most wonderful aroma. Nothing beats having these ready-made jars waiting in the cupboard for quick, no-fuss treats.

What Makes This Worth Your Time

There's so much you can do with this filling beyond just pies – try it on your breakfast waffles too. When you can it correctly, it stays fresh in your cupboard for at least 12 months. You'll also love how you can tweak the spice levels exactly the way your family likes it.

Your Shopping List

Go for crisp Granny Smith apples as they don't turn mushy during the canning process. You'll need Clear Jel specifically – it's the only safe thickener for canning projects. Real apple juice boosts the natural flavor, while cinnamon and nutmeg add that cozy warmth we all crave. Don't forget a bit of lemon juice to keep everything tasting lively.

The Canning Process

First, peel those apples and cut them into uniform slices for even cooking. Then make your syrup by mixing apple juice, sugar, Clear Jel and those warming spices until it gets nice and thick. Fold your apple slices into this mixture before carefully loading them into jars, making sure to push out any air pockets. Finally, process them correctly in either your water bath or pressure canner for jars that'll keep safely on your shelf.

Tricks For Success

Don't settle for anything but firm, fresh apples – Braeburn or Granny Smith are your best bet. Never swap out Clear Jel for other thickeners as it's the only one that's safe for canning. Stuff those jars as full as possible since less air means better preservation. Always double-check that your lids have sealed properly after cooling – they shouldn't pop when pressed.

Always At Your Fingertips

With these jars on your shelf, you're never more than minutes away from an amazing dessert. Just dump into a pie shell for a quick baked treat or warm it up and drizzle over some vanilla ice cream. This comes in super handy during busy holiday times when you want something homemade but don't have hours to spend in the kitchen.

Four jars containing apple pieces in syrup sitting on wooden table, surrounded by red and green fresh apples in background. Pin it
Four jars containing apple pieces in syrup sitting on wooden table, surrounded by red and green fresh apples in background. | tasteofmoms.com

Frequently Asked Questions

→ What's Clear-jel good for?
Clear-jel works great for canning since it keeps your mixture thick, unlike flour or cornstarch that tend to break down.
→ How long does it stay good?
If stored in a cool, dark spot after proper processing, it keeps up to a year and a half.
→ Why leave space at the jar's top?
Leaving space lets the food expand during heating and creates a tight, safe seal when cooled.
→ Can water bath work here?
Sure, you can try the water bath method too, but you’ll need to tweak the cooking times.
→ Why bother sterilizing jars?
Clean jars are a must! Sterilizing eliminates bad bacteria and ensures lids seal properly for safe keeping.

Conclusion

This guide walks you through making your own jarred apple pie filling step by step. From apple selection to getting the thickness just right with clear-jel, it covers safe methods you'll need for long-lasting storage.

Apple Pie Filling Canned

Step-by-step instructions for preserving apple pie filling using either a water bath or pressure canner. Fresh apples and clear-jel combine for a texture that's just right.

Prep Time
30 Minutes
Cook Time
40 Minutes
Total Time
70 Minutes
By: Ashley

Category: Desserts

Difficulty: Difficult

Cuisine: American

Yield: 7 Servings (7 quarts)

Dietary: Vegan, Vegetarian, Gluten-Free, Dairy-Free

Ingredients

01 7 quart jars with lids and rings.
02 1/2 teaspoon nutmeg.
03 1 teaspoon salt.
04 2 tablespoons lemon juice.
05 2 tablespoons cinnamon.
06 1 1/2 cups clear-jel.
07 4 1/2 cups white sugar.
08 8 cups water or apple juice.
09 8 pounds of Granny Smith apples.

Instructions

Step 01

Slice, peel, and remove cores from apples. Cut them however you like.

Step 02

In a big pot, combine juice, cinnamon, sugar, lemon juice, salt, nutmeg, and Clear-jel. Heat on low and whisk until syrup thickens.

Step 03

Put apples straight into jars, then pour syrup on top—or mix apples and syrup first, then fill jars. Leave an inch at the top.

Step 04

Wipe jar rims clean, secure lids and rings, then process in a pressure canner at 10 pounds pressure for 10 minutes.

Step 05

Let canner release pressure naturally. Take out jars and let them sit for 12-24 hours to seal.

Notes

  1. You could use a water bath canner instead if preferred.
  2. Keeps fine for up to a year and a half if stored cool and dark.
  3. Yields about 7 quarts in total.

Tools You'll Need

  • Large pot.
  • Canner for pressure.
  • Apple peeler and corer (if you want).
  • Quart jars with lids and rings.

Allergy Information

Please check ingredients for potential allergens and consult a health professional if in doubt.
  • None found.

Nutrition Facts (Per Serving)

It is important to consider this information as approximate and not to use it as definitive health advice.
  • Calories: 1009
  • Total Fat: 1 g
  • Total Carbohydrate: 259 g
  • Protein: 2 g