
 Pin it
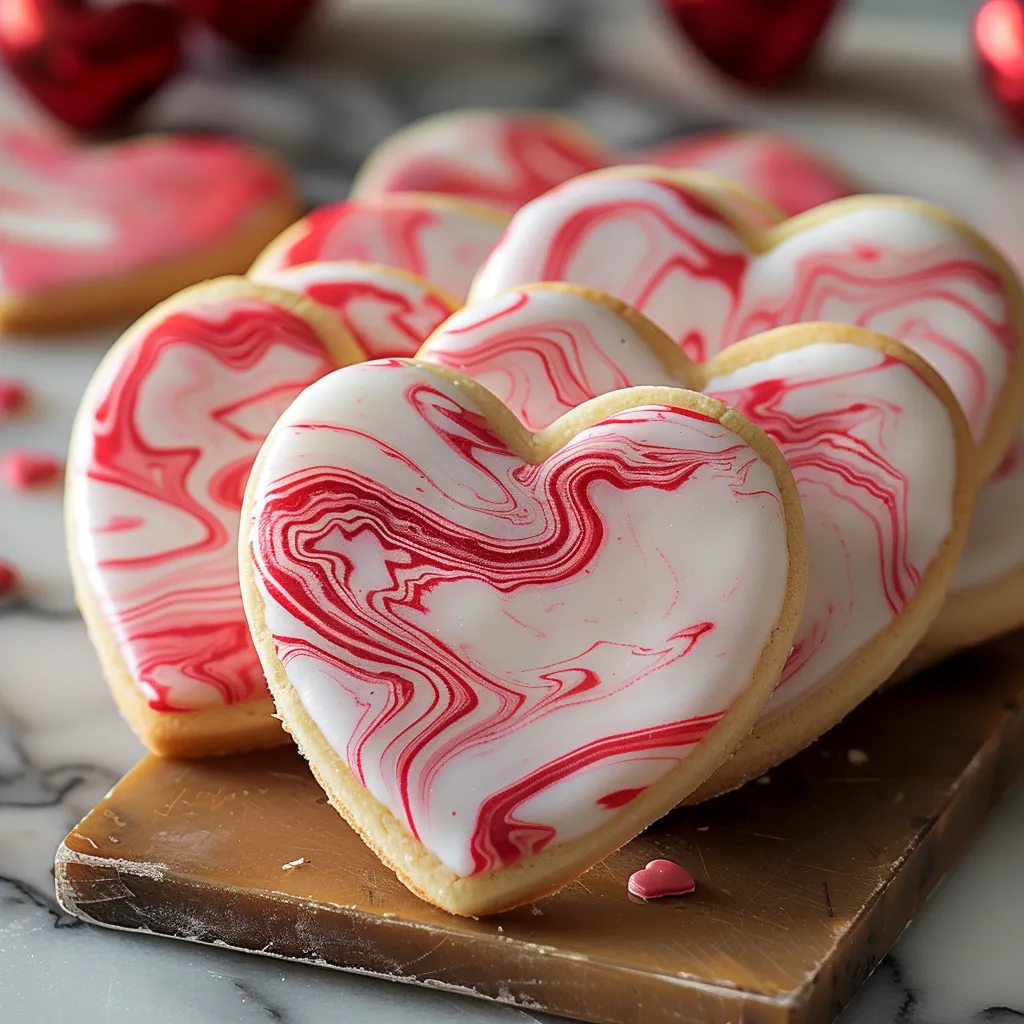
These swirled Valentine sugar cookies work pure magic with their gorgeous color patterns and melt-in-your-mouth softness. After tweaking this recipe through many test batches, I've found that making these eye-catching goodies isn't as tough as you might guess. Every cookie turns into its own little masterpiece, just right for showing someone you care on Valentine's Day or any other special day.
When I made these with my niece last Valentine's Day, seeing her excited face as she mixed the colors together made all the kitchen cleanup worth it. She started calling herself a 'cookie artist' and couldn't wait to show off her creations to her friends at school.
Key Ingredients
- All-Purpose Flour: Gives these cookies their soft foundation
- Unsalted Butter: Needs to be softened for proper mixing
- Granulated Sugar: Adds the right amount of sweetness and helps texture
- Large Egg: Holds everything together nicely
- Pure Vanilla Extract: Makes all other flavors taste better
- Baking Powder: Adds just enough puff to each cookie
- Gel Food Coloring: Makes bright swirls without making dough runny
 Pin it
Follow my simple steps for stunning cookies
- Mix Your Starter Dough:
- Beat butter and sugar till it's fluffy and light. Add egg and vanilla and mix well. In another bowl, combine dry stuff. Mix everything just until it comes together. Split the dough for adding colors.
- Make Your Marble Design:
- Put gel colors into your divided dough pieces. Take small bits of each color. Press colors together gently. Don't mix too much or you'll lose the pattern. Roll into even-sized balls.
- Form Your Cookies:
- Put your colored dough balls on lined cookie sheets. Leave 2 inches between each one. Push down lightly with a fork or cookie stamp. Keep the pretty patterns showing on top. Cool dough if it gets too warm.
- Bake Them Just Right:
- Keep your oven steady at 350°F. Look for slightly golden edges. Pull them out before they brown to keep softness. Let cool fully before picking up. Move them carefully so they don't break.
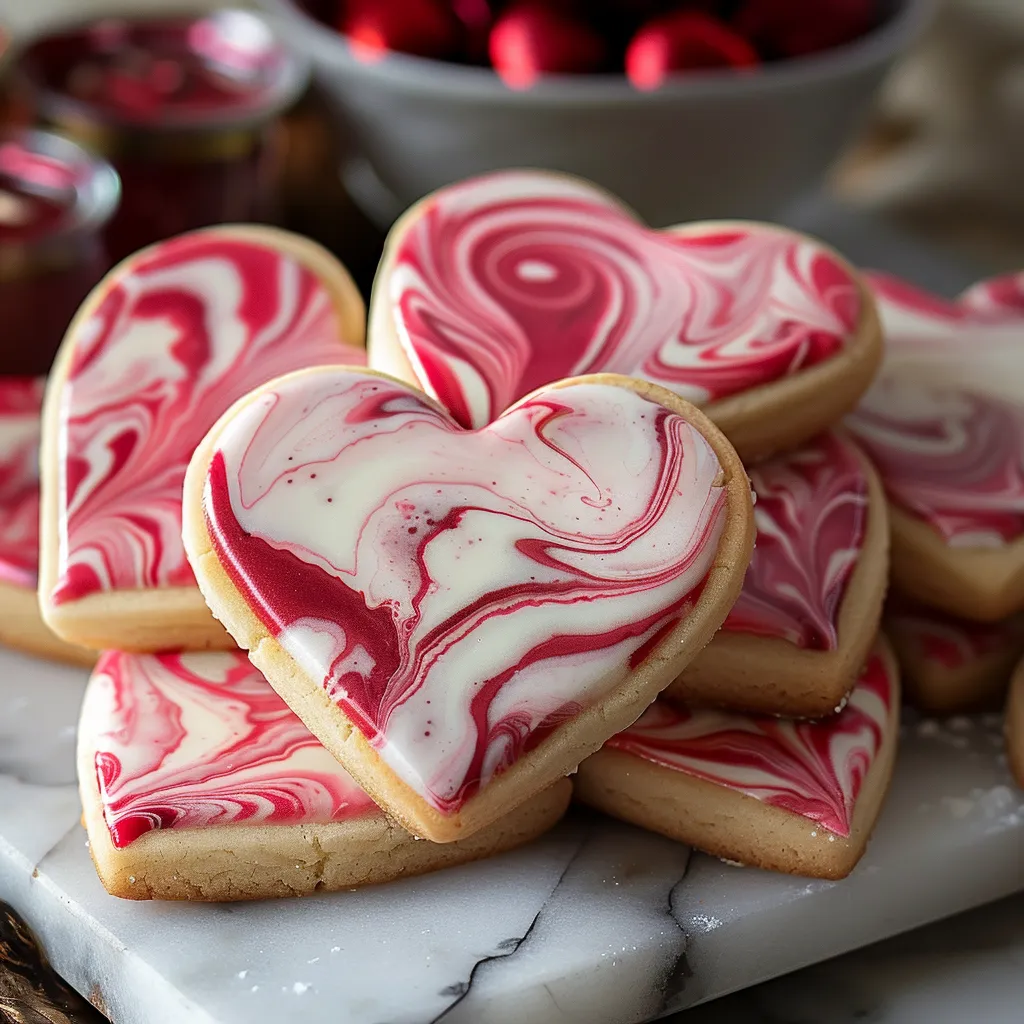
The first time I tried making marble patterns, I ended up with a brownish blob because I mixed too much. Now I know that less handling creates those pretty, separate swirls that make everyone say 'wow' when they see these cookies.
Stunning Serving Ideas
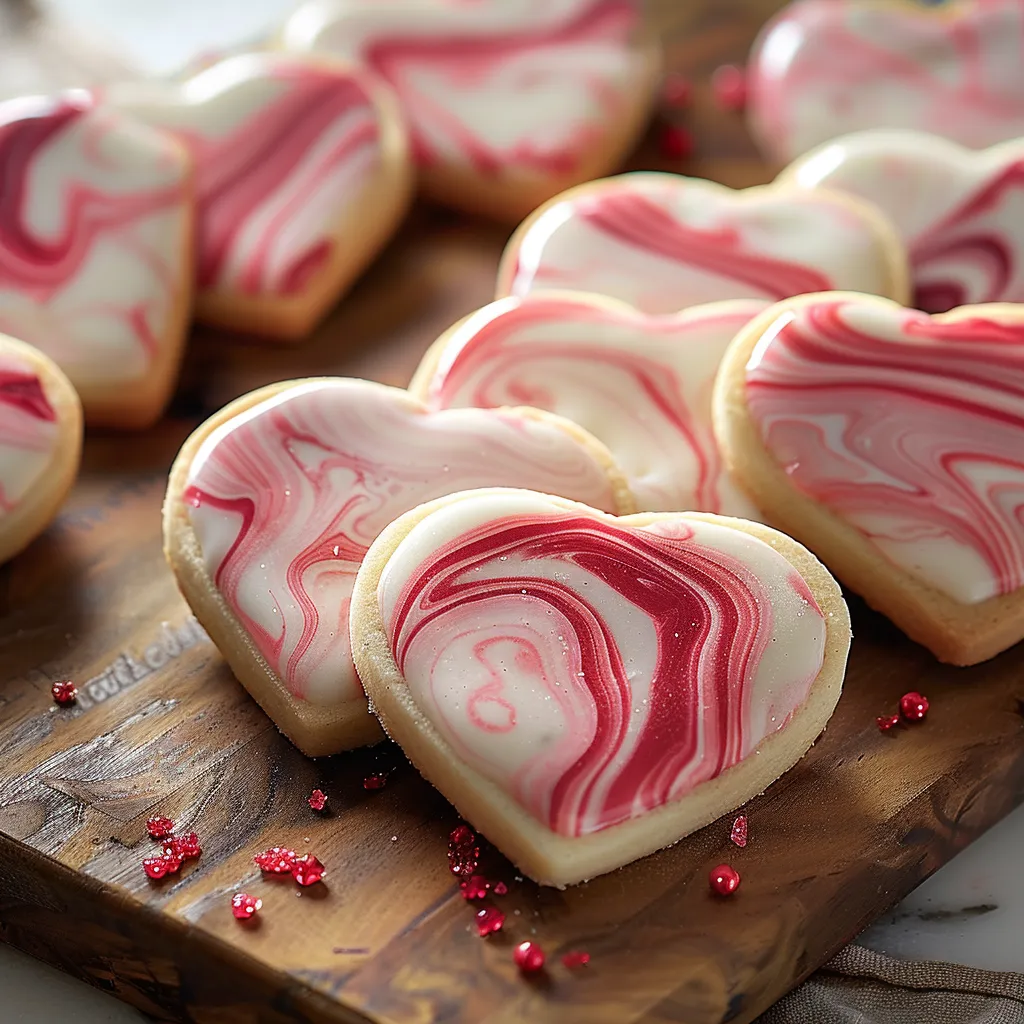
These cookies look amazing on a plain white plate that shows off their colorful patterns. I've discovered that placing them in a circle creates a real showstopper when bringing them to parties or packing them in gift boxes.
Try Different Colors
Pink and white work great for Valentine's Day, but I've played around with other holidays too - try orange and black for Halloween, or red and green at Christmas time. Each color mix creates its own special look.
Prep Ahead Tricks
You can make this dough and chill it overnight, which makes holiday baking way less stressful. I often mix up twice as much and freeze half the shaped cookie balls for when I need treats in a hurry.
These marbled Valentine cookies aren't just a treat in our family - they've become something we look forward to making. Whether they're handed out at school events, wrapped up as presents, or enjoyed at home with some cold milk, they always bring smiles and wonder. That mix of buttery sweetness and pretty swirls makes something really special that everyone wants seconds of.
 Pin it
Frequently Asked Questions
- → How can I get bold marbled swirls?
- Combine colored doughs gently, twisting them without fully blending for clear marble patterns.
- → Is it possible to prepare the dough early?
- Absolutely! Keep it in the fridge for up to 48 hours or frozen for 12 weeks.
- → What’s the advantage of using gel coloring?
- Gel adds bright color without messing up the dough's consistency.
- → How can I tell if the cookies are baked just right?
- They’re done when the edges turn faintly golden, but the centers stay nice and soft.
- → Can I try other color combinations?
- Of course! Match them to other holidays or your favorite themes using different gel colors.