
 Pin it
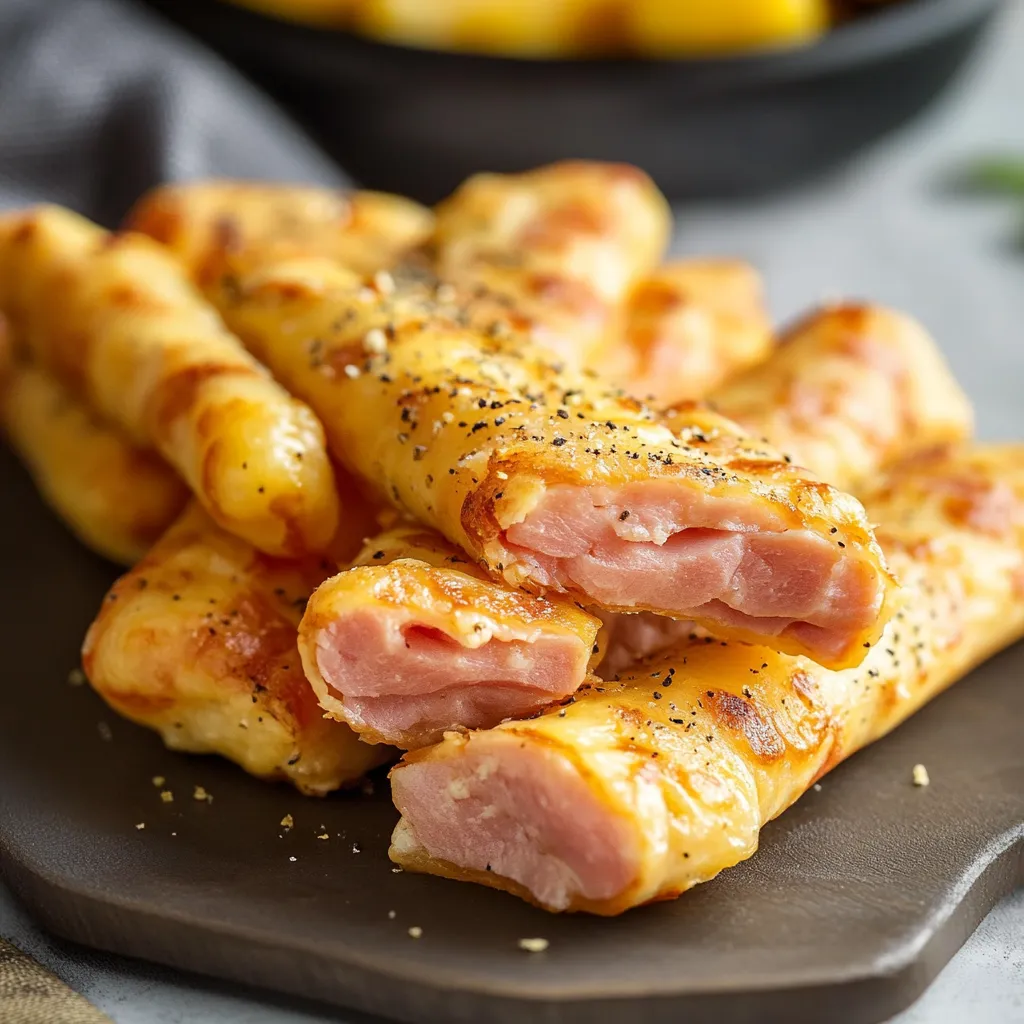
Cheese and Ham Sticks have transformed from basic lunchbox snacks into a flexible, crowd-favorite starter that fits perfectly at both casual get-togethers and fancy morning meals. Through trying many different versions, I've found that the real trick comes from balancing buttery pastry, flavorful ham, and gooey cheese, making snackable treats that vanish right away.
When I first brought these to a morning party, nobody thought I'd made them myself. The key is grabbing top-notch ingredients and putting them together the right way.
Key Components and Shopping Advice
- Crescent Rolls: Stay in fridge until you're ready
- Ham: Pick premium deli cuts with some thickness
- Cheese: Grab types that melt well
- Butter: Go for unsalted to manage saltiness
- Worcestershire: Gives that extra flavor kick
- Seasonings: Grab fresh herbs when you can
 Pin it
Step-by-Step Making Instructions
Working With The Dough
- Store in cold until it's time to start
- Open slowly to keep it intact
- Squish perforations together
- Give it a minute to soften up
- Use a cool countertop
Stacking Ingredients Right
- Spread ham with edges touching
- Drop cheese in key spots
- Keep edges clear for closing
- Don't stuff too much inside
- Arrange fillings down the middle
How To Roll Properly
- Begin from the longer side
- Roll firmly but don't squish
- Close all edges completely
- Press seams down tight
- Put sealed side underneath
Adding The Butter Mix
- Mix butter with your spices
- Paint all over the outside
- Sprinkle more seasoning if wanted
- Keep your butter mix soft
- Brush right before they go in the oven
Cooking To Perfection
- Use middle rack in your oven
- Keep heat even throughout
- Look for nice brown color
- Check underneath for doneness
- Let them rest a few minutes
My best party trick is making these ahead and popping them in the oven when guests arrive - the smell brings everyone running to the kitchen!
 Pin it
These Cheese and Ham Sticks have become what I always make for both everyday hangouts and special celebrations. The mix of crispy dough, tasty ham, and melted cheese creates perfect little nibbles that everyone loves. Whether you're feeding hungry kids after school or hosting a fancy brunch, these adaptable snacks turn out yummy every single time.
Frequently Asked Questions
- → Can these be frozen uncooked?
- Definitely! Assemble them first, freeze on a tray, and then move to a freezer bag. Add slight extra bake time when cooking from frozen.
- → What dips go best with these?
- Ranch dressing, marinara, or honey mustard are awesome dipping options.
- → Can I use other cheeses?
- Of course! Swiss adds nuttiness while Gouda makes it smoother.
- → How do I tell when they're done?
- Watch for a golden-brown color after 12-15 minutes of baking.
- → How can I make a gluten-free version?
- Simply swap for gluten-free dough and you're good to go.