
 Pin it
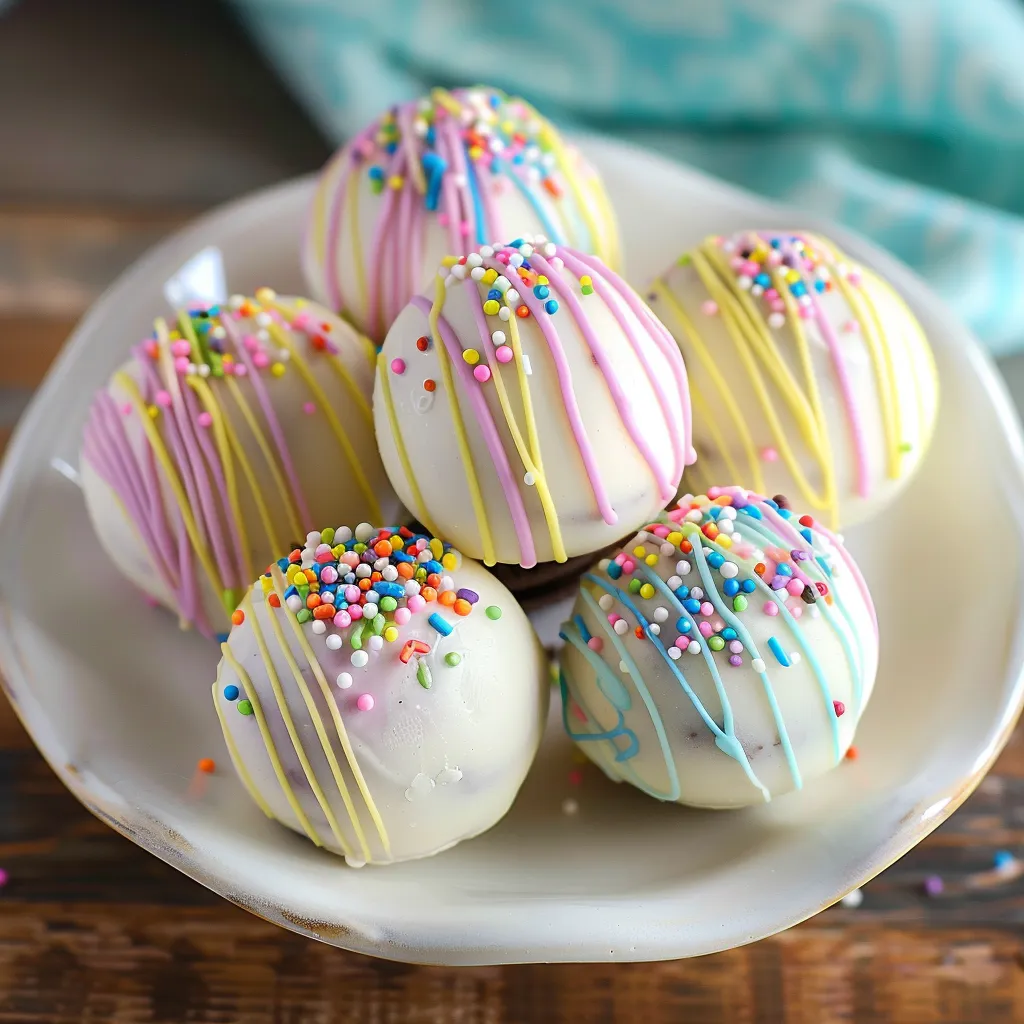
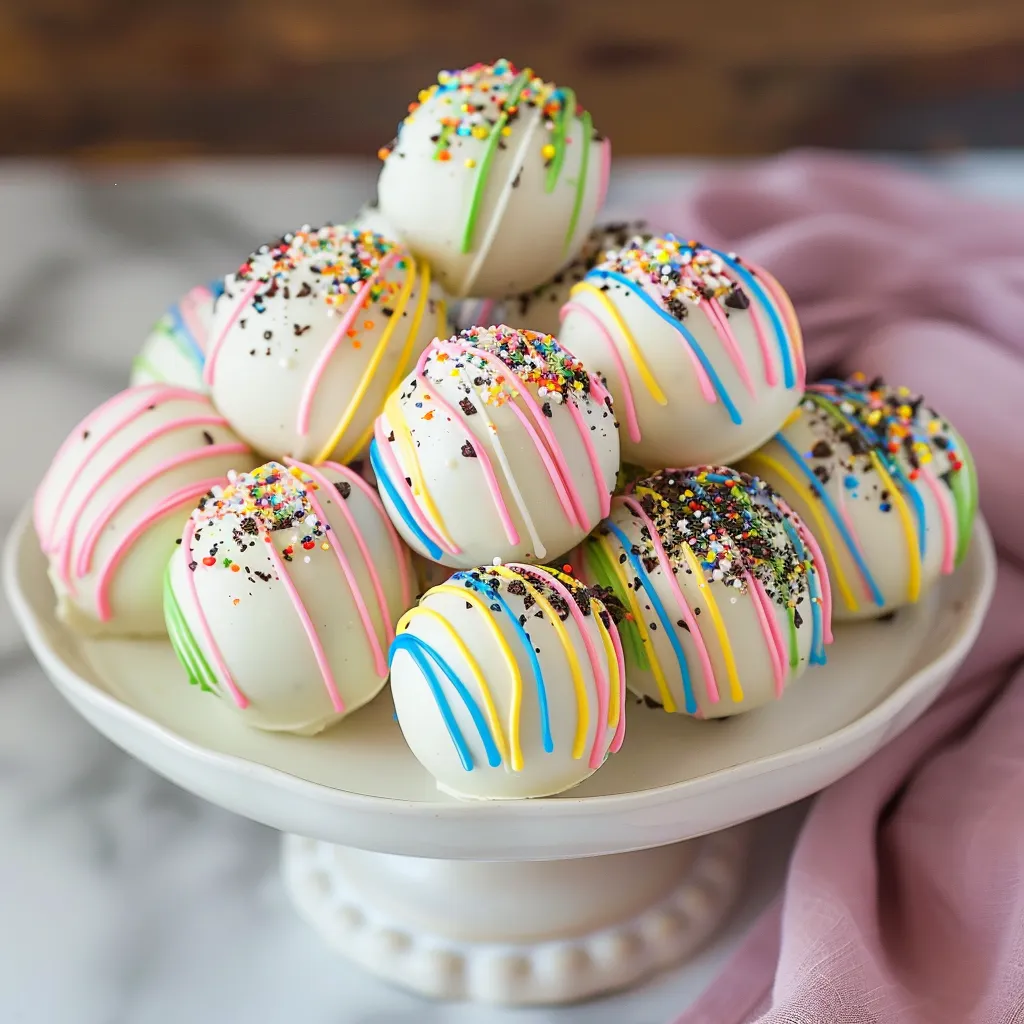
These adorable Easter Egg Oreo Cookie Balls turn basic ingredients into cute springtime treats that bring out the season's happiness. I first stumbled upon this idea while having Easter fun with my nieces, and now we can't imagine the holiday without making these sweet little eggs together – it's our special kitchen moment we look forward to every year.
When my little niece (just 6 at the time) finished adding pastel swirls to her eggs last Easter, she looked up with the biggest smile and told me they were the 'prettiest eggs ever.' That moment made all the sticky countertops totally worth it.
Key Ingredients
- Golden Oreos: Their light vanilla taste works great as your decoration foundation
- Cream Cheese: Needs to sit out until completely soft for easy mixing
- White Candy Coating: Go for something good quality to get that smooth outer layer
- Gel Food Colors: They give you bright colors without making your coating runny
 Pin it
Step-By-Step Guide
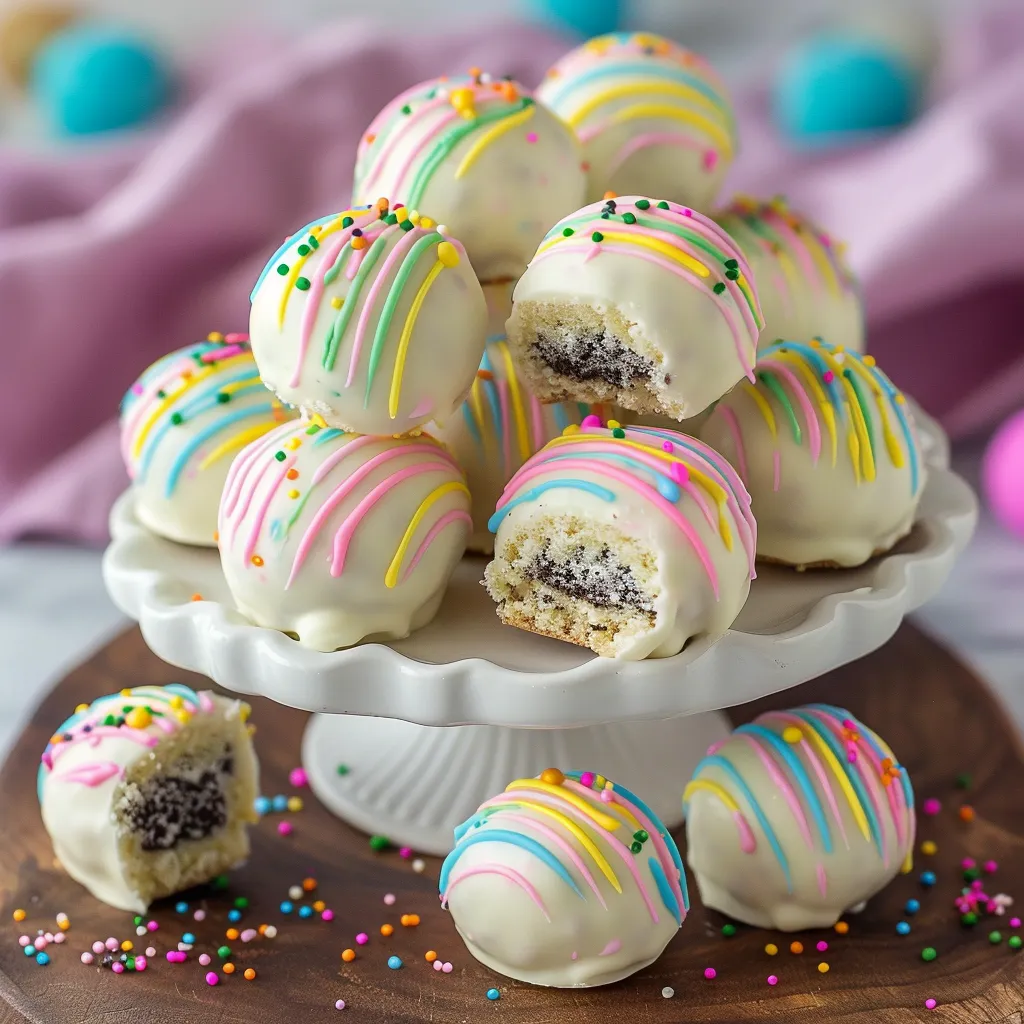
- Crush Those Cookies Right
- Run Oreos through food processor until they're super fine. You don't want chunks left. Dump them in a big bowl. Use your fingers to break up any stubborn pieces. Save a small handful for fixing any coating issues later.
- Mix Up Your Dough
- Add your room-temp cream cheese to your cookie crumbs. Mix everything by hand until it all comes together. You want it feeling like soft play dough. Too mushy? Add more crumbs. Too crumbly? Drop in tiny bits more cream cheese.
- Shape Into Eggs
- Use a tablespoon to grab mixture. Roll it between your hands into a ball first. Then gently squeeze one end to make it egg-shaped. Smooth out any cracks with warm fingers. Put them on a tray lined with parchment. Chill in the fridge until firm (an hour minimum).
- Dip For That Smooth Finish
- Melt your candy coating bit by bit in the microwave. Keep stirring between heating. Make sure it's warm but not too hot. Stick a toothpick in the bottom of each egg. Dip it in, then tap gently to get rid of extra coating. Let them set on parchment.
My biggest aha moment was finding out that popping the shaped eggs in the freezer for just 15 minutes before dipping makes the whole coating process way easier.
Watch Those Temperatures
Getting these treats just right comes down to temperature. You need soft cream cheese for mixing, cold eggs for dipping, and perfectly melted coating that's not too hot. Get these temps right and your treats will look amazing.
Prep Them Early
You can shape your eggs up to 3 days before and keep them in the fridge. Just wait to coat and decorate them on the day you'll be serving them.
These Easter Egg Oreo Cookie Balls aren't just treats – they've become a special part of how our family celebrates Easter. What makes them so wonderful is how easy they are and how happy they make everyone who makes and eats them. They might take some time to decorate, but that's half the fun. Don't worry about making them perfect – each uniquely decorated egg adds something special to your Easter get-together.
 Pin it
Frequently Asked Questions
- → How long do these treats last?
- Keep them in the fridge for up to a week.
- → Can I swap in regular Oreos?
- Absolutely! Regular Oreos work for a chocolate variation.
- → Why is room temperature cream cheese necessary?
- It mixes with the Oreo crumbs more evenly for a smoother result.
- → What’s the easiest way to dip the eggs?
- Stick a toothpick into the egg’s bottom, dip, and gently twist it out of the coating.
- → How many colors should I add when decorating?
- Use as few or as many as you'd like—5 colors are suggested for a vibrant look, but it’s all up to you.