
 Pin it
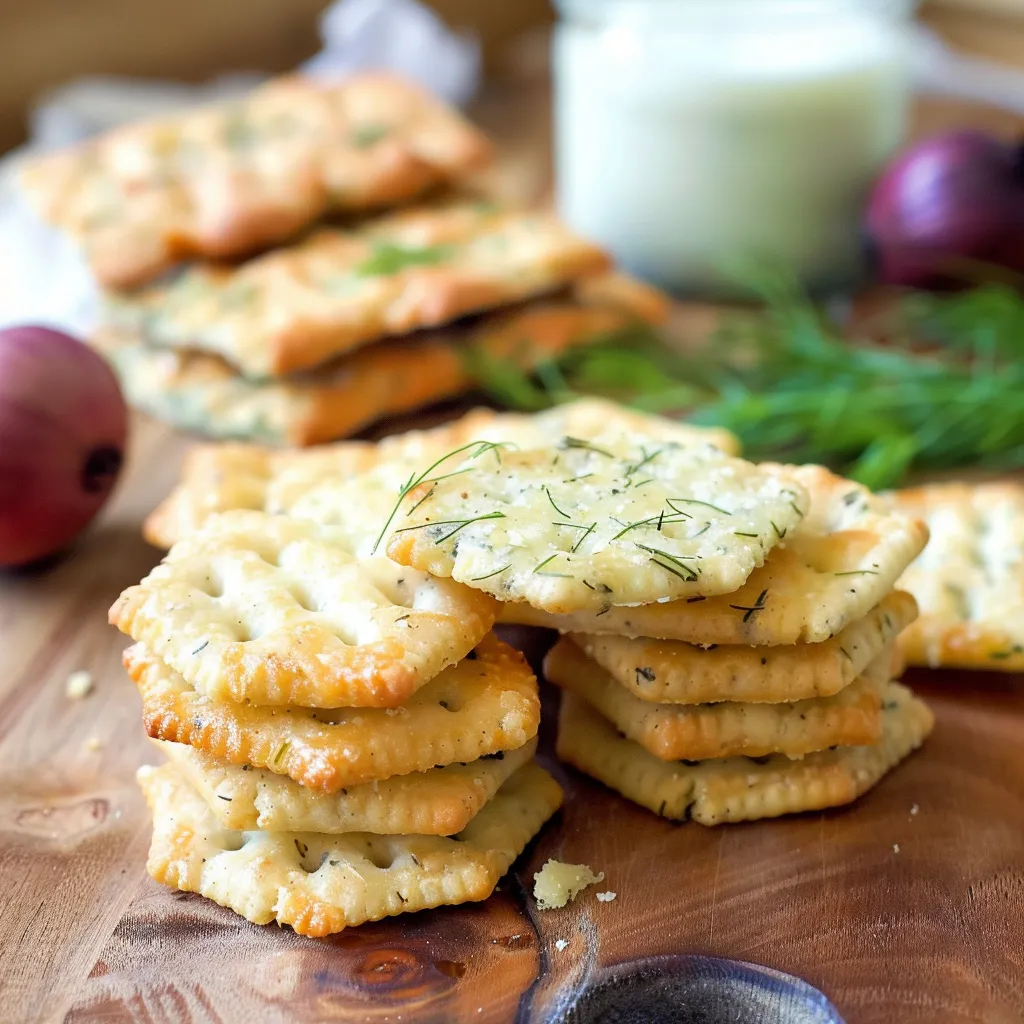
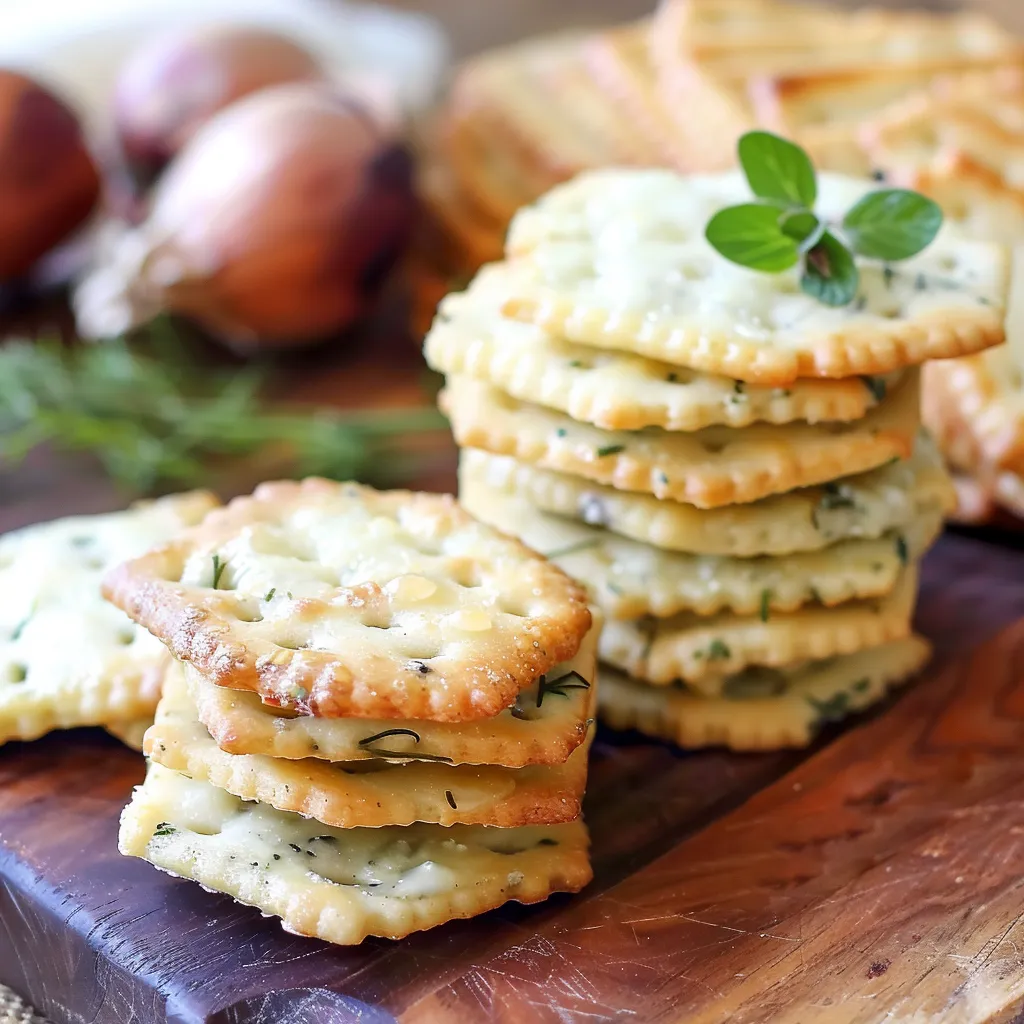
These crispy homemade dill cheese crackers turn basic kitchen staples into crunchy, tasty treats that are way better than boxed versions. The mix of aged cheese with fresh dill makes these snacks downright addictive whether you're hosting friends or just need something to munch on.
I came up with these crackers while planning a wine night and wanted something homemade but impressive. They vanished in minutes, and now everyone asks me to bring them whenever I'm invited anywhere.
Ingredients
- All-purpose flour: Works as the main structure while keeping everything light and crunchy
- Cold butter: Makes those lovely flaky layers throughout for that perfect crumble when you bite
- Aged Havarti Cheese or Gruyère: Gives that rich taste that gets even better while baking
- Fresh dill: Brings bright herb flavors that work so well with the cheese
- Heavy cream: Holds everything together and adds a nice richness
- Salt: Boosts all the flavors while cutting through the rich cheese
- Onion powder: Adds a mild savory background without taking over the dill flavor
 Pin it
Step-by-Step Instructions
- Make Your Dough:
- Throw the grated cheese, diced cold butter, flour, salt, onion powder, and dill into your food processor. Give it quick pulses until it looks like rough sand with small butter bits still visible. Slowly add the cold cream, one tablespoon at a time, pulsing until the dough starts coming together. Don't overdo the mixing.
- Chill the Dough:
- Dump the crumbly mix onto plastic wrap. Press it into a 1-inch thick disk, wrap it up tight, and stick it in the fridge for at least 2 hours or overnight. This chilling step really helps the texture.
- Get Ready to Bake:
- Turn your oven to 400°F. Put parchment paper on your baking sheet to make cleanup super easy.
- Shape Your Crackers:
- Put the cold dough between parchment sheets and roll it to 1/4 inch thick. Cut shapes using cookie cutters or just slice with a pizza cutter. Carefully move them to the baking sheet, leaving some space between each. Poke them with a fork so they don't puff up weird.
- Bake Until Done:
- Cook at 400°F for 10-12 minutes, turning the pan halfway. Look for golden edges and dry middles. Let them cool right on the pan so they get nice and crispy.
The real magic in these crackers comes from the aged cheese. I tried making them once with fresh mozzarella and they just weren't good. The aged stuff has less water and more concentrated flavor that really makes these crackers special. My grandma always told me to buy the best cheese I can afford for recipes where it's the main star.
Prep Ahead Perks
These dill cheese crackers actually taste better a day after you bake them. The flavors mix together and get stronger, so they're perfect for making before your get-together. You can make the dough up to three days early and keep it wrapped tight in the fridge. You can even freeze the rolled, uncut dough for up to a month, then let it thaw in the fridge overnight before cutting and baking. This makes them super handy when friends drop by unexpectedly.
Keeping Them Fresh
Keep your fully cooled crackers in a sealed container at room temperature for up to 5 days. For extra crispness, toss in a small silica packet or piece of paper towel to soak up moisture. If they get soft, you can crisp them back up in a 300°F oven for about 5 minutes. These crackers freeze really well after baking—just put parchment between layers and freeze in bags for up to 3 months.
Mix It Up
The basic dough works great with all kinds of flavor combos. Swap the dill for rosemary and use Parmesan instead of Havarti for an Italian feel. Try different cheese and herb mixtures like cheddar with chives or blue cheese with thyme. Add a bit of cayenne if you want heat, or mix in finely chopped nuts for some crunch. This simple base recipe lets you change things up for any occasion.
 Pin it
These tasty crackers will quickly become a household favorite. Bring them to your next party and get ready for all the compliments!
Frequently Asked Questions
- → Can I switch the cheese type?
Sure! Gruyère or another sharp, aged cheese works great. It'll add a nice depth to both flavor and texture.
- → Can I prepare the dough in advance?
Yes, you can! Keep it in the fridge for two days or freeze it up to a month. Let it soften a bit before you roll it out.
- → What’s a good dill alternative?
If fresh dill’s not handy, use dried dill. About 1 1/2 teaspoons should work nicely for this snack.
- → What’s the trick for ultimate crispiness?
Keep the dough thin, prick holes so it doesn’t puff, and bake to golden perfection. Fully cool them for the best crunch.
- → Can I tweak the seasoning?
Of course! Feel free to mix in a bit of rosemary, thyme, or chili powder to create your own tasty version.