
 Pin it
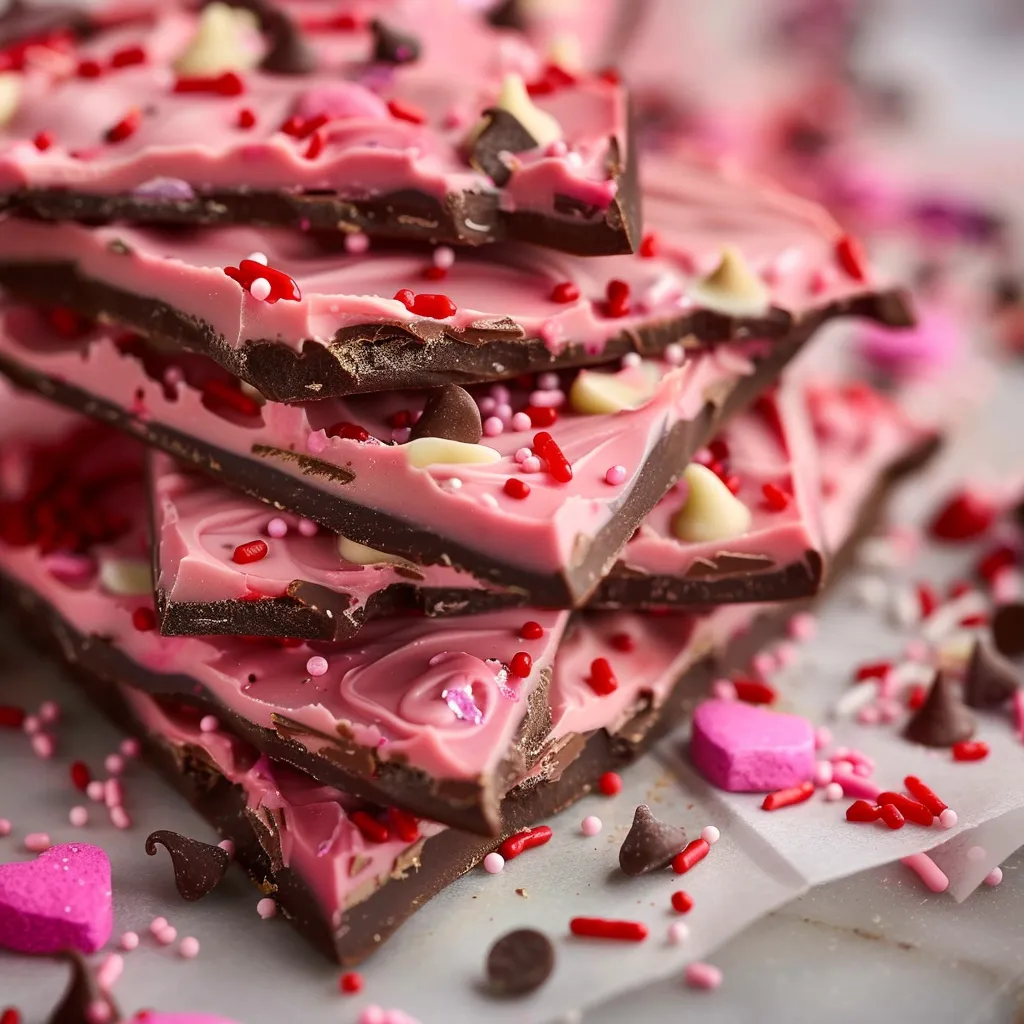
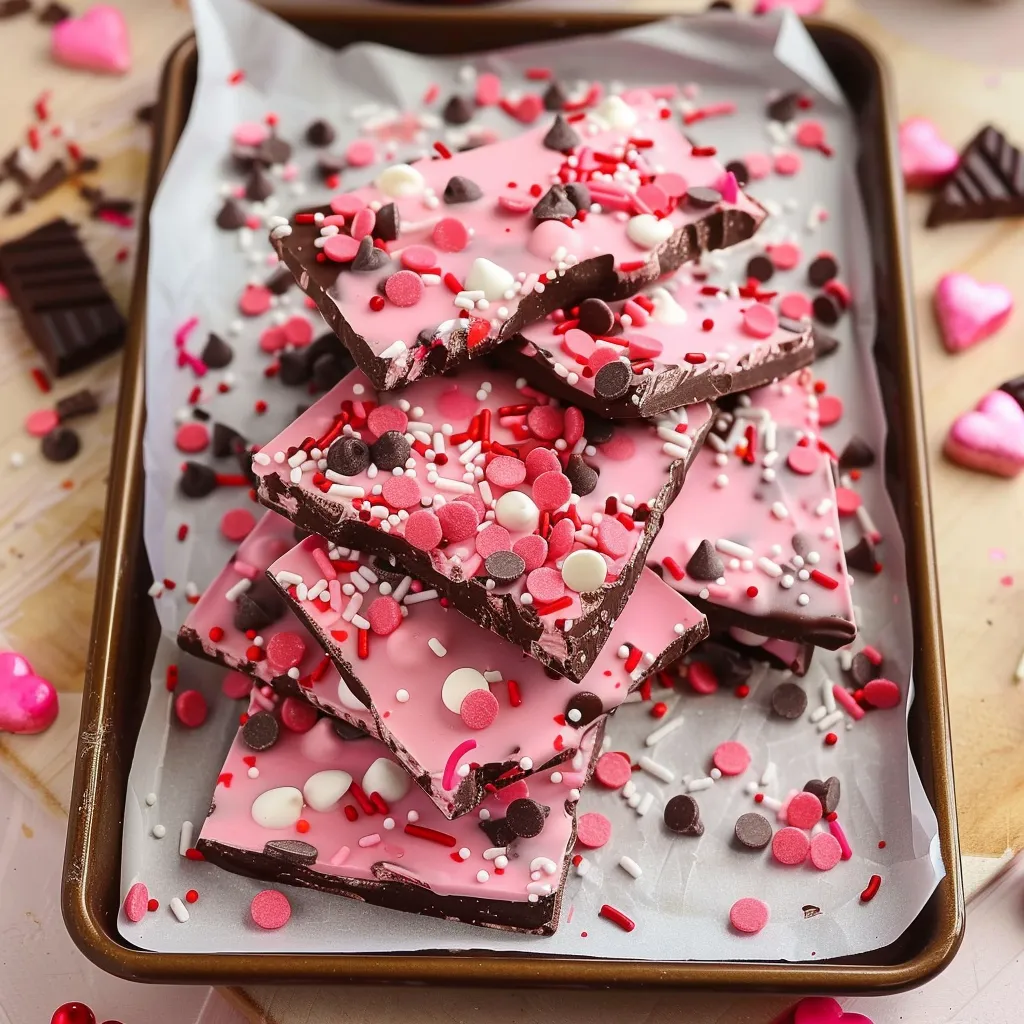
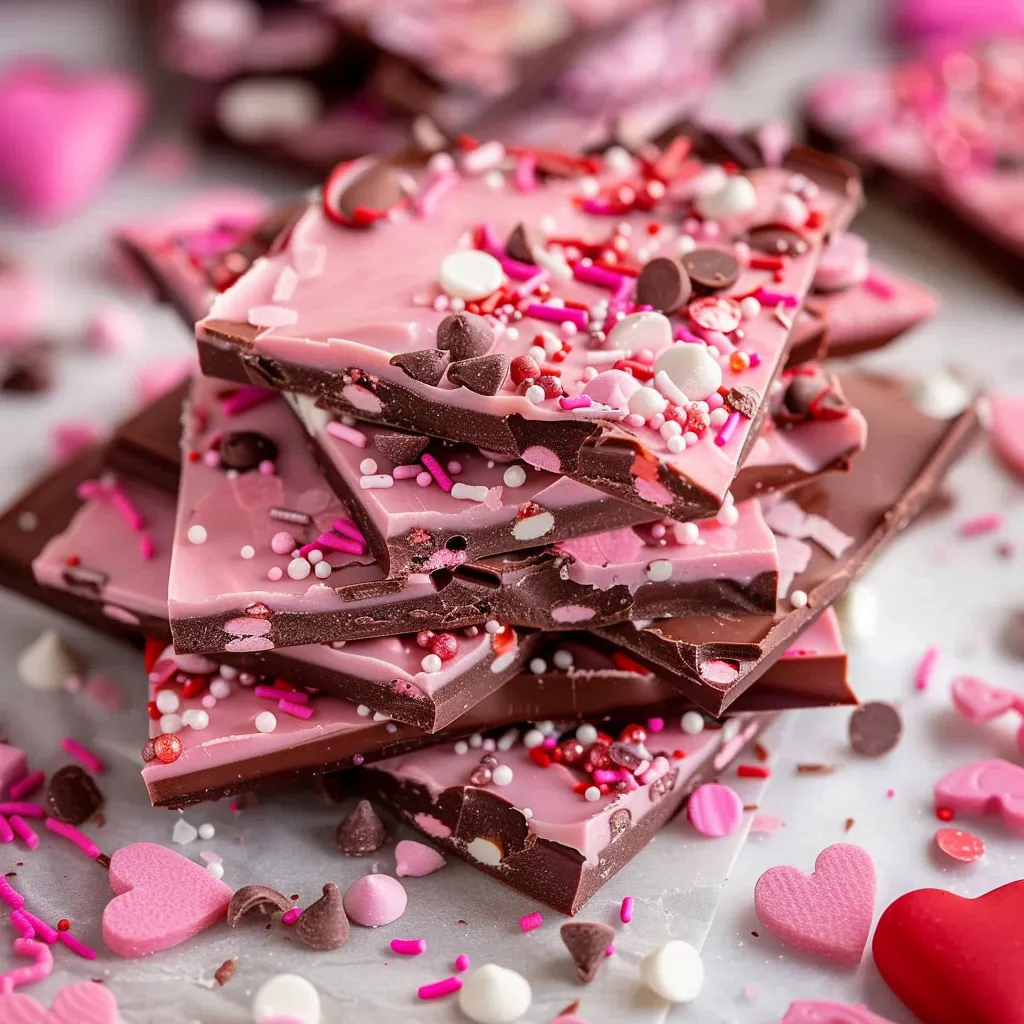
Making chocolate bark always brings a smile to my face when Valentine's comes around. I've played with so many different chocolates and decorating methods over the years and found that this easy treat can turn into something amazing with a few clever touches. The way the dark and pink chocolate swirl together makes each piece look different - like tiny art pieces you can eat.
Last Valentine's, my niece helped me make this bark and she couldn't stop grinning as she made swirly patterns in the melted chocolate. Getting good results comes down to warming the chocolate just right and working fast while it's still runny.
Perfect Ingredient Picks
- Semi-sweet Chocolate: Go for good quality chips or bars with actual cocoa butter inside
- White Chocolate: Check that cocoa butter is on the ingredients list, not cheaper palm oil
- Pink Candy Melts: These work better than food coloring and keep their pretty shade
- Sprinkles: Mix tiny ones with bigger shapes for a fun look
- Parchment Paper: Can't do without this for getting the bark off cleanly
 Pin it
Step-by-Step Cooking Guide
- Chocolate Preparation:
- Cut chocolate bars into small, even chunks if you're not using chips. Make sure bowls and tools are completely dry. Heat in the microwave using short 20-second bursts. Always stir between heating. Keep dark chocolate under 90°F for best results.
- Spreading and Layering:
- Put parchment on your baking sheet with some hanging over the sides. Pour your melted semi-sweet chocolate in the middle. Use an offset spatula to spread it out evenly. Don't dawdle - work while the chocolate is still flowing. Try to make it the same thickness everywhere. Tap the sheet a few times to pop any air bubbles.
- Creating the Marble Effect:
- Pour your pink and white mixture in skinny lines. Go wild with a random pattern across the top. Grab a toothpick or knife tip to make swirls. Don't mix too much or you'll lose the pretty colors. Keep some spots distinctly pink or white. Toss on sprinkles before the chocolate hardens.
- Setting Process:
- Put the tray in your fridge on a level shelf. Don't poke the bark while it's cooling. Give it about 30 minutes to get firm. Let it sit out for 5 minutes before you break it up. Snap it into uneven chunks for that homemade vibe.
- Storage and Presentation:
- Keep pieces separated with parchment between layers. Store somewhere cool and dry. Pack pieces in cute boxes or bags. Add a nice ribbon or decoration. They taste best when not too cold.
The first time I tried making marble bark, I learned you can't rush it. If you hurry the melting or swirl too much, you won't get those pretty patterns.
Getting The Heat Just Right
It took me a while to get good at warming chocolate correctly, but it's worth learning for chocolate that breaks with a snap and looks glossy. I now stick a candy thermometer in to make sure I've got it just right.
Playing With Colors
After trying lots of combinations, I've found that simple is better for swirl designs. Too many different colors end up looking jumbled instead of artistic.
I started making this when I wanted Valentine's gifts that felt more personal than store-bought stuff. No two batches look the same, so it always feels made just for that person.
Last Thoughts: Valentine's chocolate bark isn't just tasty - it's a chance to make something pretty and meaningful. Whether you're creating gifts or having fun with the kids, making it is half the fun. The mix of chocolates, careful swirling, and thoughtful decorations gives you something that looks awesome and tastes even better.
 Pin it
Frequently Asked Questions
- → Can other chocolate types work?
- Absolutely, swap semi-sweet with milk chocolate or use colorful candy melts for variety.
- → Why melt chocolate in small bursts?
- Quick bursts help the chocolate melt smoothly without burning or clumping.
- → How should I keep the bark fresh?
- Use an airtight container. It lasts two weeks at room temp or longer in the fridge.
- → Can this be prepped early?
- Yes, make it up to two weeks before and keep it sealed tight.
- → What if I’m out of pink melts?
- You can tint white chocolate with a little pink food coloring instead.