
 Pin it
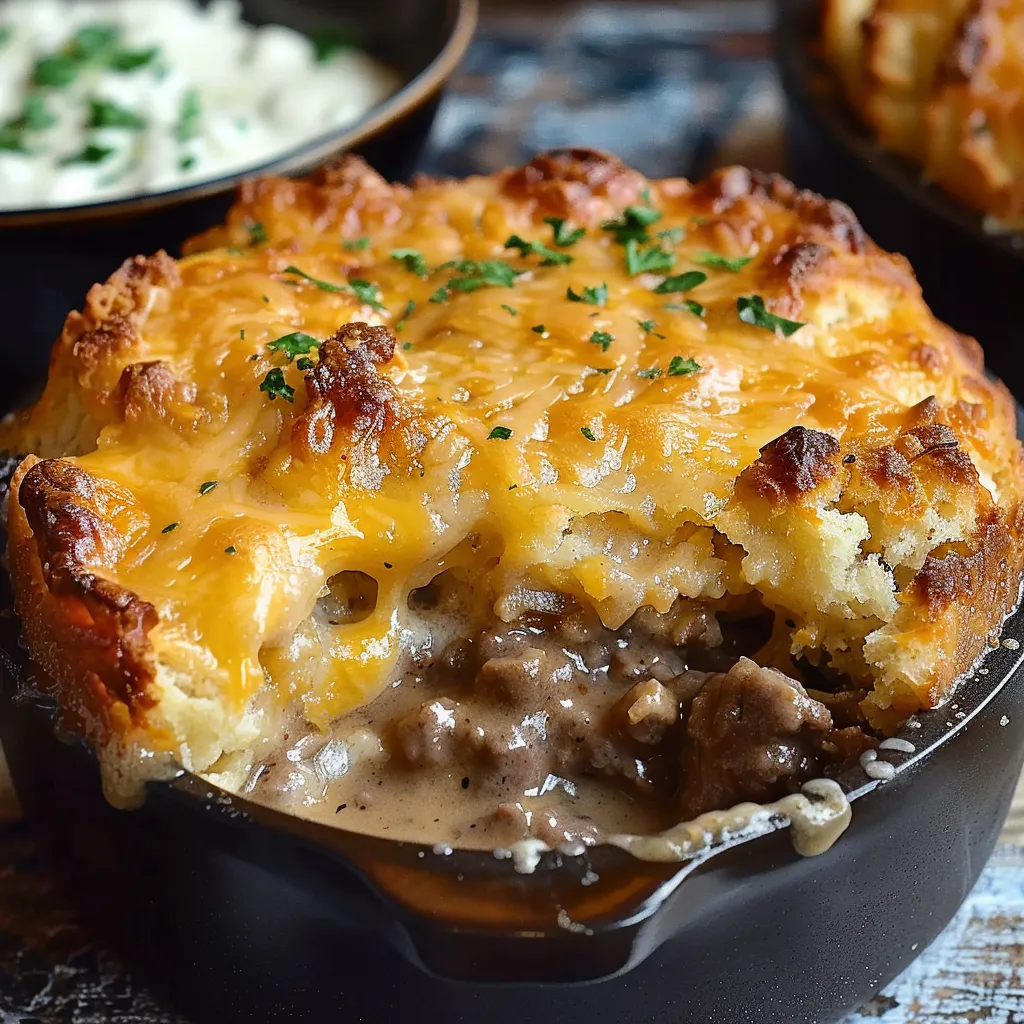
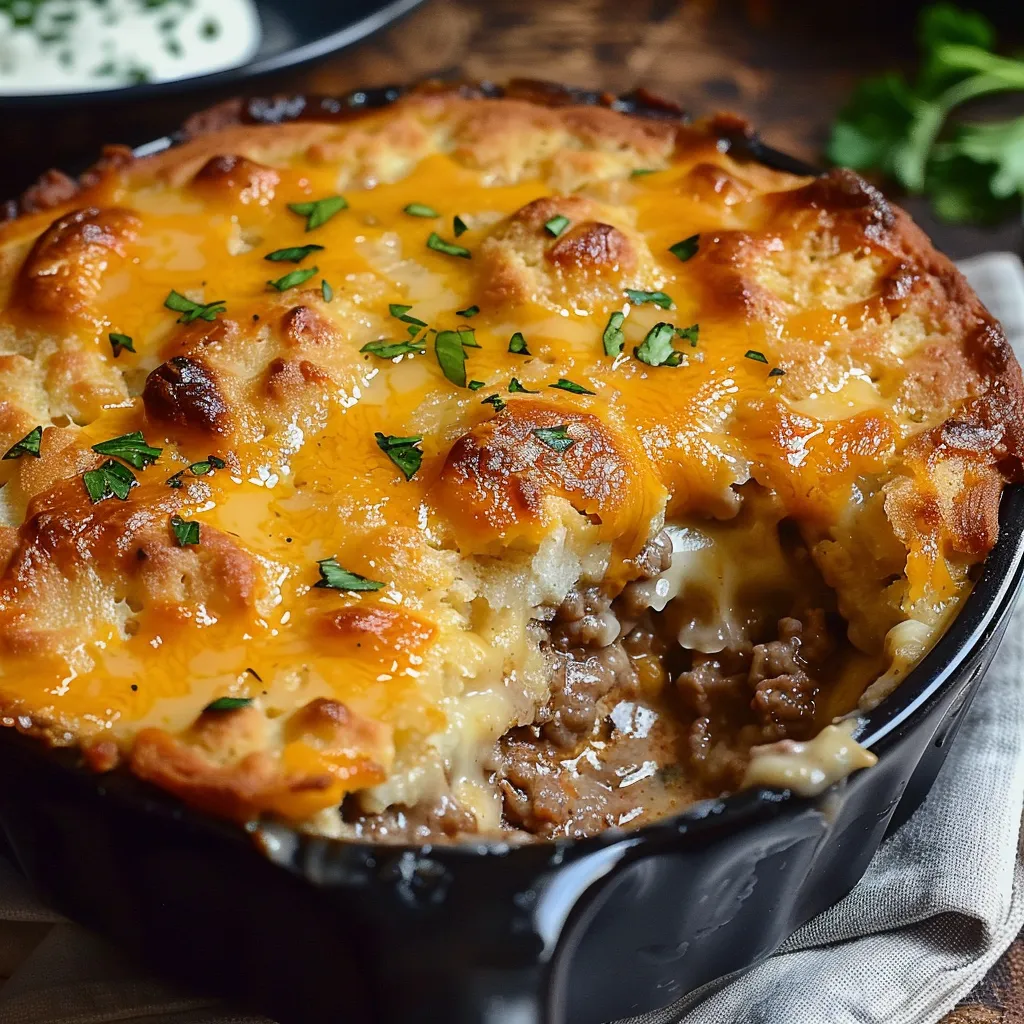
My Beefy Cheddar Cobbler tops savory ground beef with those famous cheesy biscuits we all know and love. It's become my go-to dinner when I want something hearty that'll make everyone run to the table with empty plates and hungry eyes.
I whipped this up for the first time during a crazy busy week when I desperately needed something my teens wouldn't whine about eating. Pairing the taste of those restaurant-style biscuits with a tasty beef base was a total winner. Now my family asks for it twice a month at least.
Ingredients
- Lean ground beef: Makes up the main protein base without too much fat. Try to get the 90/10 kind for best outcome.
- Yellow onion: Brings a nice sweetness when cooked down with the meat. Pick ones that feel heavy and have tight outer layers.
- Chopped garlic: Gives that must-have flavor kick. Grab fresh if you can, but the jarred stuff works in a rush.
- Condensed cheddar soup: Makes a smooth cheese sauce without having to mess with flour and butter.
- Cream of mushroom soup: Adds richness and savory flavor that works so well with the beef.
- Milk: Gets the soup mix to just the right thickness. Full-fat gives the tastiest results.
- Shredded cheddar cheese: Added throughout for amazing cheesy pockets. Grab a block and shred it yourself for better melting.
- Cheddar Bay Biscuit mix: Makes that awesome seasoned top layer just like at the seafood place.
- Butter: Blended with the spice packet makes that mouth-watering herby finish on the biscuits.
Step-by-Step Instructions
- Warm up and get ready:
- Turn your oven to 350°F and grease your baking dish. This temp lets everything cook through without burning those biscuits on top. A glass or ceramic 9x13 pan works great for even cooking.
- Cook the meat mix:
- Fry up the ground beef with onions until no pink remains and onions look see-through, around 7 minutes. Break the meat into tiny bits while it cooks for better texture. Make sure you drain off the extra fat so your dish isn't swimming in grease.
- Mix up the filling:
- Add both canned soups, milk, and your spices to the cooked meat. You want it thick but still easy to pour, kind of like a chunky gravy. Stir till all the cheese melts in completely before taking it off the heat.
- Build your cobbler:
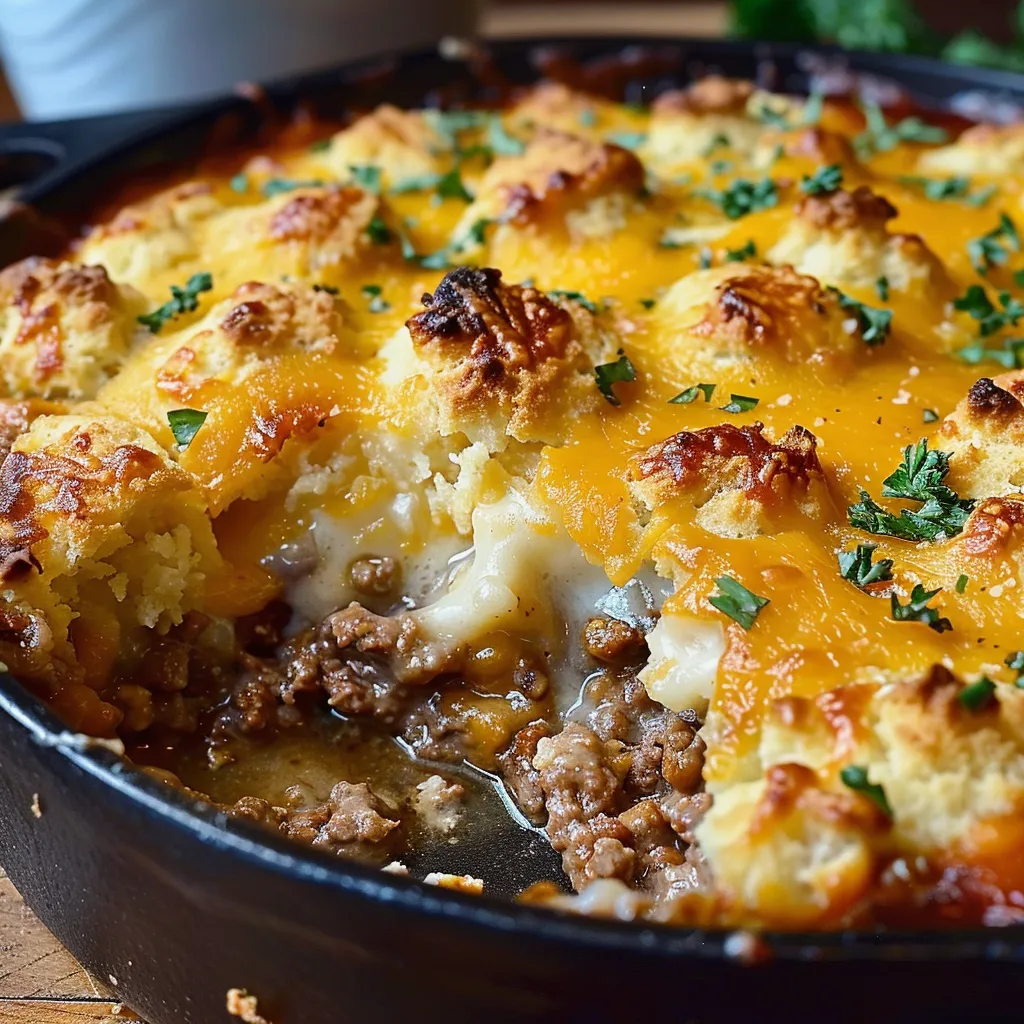
- Dump the meat mixture into your greased dish, making sure to spread it all the way to the edges. Adding that extra cheese layer creates a yummy melty section between the meat and biscuits.
- Prepare the biscuit layer:
- Stir the biscuit mix with cheese and milk just until it comes together. Your batter should be thick with some lumps, similar to waffle batter. Don't overmix or your biscuits will turn out hard.
- Bake until done:
- Let the cobbler cook for the full time without peeking. The top will puff up and turn golden while the filling bubbles at the sides. If it's browning too fast, just lay some foil on top for the last 15 minutes.
- Add the butter topping:
- This is what makes these biscuits special! Brush that seasoned butter all over the hot biscuit tops when they come out of the oven. This lets all that flavor soak right in.
- Cool a bit before digging in:
- That five-minute rest helps everything firm up so it's easier to serve. Plus, it's way too hot to eat right away anyway and nobody wants a burned tongue.
 Pin it
The secret weapon here is definitely that Cheddar Bay Biscuit mix. I usually like cooking from scratch, but this is one shortcut I don't feel guilty about. The first night I made this cobbler, my husband said he liked it better than the shepherd's pie I've been making for years. There's something about those buttery, seasoned biscuits with the cheesy beef underneath that just works.
Prep It Early
You can get this cobbler ready up to a day before you need to bake it. Just put together everything through the beef and cheese layers, cover it tight, and stick it in the fridge. When you're ready to cook, whip up fresh biscuit topping, spread it on the cold meat mix, and add about 10 more minutes to the baking time. It's perfect for busy nights or when you've got friends coming over.
Keeping Leftovers Fresh
Make sure you put any extras in the fridge within two hours after cooking. They'll stay good covered in the refrigerator for up to 3 days. When you want to warm it up, wrap it in foil and heat in a 325°F oven for around 20 minutes until it's hot all the way through. You can use the microwave too, but the biscuits might get a bit chewy instead of crisp.
Easy Swaps
Feel free to switch things up based on what's in your kitchen. Ground turkey works great instead of beef if you want something lighter. You can use cream of chicken soup if you don't have mushroom. Don't have the special biscuit mix? No problem – regular biscuit mix will do fine. Just add a tablespoon of garlic powder, a teaspoon of dried parsley, and a cup of shredded cheddar to make your own version.
 Pin it
This dish is total comfort food that'll make everyone at your table happy.
Frequently Asked Questions
- → Can I swap the beef for something else?
Of course! Substitute ground turkey, chicken, or even a plant-based option. Just tweak the spices to taste.
- → What if I don’t have the Cheddar Bay mix?
No worries! Whip up your own biscuit dough with garlic powder, salt, shredded cheddar, and parsley for the same flavor vibe.
- → Can I assemble this ahead of time?
Sure! Prepare the beef base and store it in your dish, covered in the fridge. Add the biscuits just before baking.
- → How should I store any leftovers?
Pop leftovers into an airtight container and keep them in the fridge for up to three days. Warm them up at 350°F for the best texture.
- → Can I freeze it?
You got it! Freeze either before or after baking. Thaw overnight in the fridge, then bake or reheat as needed.