Velvet Brownies

Featured in Desserts.

These Velvet Brownies bring together that moist, fudgy brownie texture with the sweet charm of red velvet. A splash of vinegar and red coloring add the signature red hue and tang. With a mix of butter for flavor and oil for moisture, they're perfectly chewy, helped along by a little cornstarch. Optional white chocolate chips make them sweeter, and the creamy frosting on top delivers a balance of tangy, chocolatey, and smooth flavors. Follow the precise measurements to nail that fudgy texture each time.
A woman wearing an apron and smiling.
Updated on Mon, 28 Apr 2025 20:21:43 GMT
Bright and fudgy brownies with rich chocolate taste. Pin it
Bright and fudgy brownies with rich chocolate taste. | tasteofmoms.com

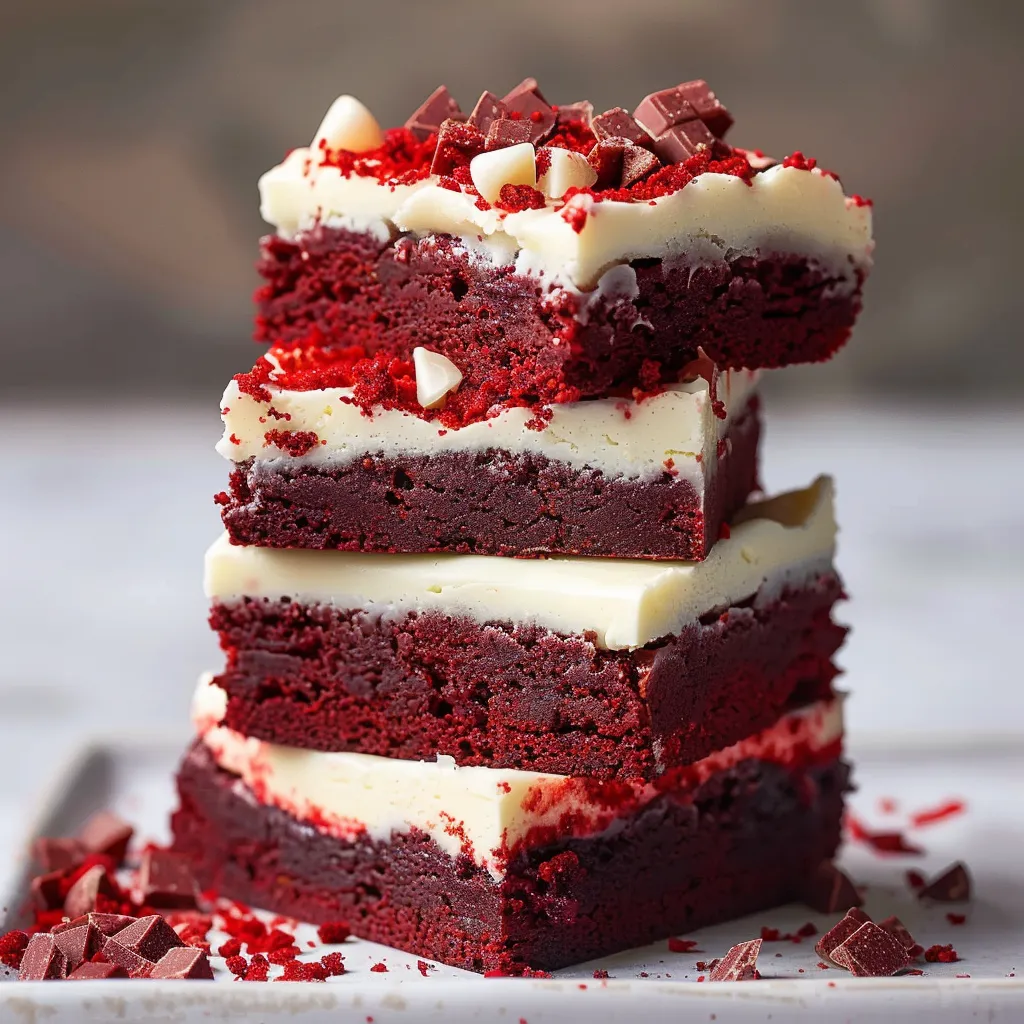
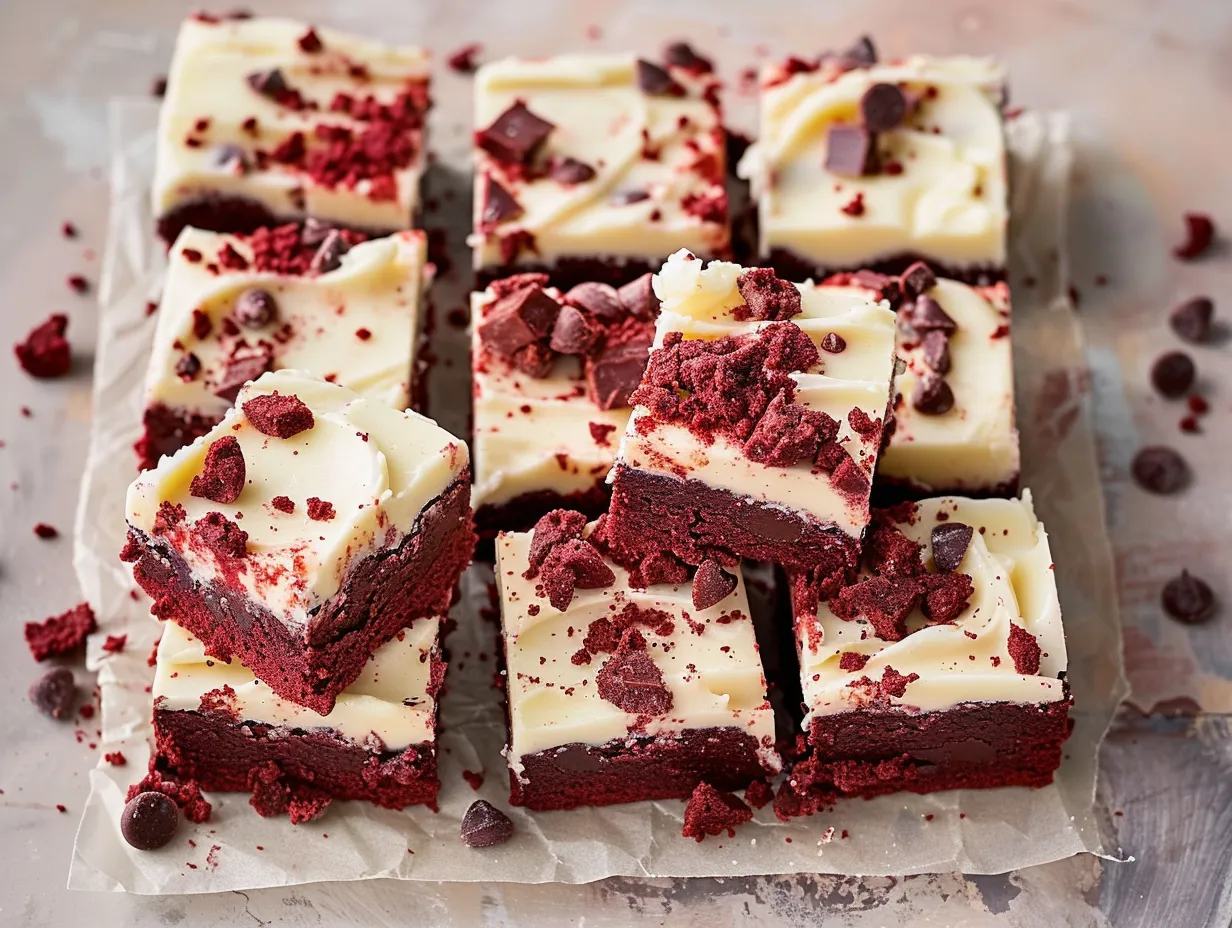
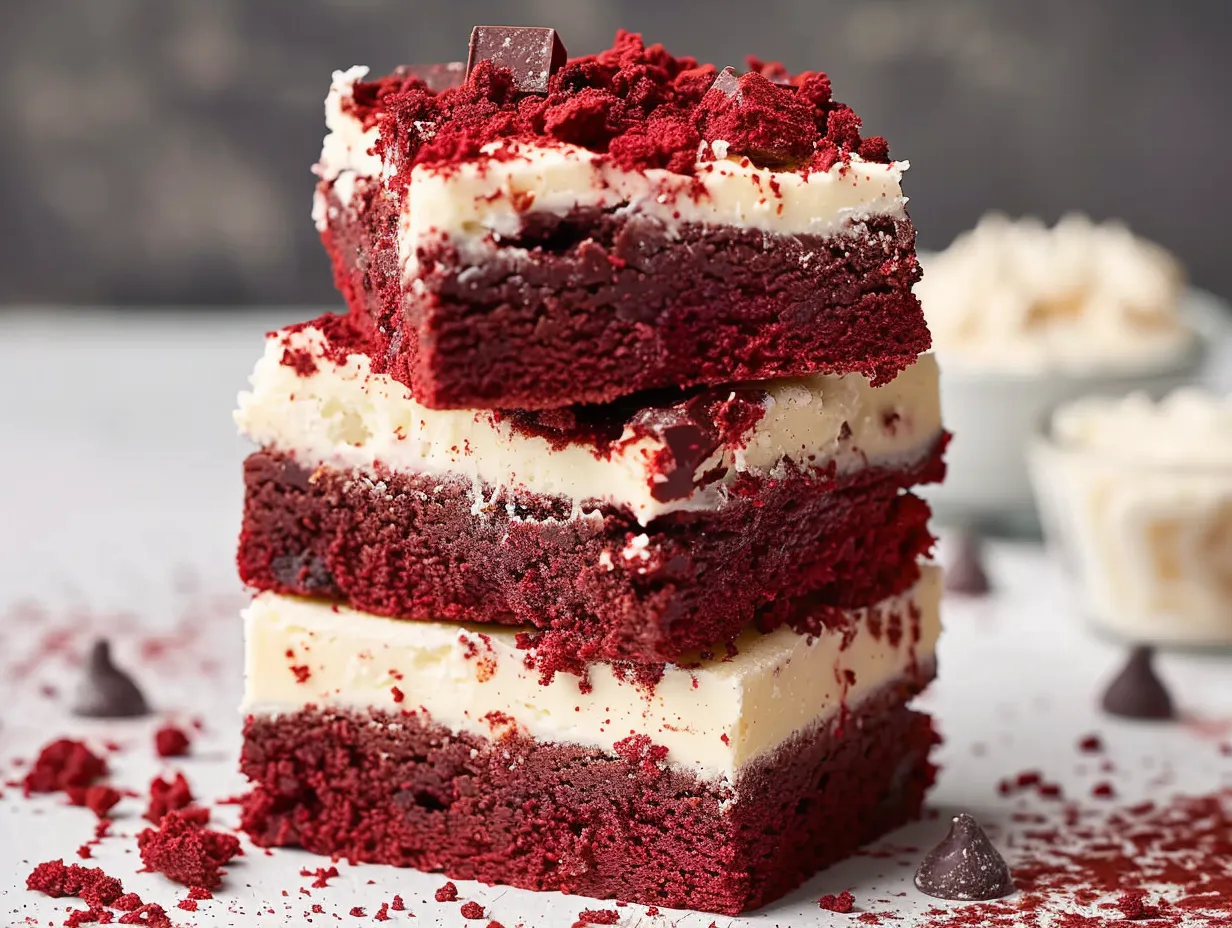
These mouthwatering Red Velvet Cheesecake Bites mix the timeless appeal of red velvet cake with smooth cheesecake in handy bite-sized morsels. Since finding this idea during holiday cooking season, it's turned into my favorite for all special events. The mix of the smooth cheesecake inside and the soft red velvet outside makes an amazing flavor combo that has everyone grabbing for "another tiny piece."

When I first whipped these up for my kid's birthday bash, they were gone in seconds. What's the trick? Taking enough time to cool the filling thoroughly before shaping - this really helps you get that nice round form.

Key Ingredients

  • Red velvet cake mix: Gives that famous color and chocolatey taste
  • Full-fat cream cheese: Can't be skipped for that perfect creamy result
  • Real butter: Makes everything richer and helps things hold together
  • Graham crackers: Gives the filling some backbone
  • Pure vanilla extract: Boosts every other flavor
  • Powdered sugar: Melts right in for a silky filling
Luscious red velvet brownies, an ideal sweet treat for chocolate fans. Pin it
Luscious red velvet brownies, an ideal sweet treat for chocolate fans. | tasteofmoms.com

Step-by-Step Guide

Step 1: Get the cake base ready
Make the cake mix according to package. Let it cool all the way before breaking it up. Crush into tiny, consistent crumbs. Put aside for the outer layer.
Step 2: Mix up the filling
Whip cream cheese until it's totally smooth. Slowly add the softened butter. Gently mix in powdered sugar. Stir in crushed graham crackers. Let mixture cool for 2 hours.
Step 3: Form and cover
Use tablespoon amounts of filling. Roll fast with your hands. Stick balls in freezer for 15 minutes. Cover with cake crumbs while still cold.
Step 4: Final steps
Cover in crumbs twice for complete coverage. Cool right after coating. Wait 5 minutes before eating.

My grandma always added a tiny bit of salt to the filling - it really brings out all the flavors and cuts through the sweetness just right.

The Red Velvet Secret

The wonder happens when cocoa powder mixes with acid ingredients, naturally making that special color. While we now use food dye, the original chemical mix still adds to that one-of-a-kind flavor.

Plan-Ahead Perks

I've noticed these actually taste way better after sitting in the fridge overnight, as all the flavors get to know each other. You can make them up to three days before your party.

Fun Twists to Try

Over my many years making these, I've found that mixing crushed Oreos into the coating adds an awesome crunch contrast. During Christmas time, I sometimes put a little peppermint flavor in the filling for a holiday touch.

After making batch after batch, I've realized the best part isn't just eating these treats - it's watching others enjoy them. There's something truly wonderful about seeing someone's expression when they bite into one of these little red velvet gems for the first time.

Rich and fudgy red velvet brownies, a traditional dessert with vibrant color. Pin it
Rich and fudgy red velvet brownies, a traditional dessert with vibrant color. | tasteofmoms.com

Frequently Asked Questions

→ Why add vinegar to the mix?
The vinegar pairs with cocoa to boost the red color and give that signature velvet tang.
→ Is weighing the ingredients necessary?
Yes! It helps guarantee a chewy texture, as even slight changes can make them too dense or cake-like.
→ Can I skip the frosting step?
Sure, they’re tasty as-is, but the frosting adds a creamy, tangy finish that makes them shine.
→ What’s the deal with butter and oil together?
Butter amps up the flavor while oil keeps things soft and fudgy.
→ How should these be stored?
Pop them in an airtight container and keep them chilled for up to five days since the frosting is perishable.

Fudgy Velvet Brownies

Rich, fudgy velvet brownies topped with sweet, creamy frosting.

Prep Time
10 Minutes
Cook Time
30 Minutes
Total Time
40 Minutes
By: Ashley

Category: Desserts

Difficulty: Intermediate

Cuisine: American

Yield: 16 Servings (16 squares with frosting)

Dietary: Vegetarian

Ingredients

→ Base Layer

01 85g (¾ stick) butter
02 200g (1 cup) white sugar
03 55g (¼ cup) light brown sugar
04 3 eggs
05 1 extra yolk from an egg
06 1 tsp vanilla
07 72g (⅓ cup) vegetable oil
08 25g (¼ cup) cocoa powder
09 90g (¾ cup) plain flour
10 1 tbsp vinegar (white)
11 1 tbsp cornstarch
12 ¼ tsp salt
13 ½ tsp red food gel
14 ¾ cup optional white chocolate chips, if you'd like

→ Creamy Topping

15 114g (4 oz) softened cream cheese
16 85g (¾ stick) soft butter
17 480g (4 cups) powdered sugar
18 1 tsp vanilla

Instructions

Step 01

Heat the oven to 335°F (170°C). Take a 9-inch square pan and line it with parchment paper, ensuring all sides are covered.

Step 02

Microwave butter in 30-second intervals until melted. In a big bowl, stir the melted butter with both sugars until combined well.

Step 03

Add the eggs, yolk, and vanilla to the bowl, stirring slowly to avoid extra bubbles. Then add the cocoa powder and oil, mixing until the texture is smooth.

Step 04

Scoop out a little mix and whisk in the food gel until it’s totally mixed in. Add this back to the main bowl, stirring gently until the color is even.

Step 05

Using a spatula, fold in the flour, cornstarch, and salt until just combined, being careful not to leave dry streaks. Lastly, mix in the vinegar. If you like, toss in the white chocolate chips.

Step 06

Spread the batter evenly into the lined pan. Bake for 20 to 25 minutes. When a skewer poked into the middle comes out with damp crumbs but not wet batter, it’s ready. Cool down completely before adding the top layer.

Step 07

Beat the cream cheese and butter together until they look nice and smooth. Slowly add the powdered sugar, then whip at high speed till it’s fluffy. Finally, mix in the vanilla.

Step 08

After the base has cooled down all the way, spread the frosting evenly over it. Cut into pieces and dig in.

Notes

  1. For accurate results, use a kitchen scale instead of measuring cups.
  2. Be gentle when mixing to keep the texture fudgy, not spongy!
  3. Bring all ingredients to room temperature for the silkiest results.

Tools You'll Need

  • A 9-inch square pan
  • Parchment to line the pan
  • Scale for weighing (optional, but helpful!)
  • Mixer, electric for convenience
  • Spatula for folding

Allergy Information

Please check ingredients for potential allergens and consult a health professional if in doubt.
  • Includes dairy (cream cheese, butter)
  • Eggs are in here
  • Gluten is present (from the flour)

Nutrition Facts (Per Serving)

It is important to consider this information as approximate and not to use it as definitive health advice.
  • Calories: 320
  • Total Fat: 15 g
  • Total Carbohydrate: 45 g
  • Protein: 4 g