
 Pin it
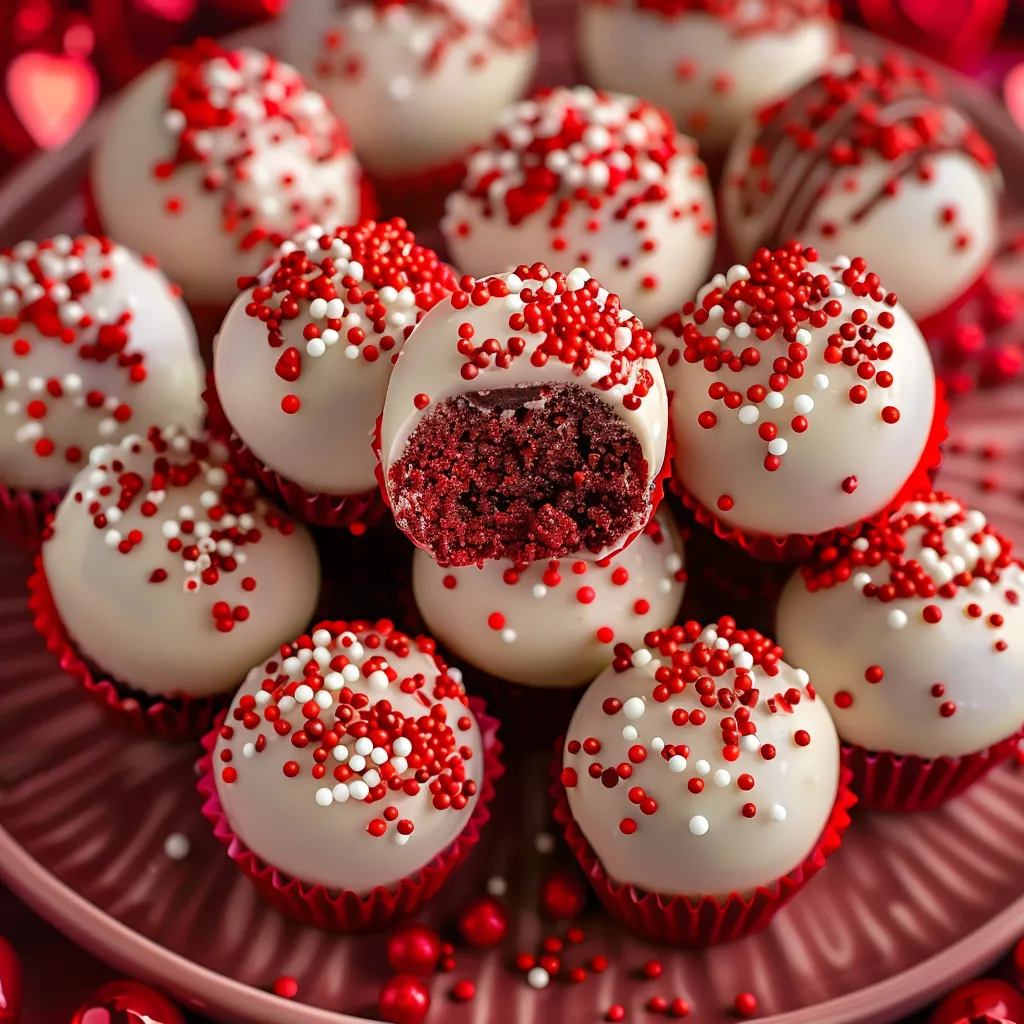
These bite-sized red velvet treats turn basic ingredients into addictive Valentine's Day snacks. Every tiny sphere packs rich red velvet with smooth cream cheese, all covered in silky chocolate and fun sprinkles. After making these for tons of holiday gatherings, I can tell you they'll vanish from the plate before you finish setting them out.
When I brought these to my daughter's Valentine's classroom party last year, watching the kids' faces light up as they tasted these colorful treats made all that rolling and dipping totally worth it. I noticed even the teachers couldn't help grabbing extras!
Key Components
- Red Velvet Cake Mix: Gives that signature taste and gorgeous red color
- Cream Cheese: Make sure it's fully room temperature for easy blending
- Melting Chocolate: Try both white and dark varieties
- Valentine's Sprinkles: For that holiday touch
- Ghirardelli Wafers: They melt beautifully for dipping
- Parchment Paper: Saves you tons of cleanup time
 Pin it
Here's how to craft these delightful sweet morsels
- Get Your Mix Ready:
- Put cake mix on a sheet pan. Warm it at 350°F to kill any germs. Cool it down completely. This keeps everyone safe when eating.
- Mix Your Foundation:
- Whip the soft cream cheese till it's fluffy. Slowly add the cool cake mix. Keep mixing until it looks like cookie dough. Let it chill in the fridge for two hours.
- Form Your Balls:
- Grab a cookie scoop for even sizes. Roll each scoop in your hands until round. Set them on paper-lined trays. Wait 15 minutes before coating so they won't crack.
- Coat Them All:
- Melt your chocolate over simmering water. Drop each ball in one at a time using a fork. Tap off extra chocolate. Quickly add sprinkles before the coating hardens.
I learned the hard way about rushing these treats. My first batch had weird shapes and the chocolate was a mess because I didn't let them chill long enough. Now I know every step needs its own time for the best results.
Keeping Them Fresh
Store your finished treats in a sealed container in your fridge and they'll stay good for a week. You can even freeze them for up to 3 months if you want some ready for unexpected guests or midnight snacking.
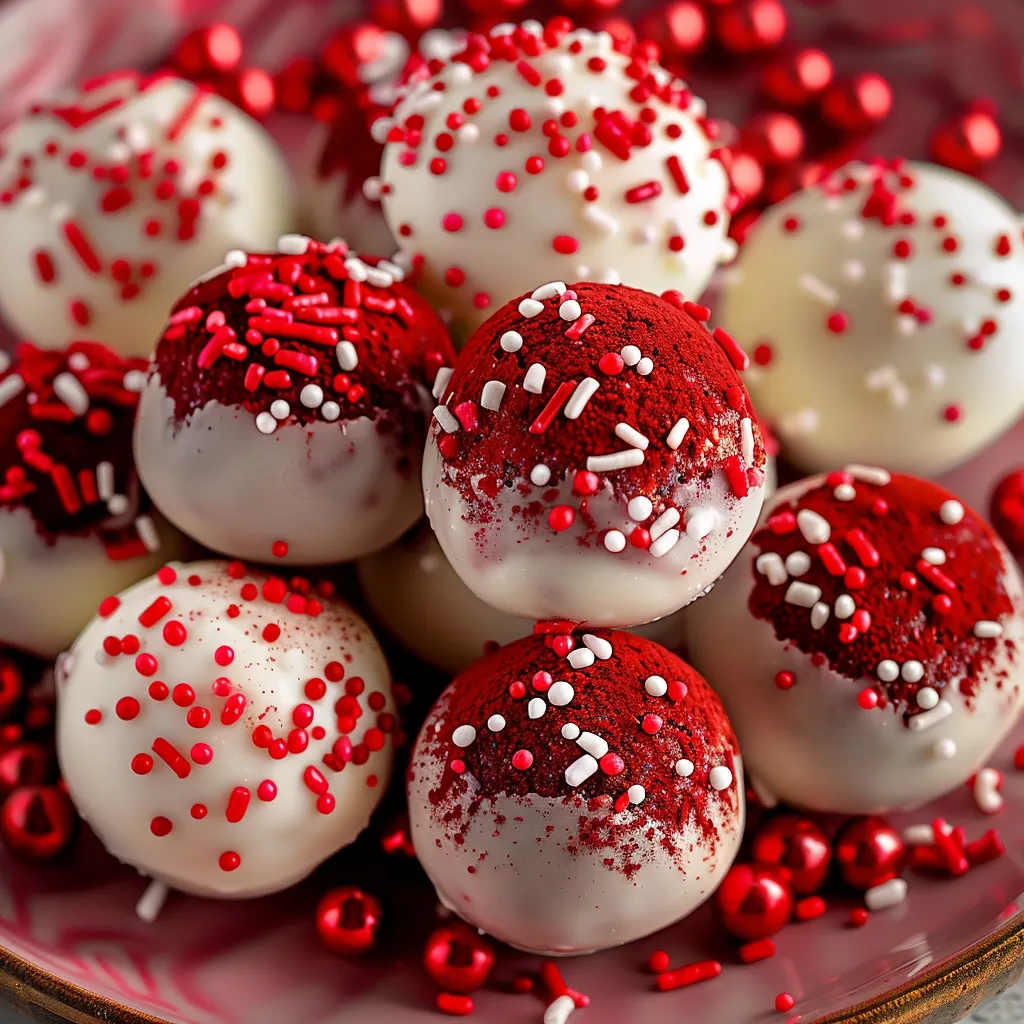
Try Different Tastes
Red velvet works great for Valentine's Day, but why stop there? I've tried chocolate for birthday parties, sprinkle cake for celebrations, and even made lemon ones when spring comes around.
Work Smarter Not Harder
Split this project across two days - mix and chill your dough the first day, then shape and dip everything the next. This makes everything so much easier, especially when you're making lots of them.
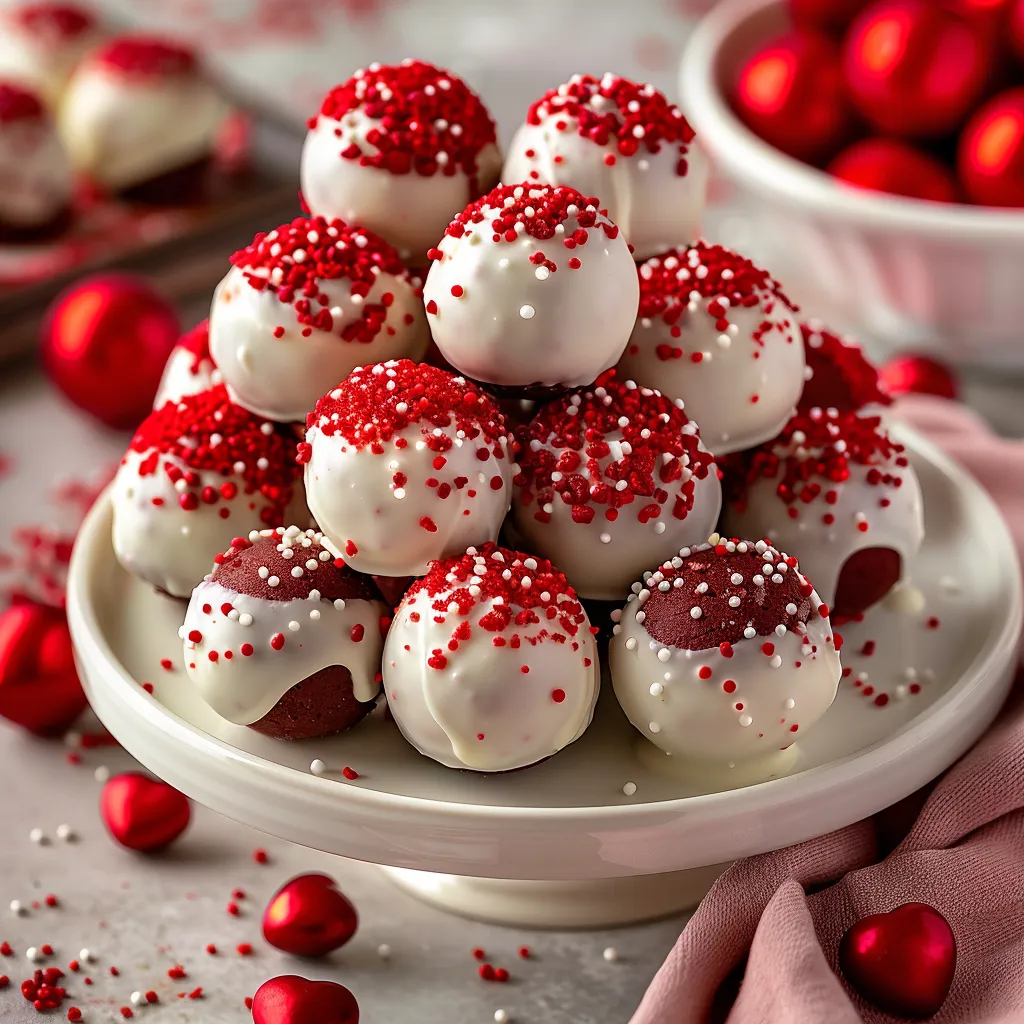
These little red velvet balls have become my favorite way to share some happiness. Whether they're at Valentine's parties, wrapped up as presents, or just enjoyed at home, they always make people smile. Something about that soft cake, creamy inside, and hard chocolate shell just creates something special in every tiny bite.
 Pin it
Frequently Asked Questions
- → Why is heating the cake mix important?
- It kills off harmful bacteria in the raw mix, making it okay to eat without baking.
- → How long can these stay fresh?
- Keep them in a sealed container in the fridge, and they'll be good for up to a week.
- → Why let the shaped balls rest before dipping?
- Giving them 15 minutes to sit helps stop cracks in the chocolate coating.
- → Can I experiment with other cake flavors?
- Sure, you can try different cake mixes and coatings like white chocolate or caramel.
- → What's the purpose of a double boiler for chocolate?
- It ensures even melting without burning or ruining the chocolate.