
 Pin it
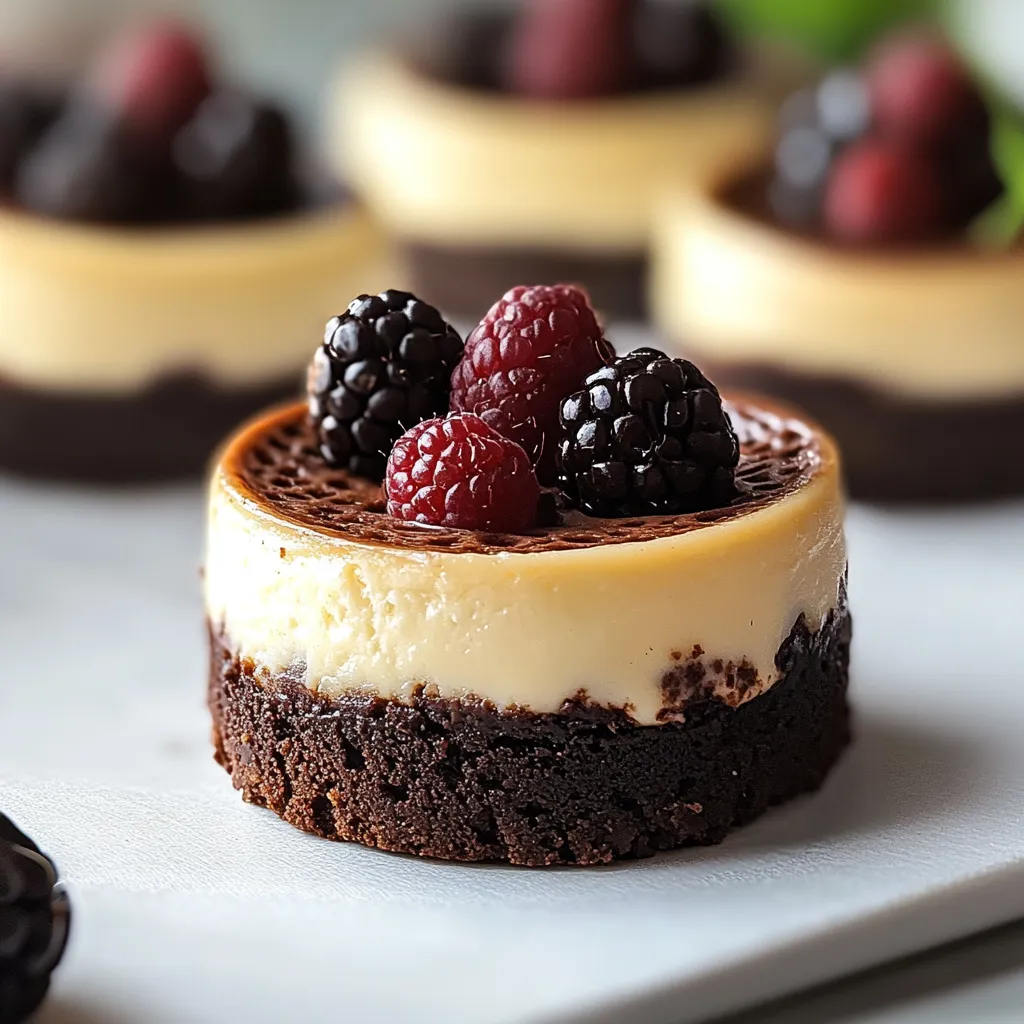
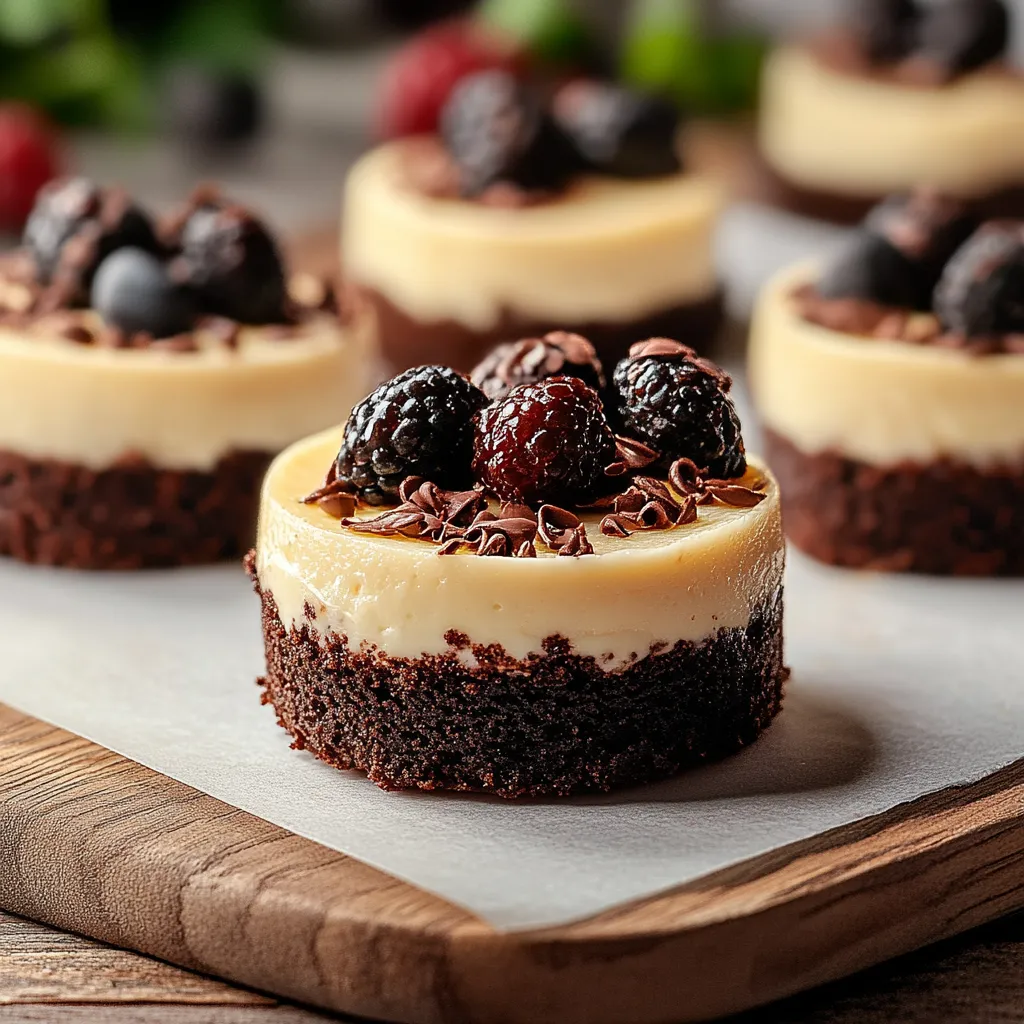
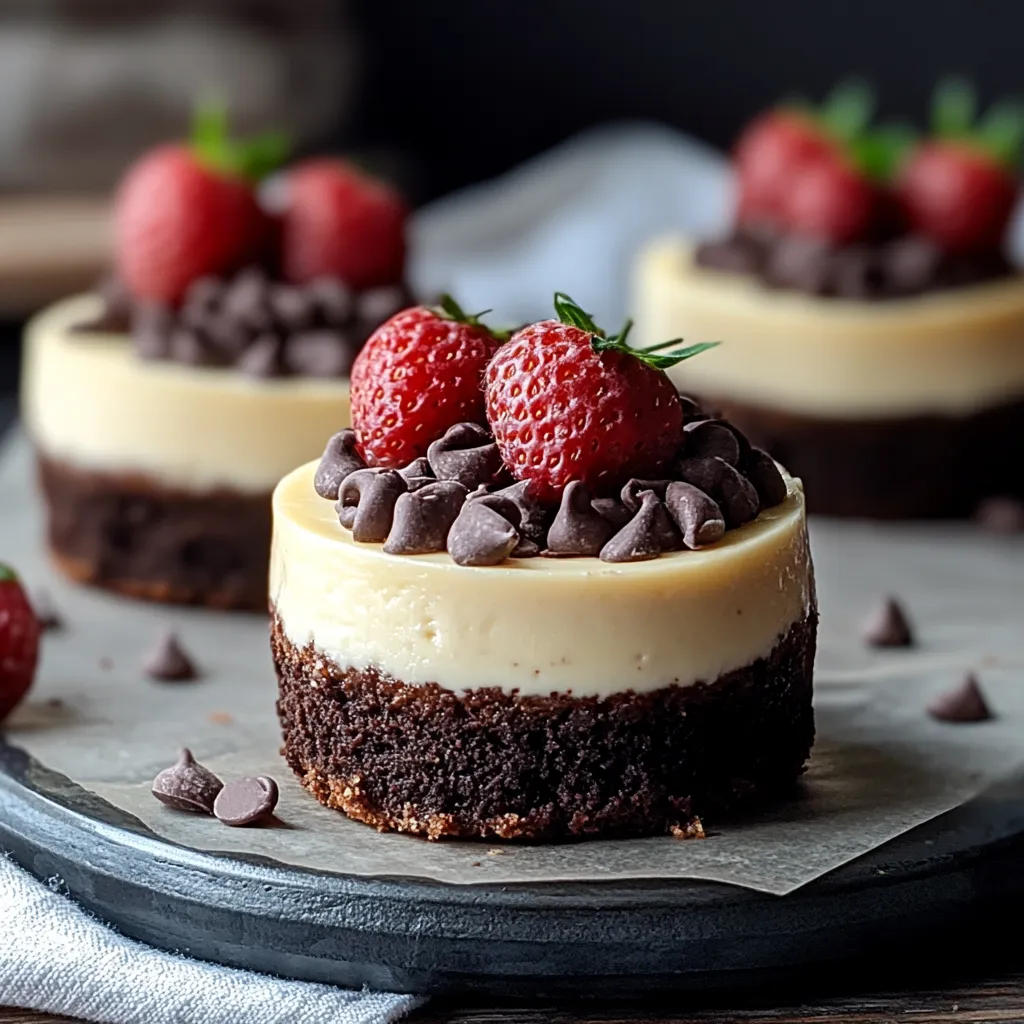
When fudgy brownies meet velvety cheesecake, you get these amazing bite-sized goodies that'll make your taste buds dance. These mini treats balance the deep chocolate flavor with smooth, creamy vanilla in perfect single-serving portions. They're just what you need for any party or when you want something extra special for yourself.
I brought these to our family dinner last Sunday, and my auntie was shocked they weren't store-bought. Want to know my trick? Making sure the cream cheese sits out long enough to get truly soft - it turns the filling incredibly smooth.
Must-Have Ingredients
- Cream cheese: Go for full-fat and completely softened for that dreamy smoothness
- Unsweetened cocoa powder: Dutch-processed gives you a richer chocolate kick
- Sour cream: This is what gives that fancy bakery-style finish
- Unsalted butter: Lets you manage the saltiness while making the brownie base rich
- Pure vanilla extract: Brings out the best in both the chocolate and cheesy parts
- Room temperature eggs: Don't skip this - it's key for the right texture
 Pin it
Step-by-Step Guide
- Step 1: Get everything ready
- Put your rack in the middle of the oven and heat to 350°F. Put paper liners in your muffin tin and give them a quick spray. Take cold stuff out of the fridge to warm up. Get your bowls and measuring stuff together.
- Step 2: Whip up the brownie layer
- Melt your butter just until it's liquid, not hot. Mix in sugar until it feels a bit grainy. Add eggs one by one, beating until it looks shiny. Gently mix in cocoa and flour just until combined. Put some in each liner and press down lightly.
- Step 3: Make the cheesecake part
- Beat that cream cheese until it's super fluffy (about 3 minutes works). Slowly add sugar, making sure to scrape the bowl often. Mix in eggs one at a time on low. Fold in sour cream and vanilla just enough to mix. Don't overdo it or you'll get cracks.
- Step 4: Put it all together and bake
- Pour your cheesecake mix on the brownie bottoms, leaving some space. Tap the pan to get rid of air bubbles. Bake for 20-25 minutes until the edges set but the middle still jiggles a bit. Let them cool in the pan before putting them in the fridge.
This recipe came from my husband's mom, and I've learned you can't rush it. Taking your time with each step, especially the cooling part, really affects how they turn out.
Why Cheesecakes Work
The real magic happens when they cool down slowly. As they reach room temp, the cream cheese proteins do their thing to create that wonderful silky texture. I've found leaving them in the turned-off oven with the door open a crack helps avoid quick temperature changes.
Fun Twists To Try
I've tried tons of different versions over the years. My family goes crazy for a swirl of salted caramel mixed in before baking. That bit of salt perfectly cuts through the sweetness of both layers.
Changing With The Seasons
In summer months, I top these with fresh berry sauce. When fall comes around, adding some cinnamon and a drizzle of maple syrup makes them perfect for autumn. During winter holidays, crushed candy canes and melted dark chocolate make them festive.
Keeping Them Fresh
These little gems actually taste better after sitting in the fridge overnight. The flavors blend together, and they get even creamier. They'll stay good up to five days in the fridge, though at my house they never stick around that long!
After making batch after batch and tweaking things for years, I've figured out there's no fancy secret ingredient. It's really about taking your time and putting care into making them. Whether they end up with a few cracks or look magazine-perfect, each little cheesecake promises a moment of pure happiness with that first amazing bite.
 Pin it
Frequently Asked Questions
- → Can I prepare them a day earlier?
- Absolutely, they stay fresh for up to 2 days in the fridge when covered.
- → Why should the centers wiggle slightly when baked?
- A slight wiggle means they’ll stay creamy as they finish setting in the fridge.
- → Can I store these in the freezer?
- Yes, they freeze well for 3 months if kept in an airtight container.
- → Why use ingredients at room temperature?
- Warmer ingredients mix better, ensuring a smoother, creamier result.
- → Can I add extra toppings?
- Of course! Toss on chocolate drizzle, fruit, or even caramel sauce before serving.