
 Pin it
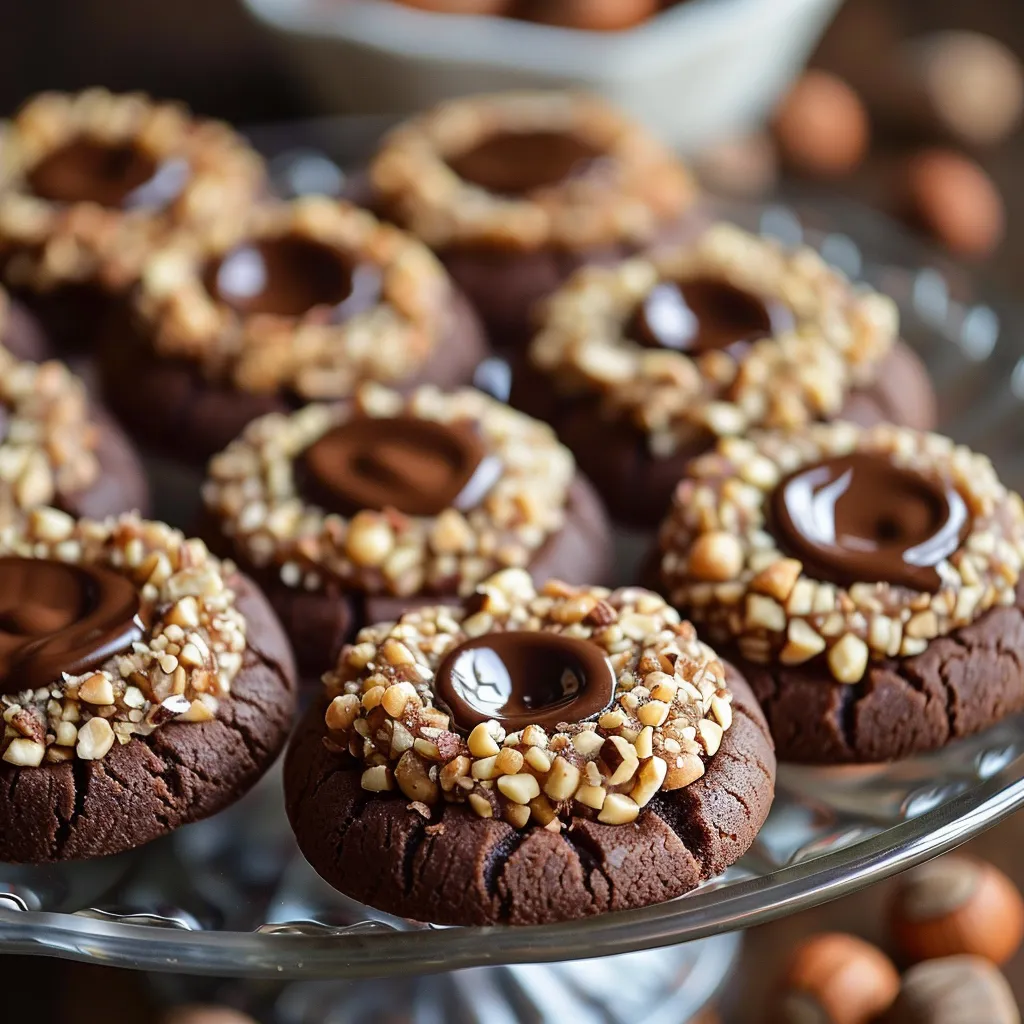
Every time I whip up these thumbprint cookies, my kitchen fills with the delicious smell of chocolate and toasted hazelnuts, taking me back to coffee shops in Europe and family holiday get-togethers. I've tweaked this recipe many times until I got it just right - that perfect mix of buttery cocoa dough with chocolate and hazelnuts. They've now become what everyone expects me to bring to family parties and cookie swaps.
I brought a batch to my friend's house for dinner last week, and her little girl called them "fancy chocolate cookies!" That's exactly what I think is great about them - they feel special for celebrations but they're simple enough to make whenever you want something sweet.
Key Ingredient Breakdown
- Butter: Go with room temp unsalted butter for the best cookie feel. I've noticed that fancy European butter makes them extra rich
- Cocoa Powder: Dutch-processed works best for richer color and taste. Regular cocoa is fine too but gives a different flavor
- Hazelnuts: Buy whole ones and chop them yourself for the freshest taste. Try to find ones with no dark skins left
- Chocolate Hazelnut Spread: Don't skimp here. Pick one that looks shiny and feels luxurious
- Vanilla Extract: Real vanilla makes both the chocolate and nuts taste better
- Salt: A bit of fine sea salt cuts through the sweetness
 Pin it
Step-by-Step Baking Guide
- Making Your Dough:
- Start by beating your soft butter until it looks fluffy, about 2 minutes. Slowly add sugar while mixing until it's light and airy. Add in your egg and vanilla, mixing well. In another bowl, mix your dry stuff, then add it to the butter mix. Stir just until it comes together - don't mix too much. Pop it in the fridge for half an hour so it's easier to handle.
- Getting Them Ready:
- First, toast your hazelnuts until they smell good, around 8-10 minutes. Let them cool down, then chop them up finely in a food processor. Roll your dough into small 1-inch balls with your hands. Roll each ball in the chopped nuts until they're covered. Put them on lined baking sheets with space between them. Make a deep dent in the middle of each cookie.
- Making Nice Dents:
- Use a ¼ teaspoon measuring spoon back for even dents. Press down firmly but carefully so they don't crack. If your dough feels too warm, chill the shaped cookies for 15 minutes first. After baking, quickly re-press the dents while the cookies are still hot. Let them cool completely before you fill them.
- Finishing Touches:
- Warm up your chocolate hazelnut spread a bit so it's easier to work with. Put it in a piping bag or plastic bag with a tiny corner cut off. Carefully fill each dent without overflowing. Let the filling set before you store them. You can drizzle extra melted chocolate on top if you want.
- Keeping Them Fresh:
- Wait for the filling to fully set. Put parchment paper between layers when storing. Keep in an airtight container at room temp. They'll taste best if eaten within 5 days.
The first batch I ever made taught me that you can't rush these cookies. If you skip steps - especially the chilling part - you'll end up with cookies that spread too much or lose their shape.
Managing Your Ingredients
Using room temperature stuff makes your dough mix up smoother and easier to work with. I've learned that leaving butter out for exactly an hour gives you the perfect softness.
Working With Hazelnuts
When you toast hazelnuts before chopping them, their natural oils come out and they taste way better. This small step makes a huge difference in how good your cookies taste.
Filling Your Cookies
After making tons of these, I've found that warming up the chocolate hazelnut spread a tiny bit makes it easier to squeeze into the cookies and looks prettier too.
Planning Ahead
You can freeze the shaped dough balls and bake them later whenever you want fresh cookies. Just cook them a minute or two longer than usual.
This recipe started when I needed to use up leftover hazelnuts during Christmas baking season. Now it's become one of my most asked-for treats, bringing together the best parts of classic thumbprints with rich chocolate flavor.
Final Thoughts: These chocolate hazelnut thumbprint cookies hit that sweet spot between cozy homemade goodness and fancy bakery treats. They work great on a holiday cookie plate or just with your afternoon coffee. The mix of soft chocolate cookie, crunchy nuts, and smooth filling creates something that nobody can resist. Whether you're a baking pro or just starting out, you'll love making these and watching people's faces light up when they taste them.
 Pin it
Frequently Asked Questions
- → Can the dough be prepared in advance?
- Absolutely! Keep it chilled in the fridge for 3 days or freeze it for up to 3 months.
- → Is there a substitute for Nutella?
- Sure, try any chocolate spread or a rich chocolate ganache.
- → How do I store these cookies?
- Pop them in an airtight container at room temp, and they'll stay fresh for 5 days.
- → Can I switch out the hazelnuts?
- Totally! Swap them with walnuts or almonds if you'd like.
- → Why does the thumbprint flatten during baking?
- This happens often—just press them back gently while they're still warm.