
 Pin it
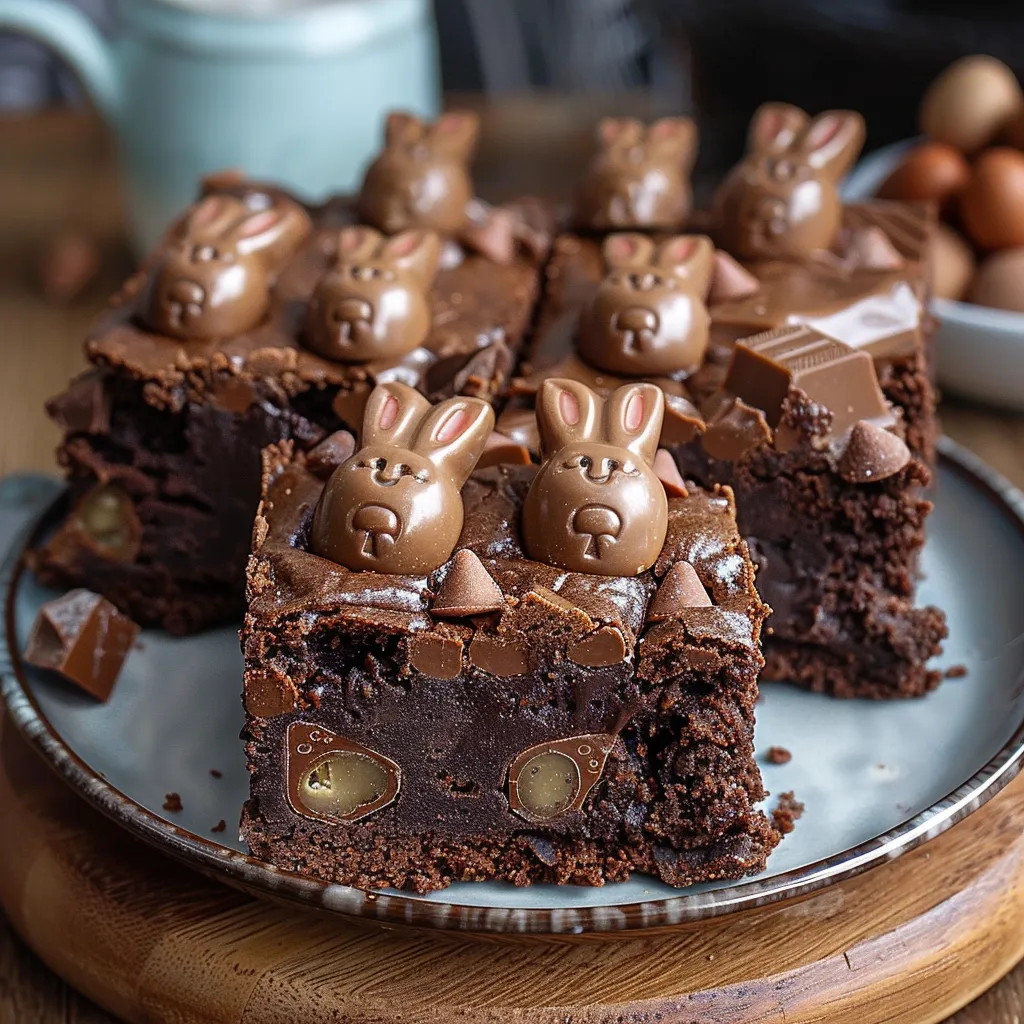
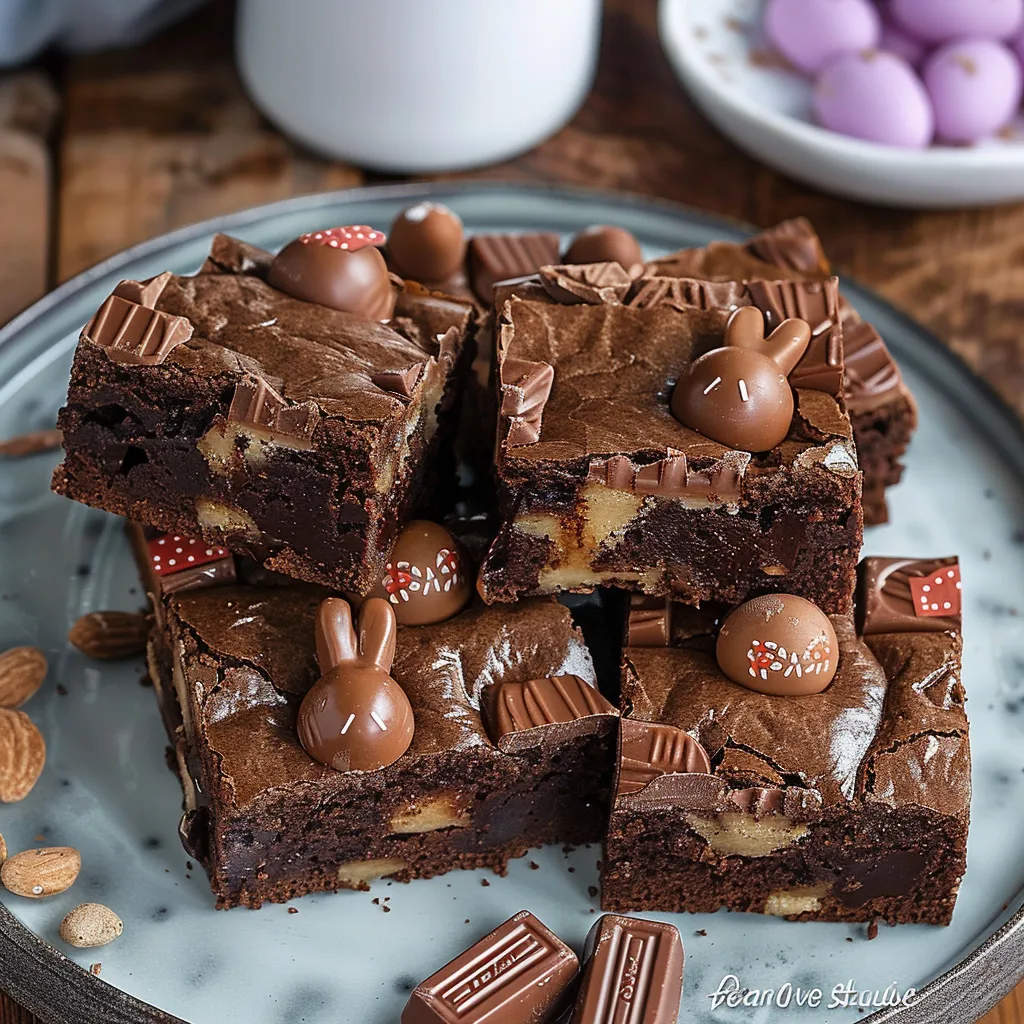
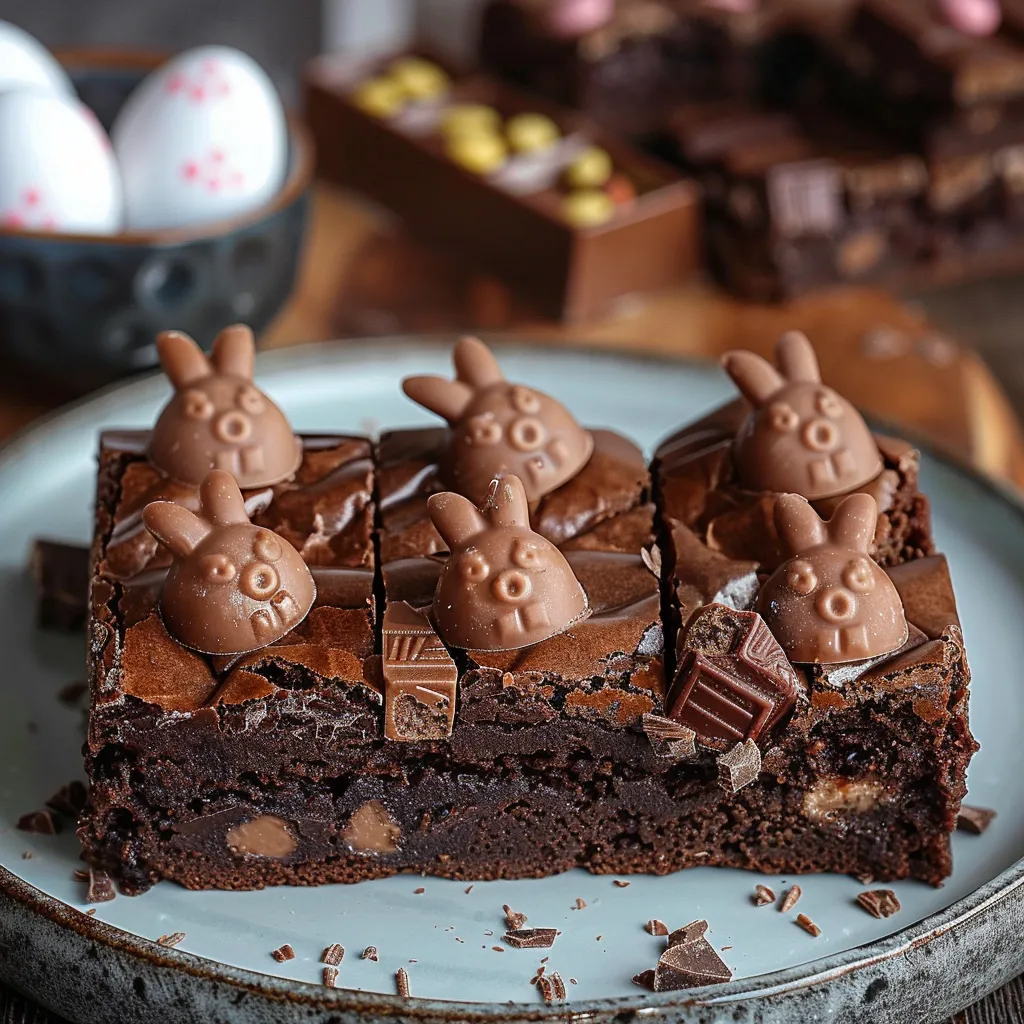
These cute Easter Bunny Brownies turn ordinary fudgy brownies into a fun holiday snack that everyone can safely enjoy. After trying this gluten-free brownie recipe many times, I've cracked the code to getting that dream texture - crunchy top, gooey middle, and yummy bits of chocolate wafer scattered throughout.
When my niece with celiac saw these at our Easter family get-together, she couldn't stop smiling - finally she had a fun treat to enjoy with everyone. Those Kit Kat bunnies on top make them super adorable.
Key Ingredients
- Dark Chocolate: You'll need at least 70% cocoa to nail that gooey middle.
- Gluten-Free Flour: Pick one with xanthan gum mixed in for better results.
- Eggs Not From The Fridge: This really matters for good mixing and texture.
- Top-Notch Cocoa Powder: The Dutch-processed kind gives the deepest flavor.
- Gluten-Free Wafer Bars: These add that wonderful crunch and texture change.
 Pin it
Step-By-Step Guide
- Get Everything Ready
- Put parchment in your pan with extra hanging over sides. Double-check all your stuff is truly gluten-free. Let eggs sit out until not cold. Cut chocolate into small same-size chunks. Keep Kit Kat bunnies handy for decorating later.
- Melt Your Chocolate Right
- Set up a bowl over barely bubbling water. Add chocolate and butter to your bowl. Gently stir now and then until mostly melted. Take it off the heat and keep stirring until smooth. Let it cool until just slightly warm. Check it on your wrist to make sure it won't cook your eggs.
- Mix Everything Together
- Beat your eggs and sugar until they look light and fluffy. Watch for when it makes a ribbon when you lift the whisk. Carefully fold in your warm chocolate mix. Add your dry stuff in three batches. Stop mixing once you can't see flour. Gently add wafer pieces with just a few folds.
- Bake To Perfection
- Put batter evenly in your ready pan. Tap it lightly to get air bubbles out. Bake until the sides look set but middle still wobbles a bit. Take it out when a toothpick has a few wet crumbs. Put bunnies on while still warm. Cool completely before you slice it.
My big aha moment came when I found out that taking them out a touch early gives you that perfect gooey center that gets even better as they cool down.
Watch Your Heat
Your melted chocolate must cool enough not to scramble your eggs, but stay fluid for smooth mixing. Try it on your wrist first - it should feel just barely warm, not hot at all.
Better The Next Day
These brownies actually taste better after sitting overnight, as all the flavors blend together and the middle gets even more gooey. Try making them a day ahead for your party.
These Easter Bunny Brownies have turned into my go-to holiday treat, making both gluten-free folks and regular eaters happy. The mix of rich, gooey brownie base, crunchy wafer chunks, and those cute bunny decorations makes a dessert that's fun to create and even better to eat. Just remember to be patient - letting them cool fully gives you those perfect, fudgy squares every single time.
 Pin it
Frequently Asked Questions
- → Why should the melted chocolate cool first?
- Hot chocolate can scramble the eggs when mixed, affecting the final texture.
- → How do I tell if brownies are ready?
- Check at around 25 minutes. They should still be fudgy, so keep an eye on them.
- → When do I add the Kit Kat pieces?
- Press them onto the brownies as soon as they're out of the oven while warm.
- → Why not cut them while warm?
- It’s easier to slice cleanly once the brownies and toppings are cooled down.
- → Can regular flour replace gluten-free flour?
- This version works best with gluten-free flour, as regular flour could alter the texture.