
 Pin it
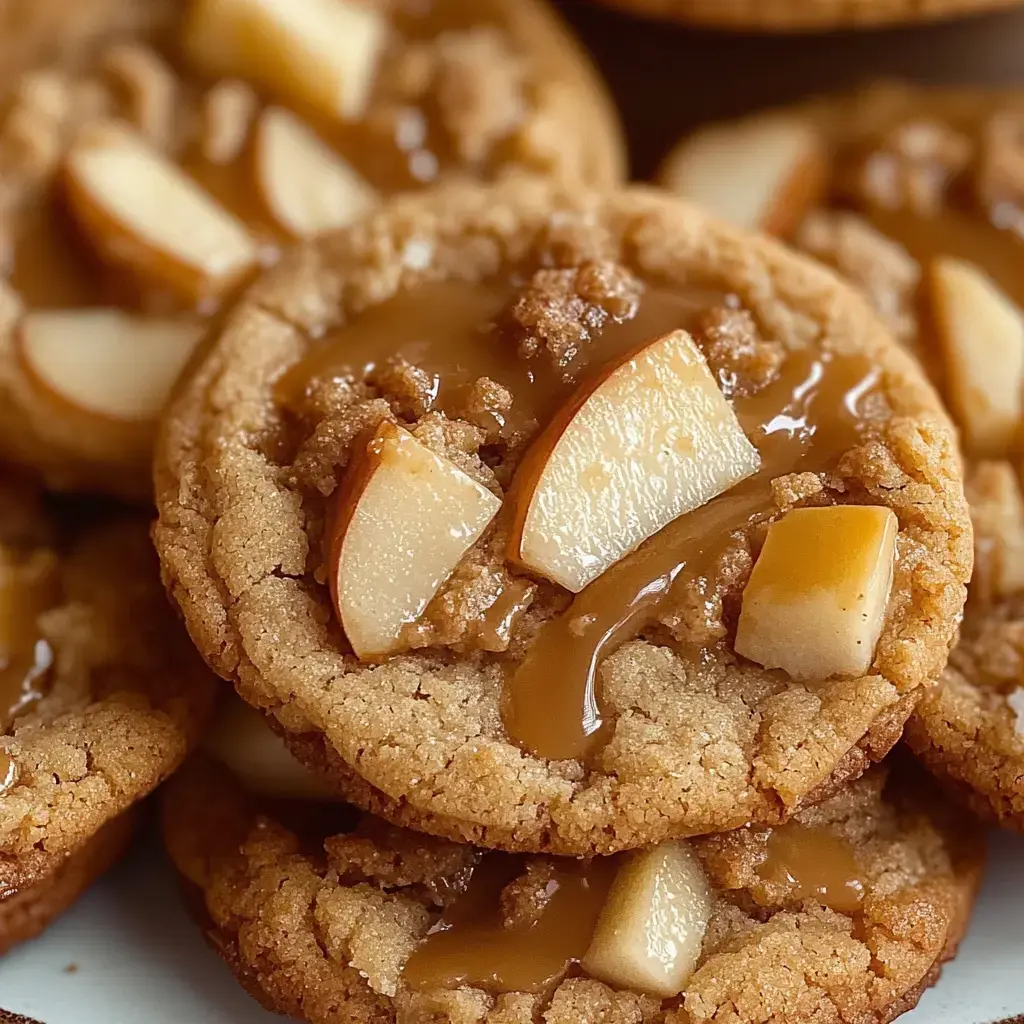
I whipped up these Caramel Apple Cookies one chilly fall day when I was itching for something different. The second they came out of my oven, I knew I'd stumbled onto pure gold. Think of biting into a soft, buttery treat packed with juicy apple bits and hidden pockets of melty caramel. My house filled with the most amazing fall scents and my family couldn't wait to grab one.
A Sweet Treat That Captures Autumn
These cookies were born from my fondness for caramel apples, but let's be real - who wants to deal with all that stickiness? I needed something I could easily pass around and munch on. After plenty of kitchen experiments, I nailed the perfect mix of crisp apple chunks, warming spices, and those little surprises of gooey caramel in every nibble. Now my buddies ask for them as soon as the first leaf drops.
Your Pantry Must-Haves
- Apples: I can't get enough of Honeycrisp or Granny Smith - they don't turn mushy and offer that perfect sweet-sour mix.
- Caramel Candies: Those tiny wrapped squares work wonders - just chop them smaller or look for caramel bits down the baking aisle.
- Butter: Go for unsalted and room temp - you'll want some for the mix and a bit more for cooking down those apples.
- Spices: Nothing says comfy like cinnamon running through every bite.
- Flour: Plain all-purpose does the job, and my friends who can't do gluten have good luck with their swap-in blends.
- Sugars: The combo of white and brown gives you that knockout flavor and just-right chew.
Step By Step Directions
- Tackle Those Apples First
- I always kick off by prepping my apples. Just give them a quick cook with butter, sugar and cinnamon till they're soft but still have some bite. Then you've got to let them cool down completely - I'm serious about this part!
- Cookie Dough Magic
- While those apples chill out, I get my dough going. Beat the butter and sugar till it's fluffy and light, drop in eggs and vanilla, then mix your dry stuff in just enough to come together. Don't go crazy mixing or they'll turn tough.
- The Best Part
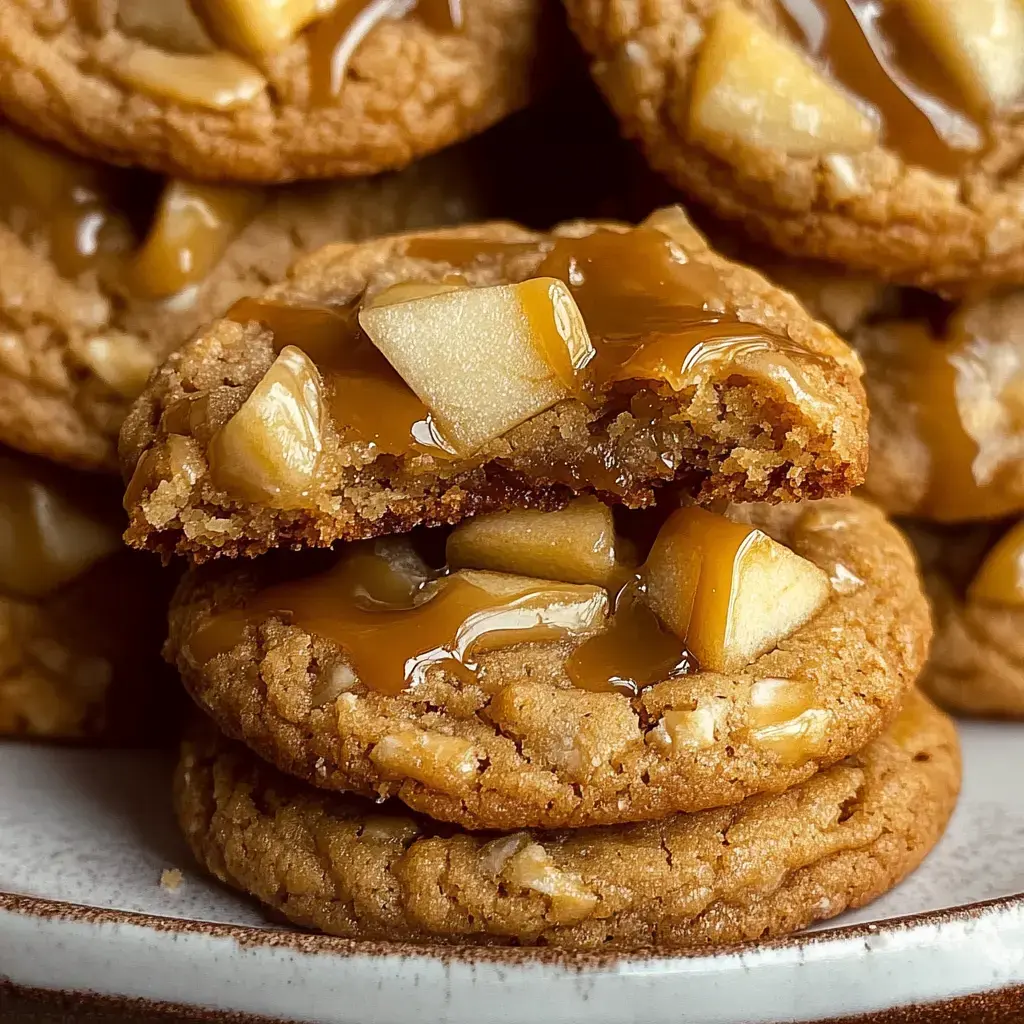
- Once your apples aren't warm anymore, fold them into your dough. Here's my top trick - flatten a chunk of dough, pop a caramel bit right in the center, then wrap it up like you're hiding treasure. Make sure that caramel's totally covered up.
- Baking Time
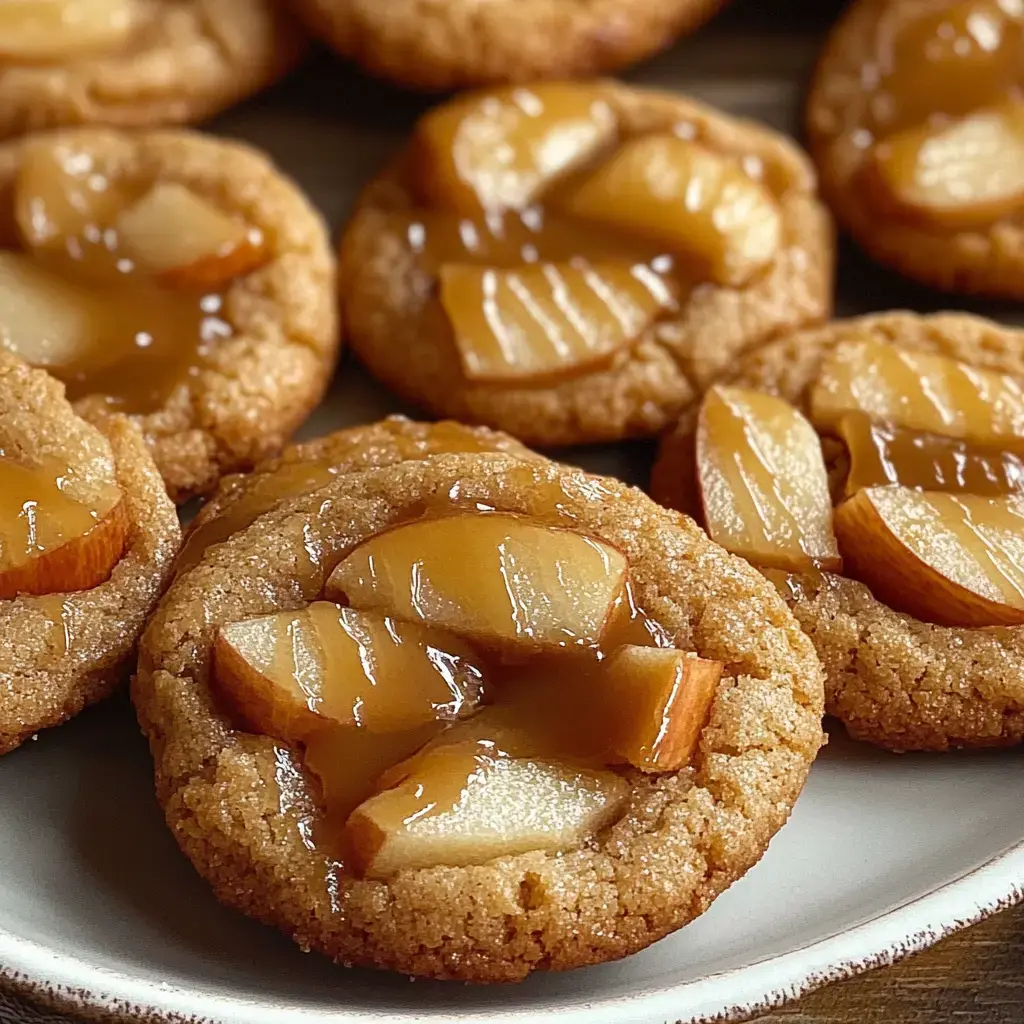
- Put parchment on your cookie sheets, leave plenty of room between cookies, and bake until you see those edges turn golden. The smell will have everyone hanging around the kitchen.
Insider Tips For Perfect Results
Let me share what I've figured out after making tons of these. You can't rush those cooked apples - if they're still warm, your dough will turn into soup. When you wrap up those caramels, check for any tiny gaps or you'll end up with a sticky pan. I always go for crisp, firm apples because they keep their shape really well as they bake.
 Pin it
Our Favorite Ways To Eat Them
At my place, these treats vanish quickest when they're still warm from the oven alongside a mug of tea or coffee. My little ones go crazy for them with hot apple cider when it's nippy outside. For a real treat, try them warm with a scoop of vanilla ice cream on top - the caramel gets all gooey and amazing.
Put Your Own Spin On Them
Since sharing this recipe around, I've heard about so many tasty twists. My friend next door throws in chopped pecans for some crunch and they're fantastic. Sometimes when I'm out of caramel, I toss in white chocolate chips instead, and my little girl likes to sprinkle sea salt on top before they go in the oven. Every batch turns out a bit different but they're always gone fast.
A Crowd-Pleasing Sweet
These cookies have become what I'm known for at fall fundraisers. They hold up great for packing and carrying but still have that homemade charm. Just last week I brought a batch to my boy's soccer match and the parents couldn't believe I made them myself. I always bake extra because they don't stick around long.
Storing Your Baked Goodies
If you somehow end up with extras, they'll stay good in a sealed container for about three days. My go-to move is heating them in the microwave for 10 seconds - it brings back that just-baked gooey caramel magic. If you're thinking ahead, these freeze really well too. I often make huge batches in early fall and enjoy them right through the holiday season.
What Makes This Cookie Special
I found this recipe by chance one autumn while trying to use up apples from our picking trip. The mix of chewy cookie, sweet apple chunks, and gooey caramel just clicks. My kitchen smells wonderful every time I make them, and seeing folks' happy reactions when they take that first warm bite makes me smile. These treats have become part of how we celebrate fall around here.
Foolproof Baking Advice
After so many batches, I've picked up a few handy tricks. When your dough feels too sticky, stick it in the fridge for 30 minutes and it'll be way easier to handle. I always put my cookies two inches apart since they need space to grow. And I won't bake without parchment paper - it stops sticking and makes cleanup super quick.
Creative Twists To Try
Sometimes I get fancy and pour extra caramel over the top after baking - it's absolutely divine. My buddy Kelly adds dried cranberries to hers and they look stunning. Last week I threw in some rolled oats and ended up with these fantastic hybrid cookies that reminded me of my grandma's old recipes but with a fresh twist.
 Pin it
Frequently Asked Questions
- → What's the point of cooking the apples first?
- Cooking softens the apples and pulls out their sweetness. It ensures your cookies don’t have raw apple chunks and adds tons of flavor.
- → Can I swap caramel bits for chopped candies?
- Totally! Pre-made caramel bits save effort and work just as well here.
- → Why did the caramel seep out when baking?
- The caramel might not be fully covered by dough. Make sure it’s completely sealed in before popping them in the oven.
- → What apples work best here?
- Tart, firm ones like Honeycrisp or Granny Smith are perfect. They stay firm while baking and balance out the caramel sweetness nicely.
- → Could I freeze these cookies for later?
- Absolutely. Freeze for up to 3 months after cooling completely. Stack them with parchment paper in a sealed container.