
 Pin it
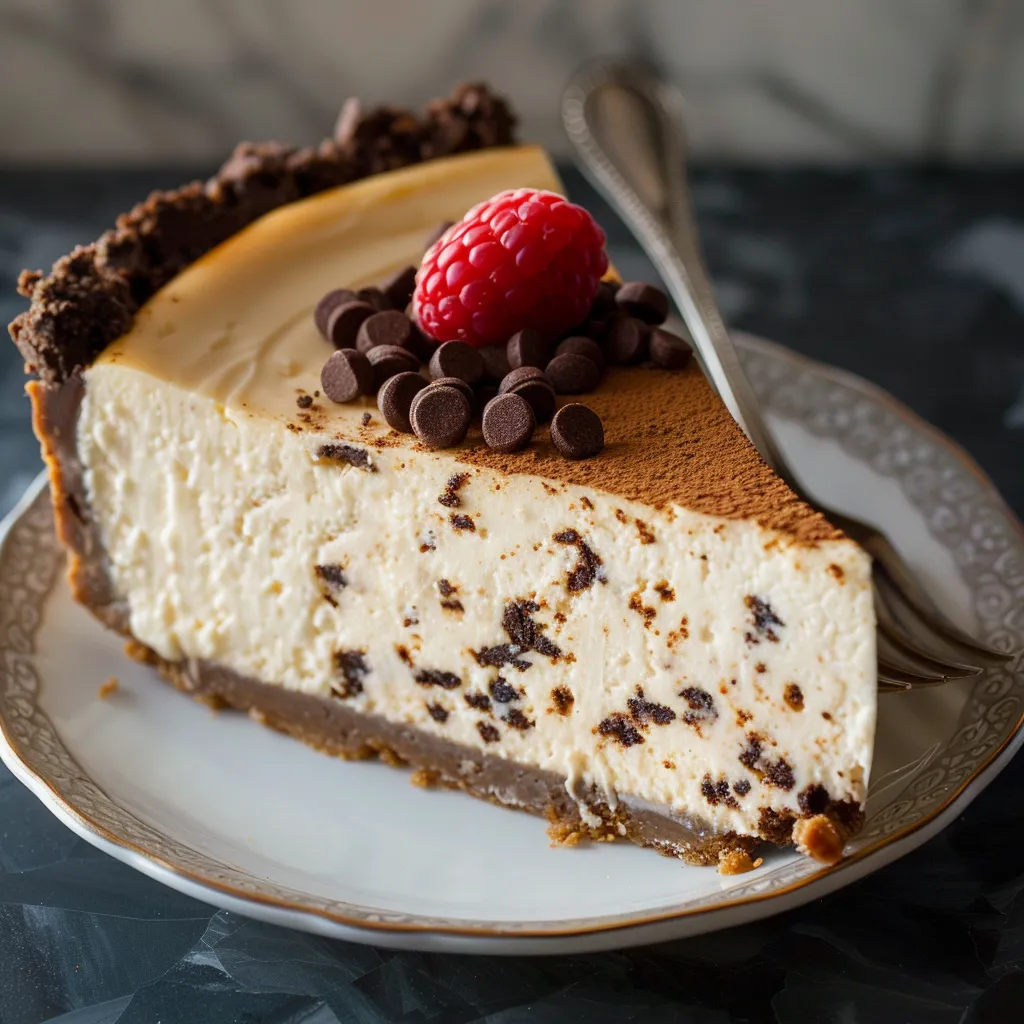
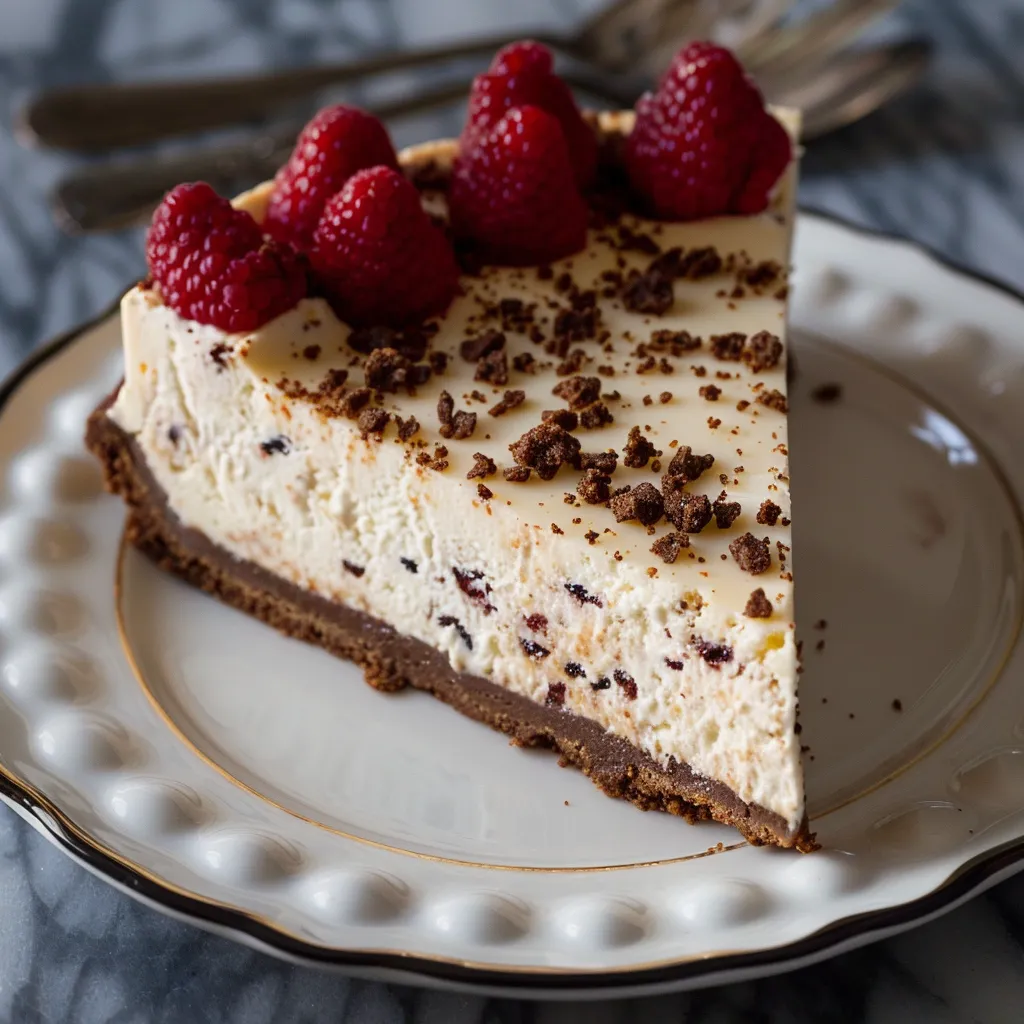
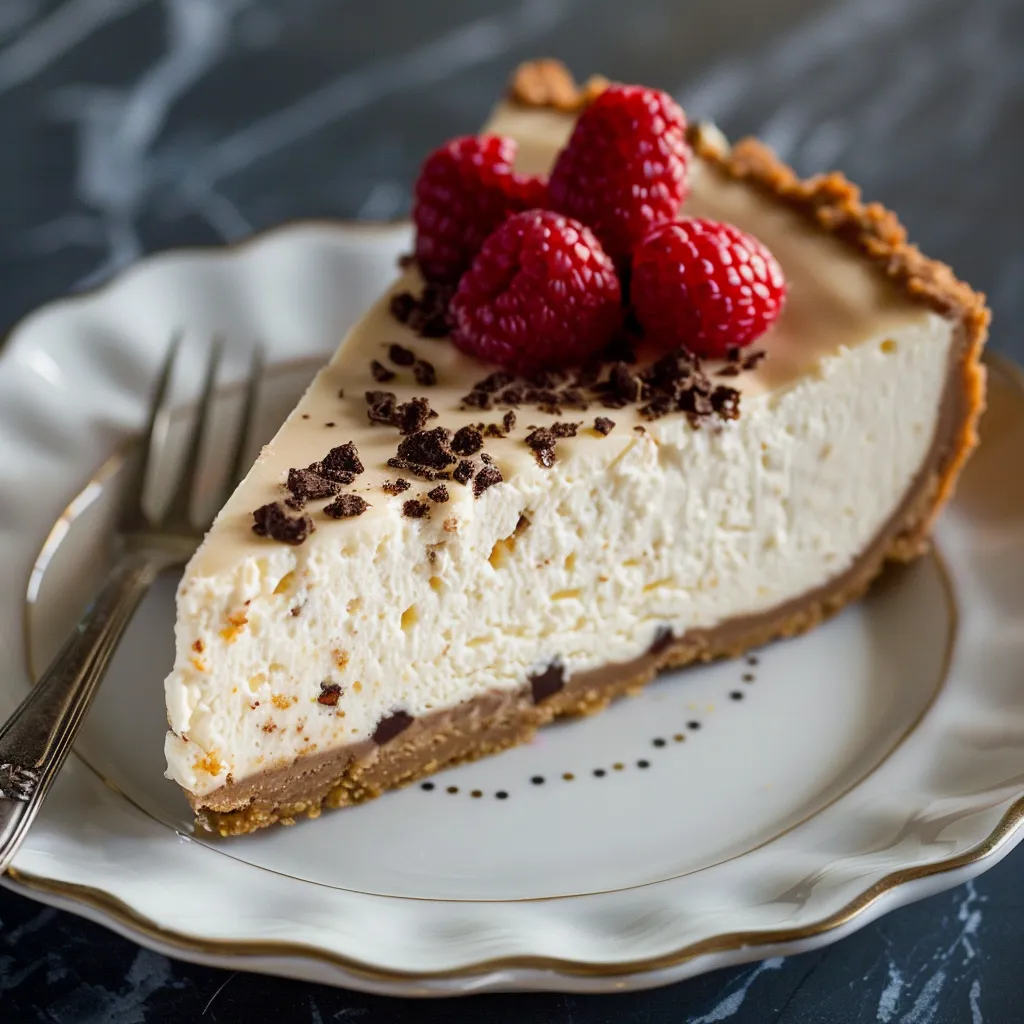
This muscle-building cheesecake turns the classic rich dessert into a healthier, protein-loaded delight that keeps all the creamy goodness you crave. It's ideal for gym-goers or anyone wanting to enjoy something sweet with actual nutritional value.
I came up with this while trying to balance my sweet tooth with my workout goals. Now it's what I make whenever I've got health-conscious friends over who don't want to sacrifice flavor.
Ingredients
- Cream cheese: 24 oz forms the foundation and works with regular or dairy-free versions based on what you need
- Greek yogurt: 2 cups boosts the protein content and gives you a fluffier feel than old-school cheesecake
- Protein powder: 1/2 cup stick with plain or vanilla for best taste, stay away from strong flavors that might not mix well
- Sweetener: 2/3 cup you can use honey, maple syrup, or monk fruit sweetener with great results
- Pure vanilla extract: 2 1/2 tsp go for the real stuff not the fake kind to get that proper taste
- Optional crust: lots of choices work including crushed graham crackers, cookies, or nuts for a low-carb alternative
Step-by-Step Instructions
- Get Your Oven Ready:
- Heat your oven to 350°F and set up a water bath by putting a pan with water about two-thirds full on the bottom rack. This adds moisture that helps stop the cheesecake from splitting while it bakes.
- Get Your Stuff Ready:
- Make sure your cream cheese sits out until it's completely room temperature. This is super important for getting rid of all the lumps. While waiting, put your crust into a 9 inch springform pan, pushing it down firmly on the bottom and up the sides.
- Blend Everything:
- Put your softened cream cheese, Greek yogurt, protein powder, sweetener, and vanilla in a food processor or blender. Mix just until it's smooth, roughly 30-60 seconds. Don't overdo it or you'll get too much air in there and your cake will crack.
- Bake It Right:
- Pour your mixture into the pan and flatten the top with a spatula. Put the cheesecake on the middle rack above the water bath. Bake for exactly 30 minutes - the middle will still look a bit jiggly.
- Cool It Slowly:
- Keep the oven door closed, turn off the heat, and let the cake sit in there for 5 more minutes. This slow cooling is key to keeping it crack-free and super creamy.
- Chill To Firm Up:
- Take the cheesecake out and let it cool completely on your counter before putting it in the fridge. Let it chill for at least 6 hours but overnight is even better. This time in the fridge helps it get to just the right firmness.
 Pin it
The protein powder really does all the heavy lifting here. I've tried tons of different brands and found that whey isolate makes everything super smooth, but plant proteins work surprisingly well too. My grandma actually liked this better than my regular cheesecake at our family dinner last month, which tells me I'm doing something right.
Storage And Make-Ahead Tips
This protein-packed cheesecake actually tastes better after sitting in the fridge, so making it 1-2 days before serving works great. Keep it covered in the fridge for up to 5 days, though it's at its best within the first 3. If you want to keep it longer, wrap individual pieces tightly in plastic and put them in freezer bags for up to 3 months. Just let them thaw in the fridge overnight before eating.
Flavor Variations
The standard recipe works as a great starting point for lots of different versions. Add 2 tablespoons of cocoa powder to make it chocolatey, mix in 1 cup of fresh berries for a fruity option, or throw in 2 tablespoons of lemon zest with 3 tablespoons of juice for a tangy twist. When fall comes around, try adding 1 tablespoon of pumpkin spice and 1/2 cup of pumpkin puree, just cut back on the yogurt a bit to keep everything the right thickness.
Serving Suggestions
This protein cheesecake tastes great by itself, but it's even better with fresh berries, a little honey drizzled on top, or some crushed nuts for crunch. For something fancier, you can make a quick berry sauce by cooking 2 cups of mixed berries with 2 tablespoons of sweetener until it thickens a bit. Let it cool completely before pouring it over your cold cheesecake slices. It'll wow your guests while still being pretty healthy.
 Pin it
Give this tasty protein cheesecake a shot when you want something that satisfies your sweet tooth and feeds your muscles!
Frequently Asked Questions
- → What stops the cheesecake from cracking?
To keep your cheesecake from cracking, bake it in a water bath and let it cool slowly. Turn off the oven and leave it inside for five minutes to avoid quick temperature drops.
- → Can I switch to a dairy-free option?
Of course! Use vegan cream cheese and a non-dairy yogurt substitute to create a lactose-free version.
- → Which sweetener works the best?
Pick whatever fits your style. Regular sugar, coconut sugar, or sugar substitutes like erythritol all work great depending on your preference.
- → Do I need a specific crust?
Nope, any crust will do—graham cracker, nut-based, or none at all if you're keeping it light.
- → How long should the cheesecake chill?
Refrigerate the cheesecake for at least six hours to ensure it sets up properly and firms nicely.
- → Can I prepare this dessert early?
Yes, it's great for planning ahead! Make it a day before you need it, and just store it in the fridge until serving time.