
 Pin it
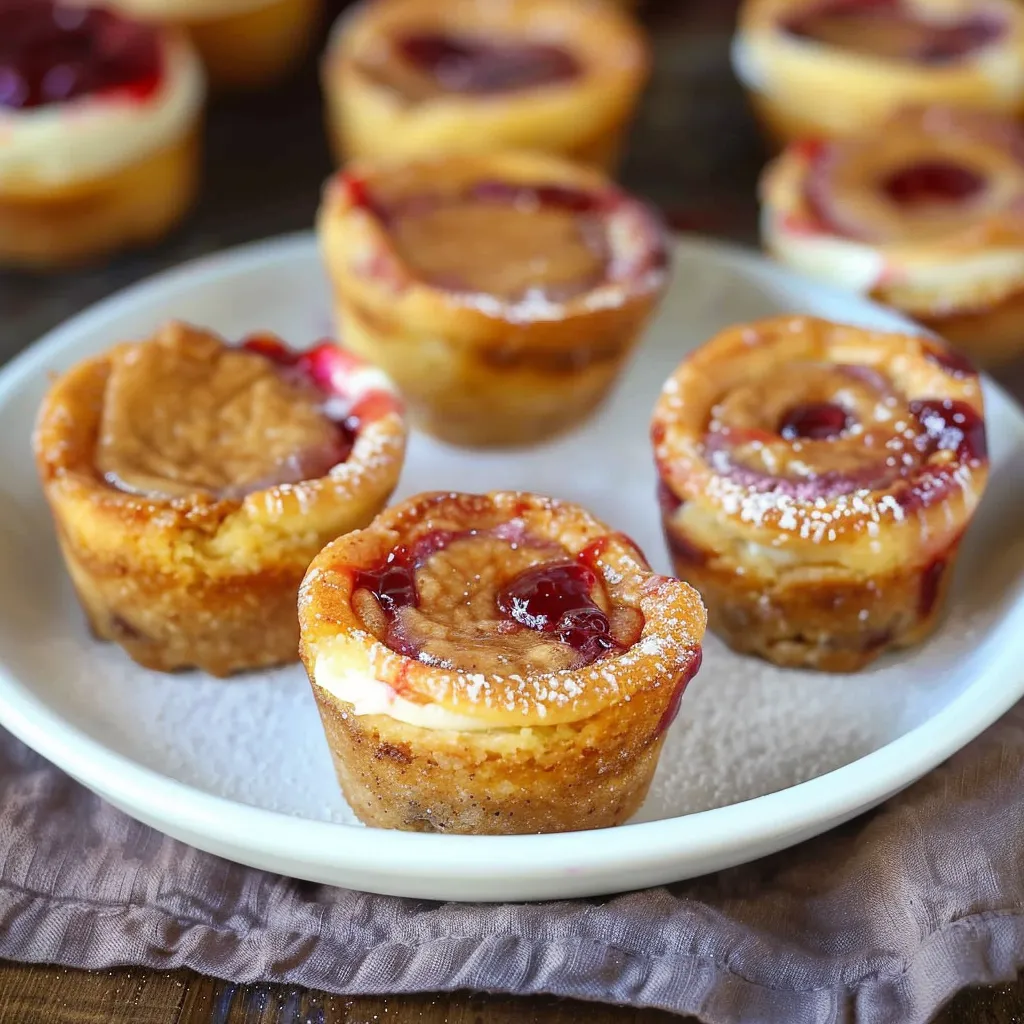
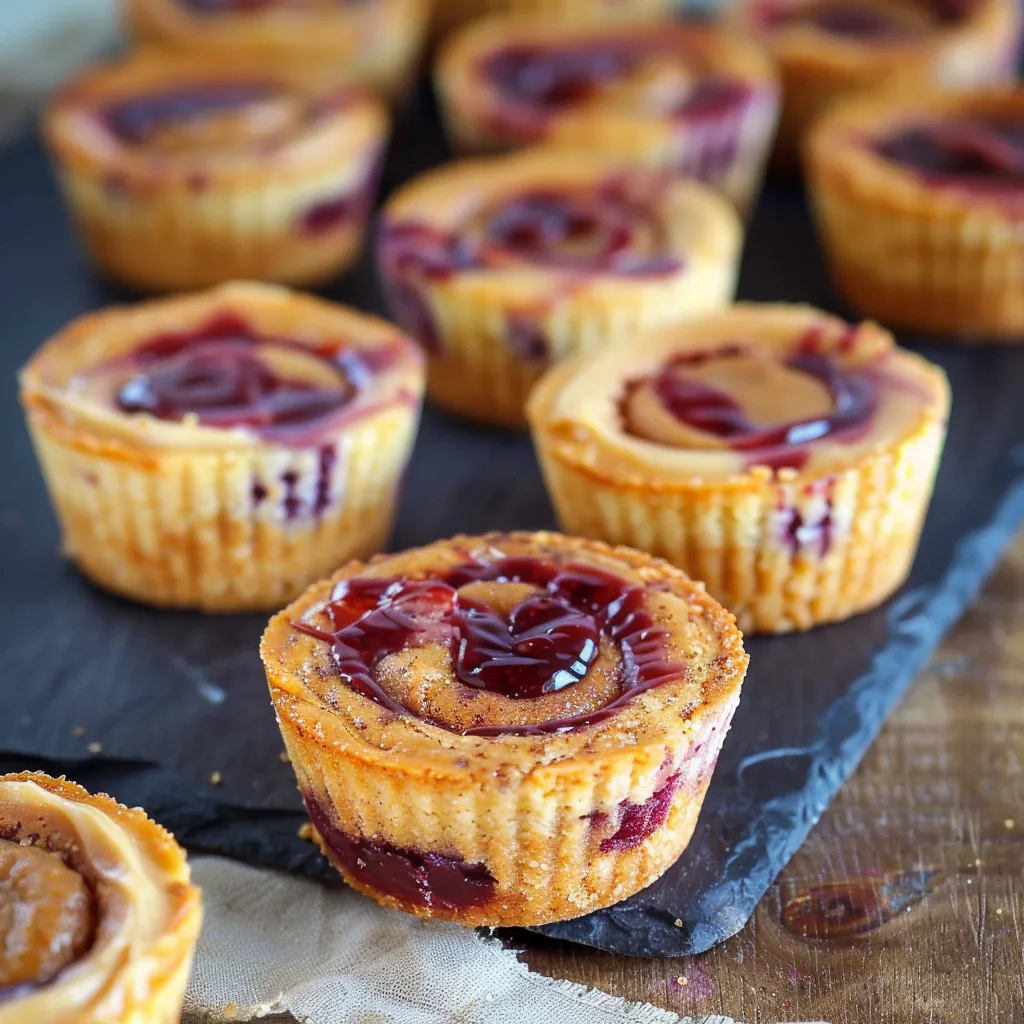
These mini peanut butter and jelly cheesecakes turn your favorite sandwich combo into fancy bite-sized treats that work great for casual get-togethers or fancy parties. You'll love how the smooth peanut butter filling matches up with the tangy raspberry jelly, bringing back childhood memories in a grown-up dessert format.
I whipped these tiny treats up for my kid's birthday when she wanted something peanut buttery and jelly-like but fancier than regular sandwiches. Now everyone in the family asks for them whenever we get together.
Ingredients
- Graham cracker crumbs: Makes a classic crunchy base that balances the smooth filling nicely
- Almond flour: Brings a subtle nutty flavor that works well with the peanut butter
- Butter: Holds the crust together and adds a rich taste
- Powdered sugar: Melts completely for silky texture in both layers
- Cinnamon: Gives the crust a warm, spiced background note
- Cream cheese: Always pick full-fat for the creamiest results
- Creamy peanut butter: Go for natural brands without extra oils for best flavor
- Egg: Helps the filling set up properly
- Vanilla extract: Boosts all the other flavors
- Salt: Cuts the sweetness and makes the peanut butter pop
- Raspberry jelly: Adds fruity sweetness against the rich peanut butter
Step-by-Step Instructions
- Prepare the Crust:
- Heat your oven to 300°F and coat a 6-cup muffin tin with cooking spray so nothing sticks. Mix your almond flour, powdered sugar, and cinnamon in a bowl until everything's well blended. Add melted butter and stir until the mix looks like damp sand that sticks when you squeeze it. Split it between the muffin cups and press down hard with a spoon to make flat layers about 1/4 inch thick. Bake for 10-15 minutes until the edges look slightly golden. Take it out and let it cool at least 10 minutes before moving on.
- Mix the Cheesecake Filling:
- Grab a medium bowl and beat your room-temperature cream cheese with a mixer until it's totally smooth without any lumps—this really matters for texture. Your cream cheese must sit out for at least an hour beforehand. Beat in the peanut butter until they're fully mixed. Then add powdered sugar, egg, vanilla, and salt, mixing at medium speed until everything looks smooth and a bit fluffy. Don't forget to scrape the bowl's sides often to catch any unmixed bits.
- Assemble and Bake:
- Spoon your peanut butter mixture carefully into each cooled crust, filling cups about 3/4 full since they'll puff up a bit. Use a small spoon to make a little dent in the middle of each one. Put a teaspoon of raspberry jelly in each dent. If you want, you can drag a toothpick through the jelly and filling to create pretty swirls instead. Bake at 300°F for 18-20 minutes—they should be set around the edges but still slightly wobbly in the middle.
- Cool and Serve:
- Take them out and let them cool completely in the pan for about 30 minutes at room temperature. They'll keep firming up as they sit. Once cool, slide a thin knife around each one and gently pop them out. For the cleanest removal, stick them in the fridge for at least 2 hours first—the cold helps them come out in one piece.
 Pin it
I figured out that using high-quality natural peanut butter without extra stuff added makes these taste so much better. I learned this after trying lots of regular store brands that just didn't taste as good. Now I keep a special jar just for making these cheesecake bites.
Make Ahead and Storage
These little cheesecakes actually taste better after sitting in the fridge for a while, so they're great to make in advance. Keep them in a sealed container in the fridge for up to 5 days, though at my house they're usually gone way before that. If you want to keep them longer, freeze the cooled bites without adding the jelly on top. Wrap each one in plastic wrap, put them in a freezer bag, and they'll keep for up to 3 months. Let them thaw overnight in the fridge and add fresh jelly before you serve them.
Variation Ideas
You can switch up this basic recipe tons of ways to match what you like. Try using strawberry or grape jelly instead of raspberry for different flavors. If you love chocolate, throw some mini chocolate chips into the filling or drizzle melted chocolate on top after baking. In the fall, swap the jelly for pumpkin butter for a seasonal twist. For fancy occasions, add a tiny bit of whipped cream and a fresh raspberry right before serving.
Serving Suggestions
These bites taste great by themselves, but you can dress them up for special events. Put them on small dessert plates with a light dusting of powdered sugar and some fresh berries to make them look fancy. For a dessert table, set out extra toppings like chocolate sauce, caramel, or chopped peanuts so people can customize their own. They go really well with coffee, tea, or a glass of sweet wine if you're serving adults.
 Pin it
These tiny cheesecakes bring back childhood memories but in a fancy way you'll want to make over and over!
Frequently Asked Questions
- → Can almond flour be swapped for other nut flours?
Totally! Swap almond flour with options like hazelnut or cashew flour. Just be sure the texture is close so the crust stays together.
- → What peanut butter type is best?
Go for smooth, natural peanut butter, as it mixes well with the batter. Skip chunky or super sugary kinds for a better texture.
- → Can I try different jelly flavors?
Of course! Raspberry jelly is great, but you can easily switch it up with strawberry, blackberry, or even apricot jelly—your choice!
- → What’s the best way to store these bites?
Pop them into an airtight container in your fridge. They’ll stay tasty for up to 5 days.
- → Can cheesecake bites be frozen?
Yep! Wrap each one with plastic and keep them in a freezer-safe box. They’ll be good for about 2 months. Thaw in the fridge when you need them.