
 Pin it
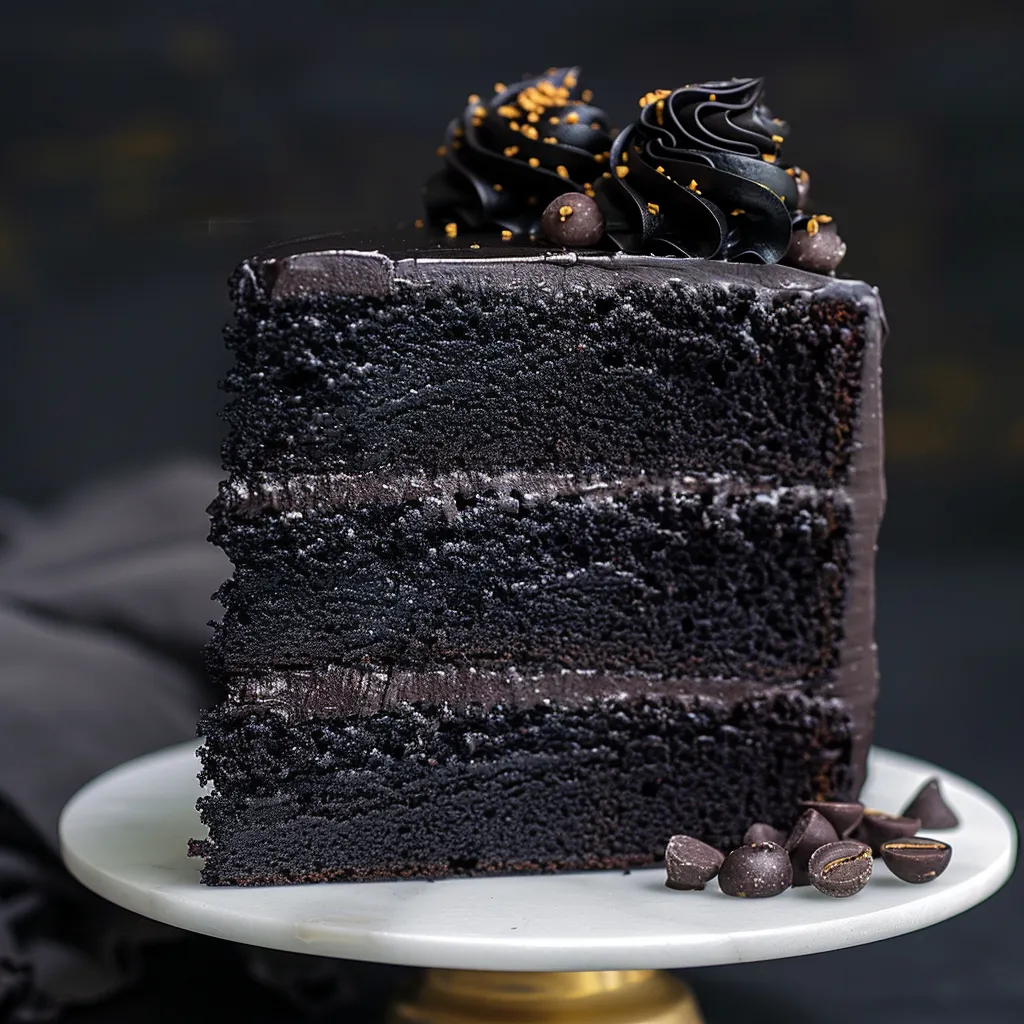
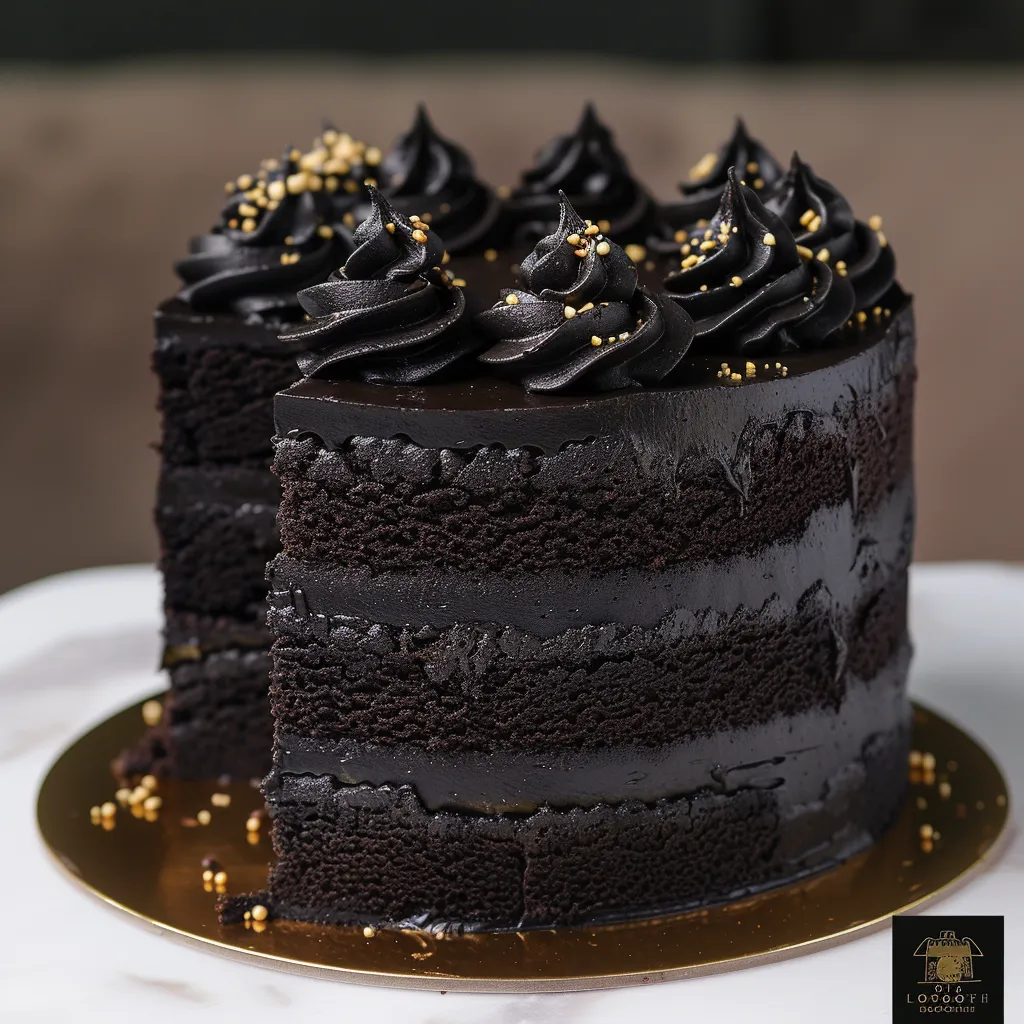
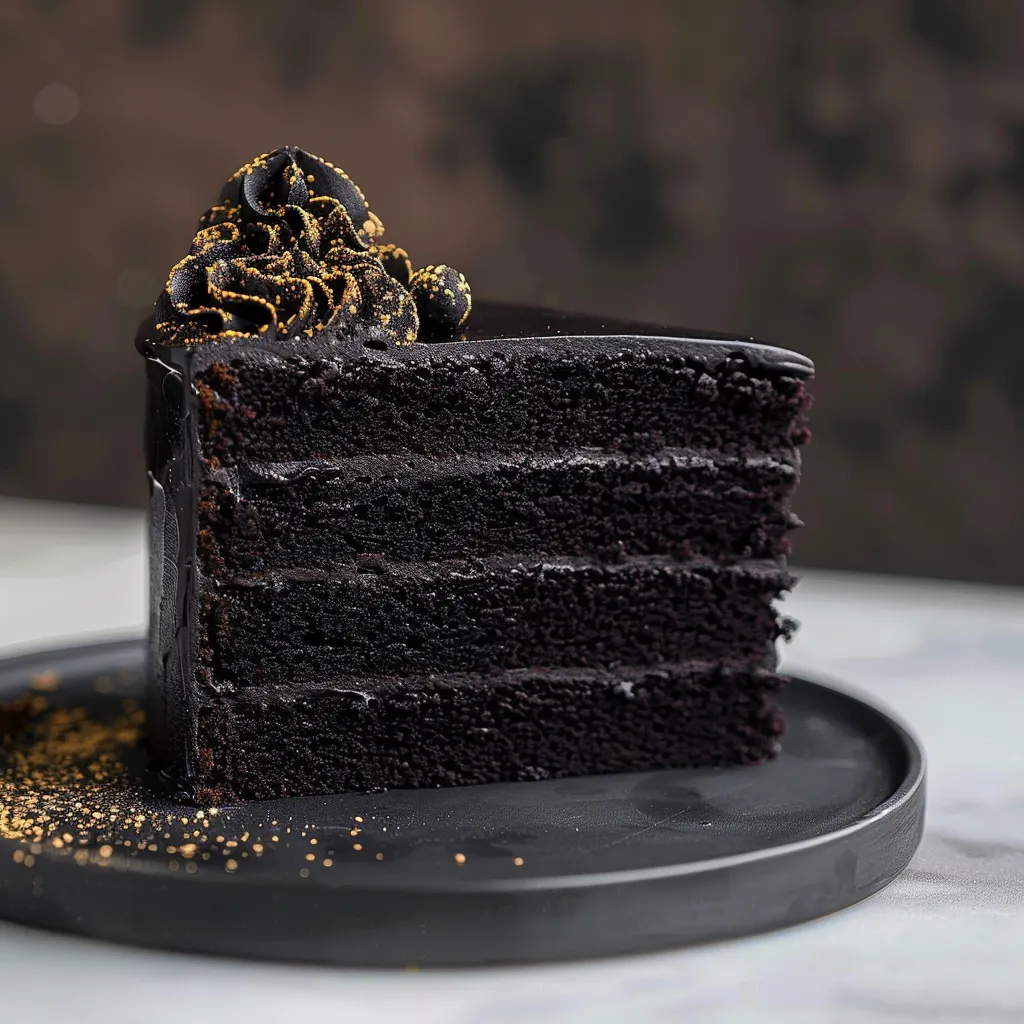
This Black Velvet Cake puts a captivating spin on traditional red velvet, turning everyday components into a gorgeous treat that's as eye-catching as it is tasty. While testing various cocoa blends, I found that black cocoa doesn't just create stunning darkness but also brings a rich, nuanced chocolate taste that makes this cake truly memorable.
The first time I brought this to a Halloween get-together, nobody could wrap their heads around how the deep color came mostly from cocoa. Those striking black layers next to the smooth frosting make for a dessert people won't soon forget.
Key Components
- Black Cocoa Powder: Your secret weapon for that deep shade without artificial help.
- Buttermilk: Gives you soft, damp cake layers.
- Eggs at Room Temperature: Can't skip this for proper mixing.
- Good Vanilla Extract: Works with the cocoa for perfect flavor.
- White Vinegar: Wakes up the baking soda so your cake will rise right.
 Pin it
Step-by-Step Breakdown
- Nail Your Setup
- Let cold stuff sit out till it warms up. Coat pans with grease and add parchment circles. Weigh everything out exactly. Run cocoa through a sieve to break clumps. Put your oven rack right in the middle.
- Get Your Mix Right
- Blend all dry stuff well so the cocoa spreads evenly. Mix sugar and oil until they're combined. Put in eggs one by one, mixing after each. Switch between buttermilk and dry mix in three batches. Scrape down sides often for even batter. Stop mixing once it looks smooth.
- Bake It Just Right
- Split batter evenly into your ready pans. Tap each pan lightly to push out air bubbles. Get them in the hot oven right away. Keep that oven door shut for at least 20 minutes. Check with a toothpick to see if it's done. Cool in pans for exactly 10 minutes before taking out.
- Whip Up Dreamy Frosting
- Whip butter until it's fluffy and light. Slowly add your powdered sugar. Mix in black cocoa and vanilla. Pour in cream until it feels right. Beat until it's silky. Double-check for any cocoa spots that didn't mix in.
After lots of attempts, I learned that popping the layers in the freezer briefly before frosting helps you get those perfect, clean-cut edges everyone loves.
Watch Those Temps
Getting this cake right really depends on how warm your stuff is. When eggs, buttermilk, and butter aren't cold, they mix better and make the cake texture more even.
Plan Ahead Perks
You can bake the layers up to a month early and freeze them. Just wrap them tight in plastic and foil, then let them thaw in your fridge overnight before you frost.
This Black Velvet Cake has turned into my go-to dessert when I need something dramatic. Though it might look tough to make, it's actually pretty simple if you follow each step carefully. Just take your time with mixing and putting it together - rushing either part can mess things up. Your reward? A knockout cake that tastes even better than it looks.
 Pin it
Frequently Asked Questions
- → Can I prepare parts ahead of time?
- Absolutely, freeze the cake or prepare frosting ahead. Store frosted cake up to a week in the fridge or a month frozen.
- → What’s unique about black cocoa powder?
- Black cocoa has been heavily processed to bring out its dark hue and bold chocolate flavor.
- → How’s coffee helping the batter?
- Hot coffee pumps up the chocolate’s flavor while softening the cake’s crumb.
- → Tricks for even cake layers?
- Weigh batter equally when splitting it between pans. A kitchen scale works wonders!
- → Why bother chilling during frosting?
- It lets each frosting layer firm up, so you can make the cake look neat and polished.